

Step 1: Enable Search Tracker
Overview
Search Tracker is enabled on a per-location basis, which requires two steps:
- Assign a Competitive Intelligence License Pack to each location you wish to track
- Set the Search Tracker Enabled field to True
You can do these two steps for a single location, or for multiple locations in bulk by first selecting the checkboxes next to all the desired locations, and then going through the following steps.
Assign a Competitive Intelligence License Pack
The first step is to add a Competitive Intelligence License Pack to the location(s) you wish to track in Search Tracker.
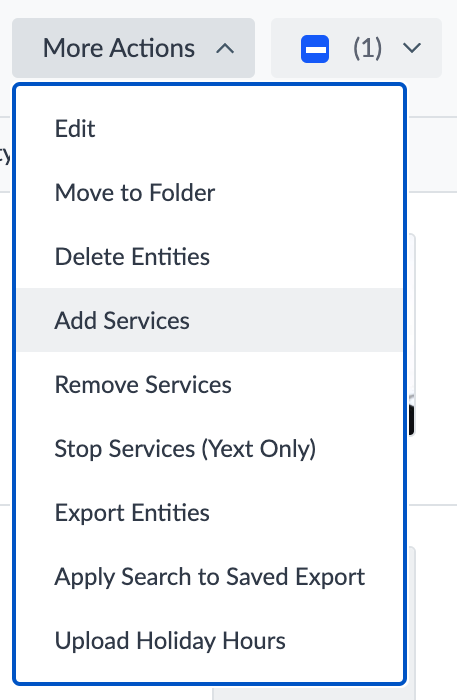
To start, select your desired locations location(s), and then click More Actions > Add Services.
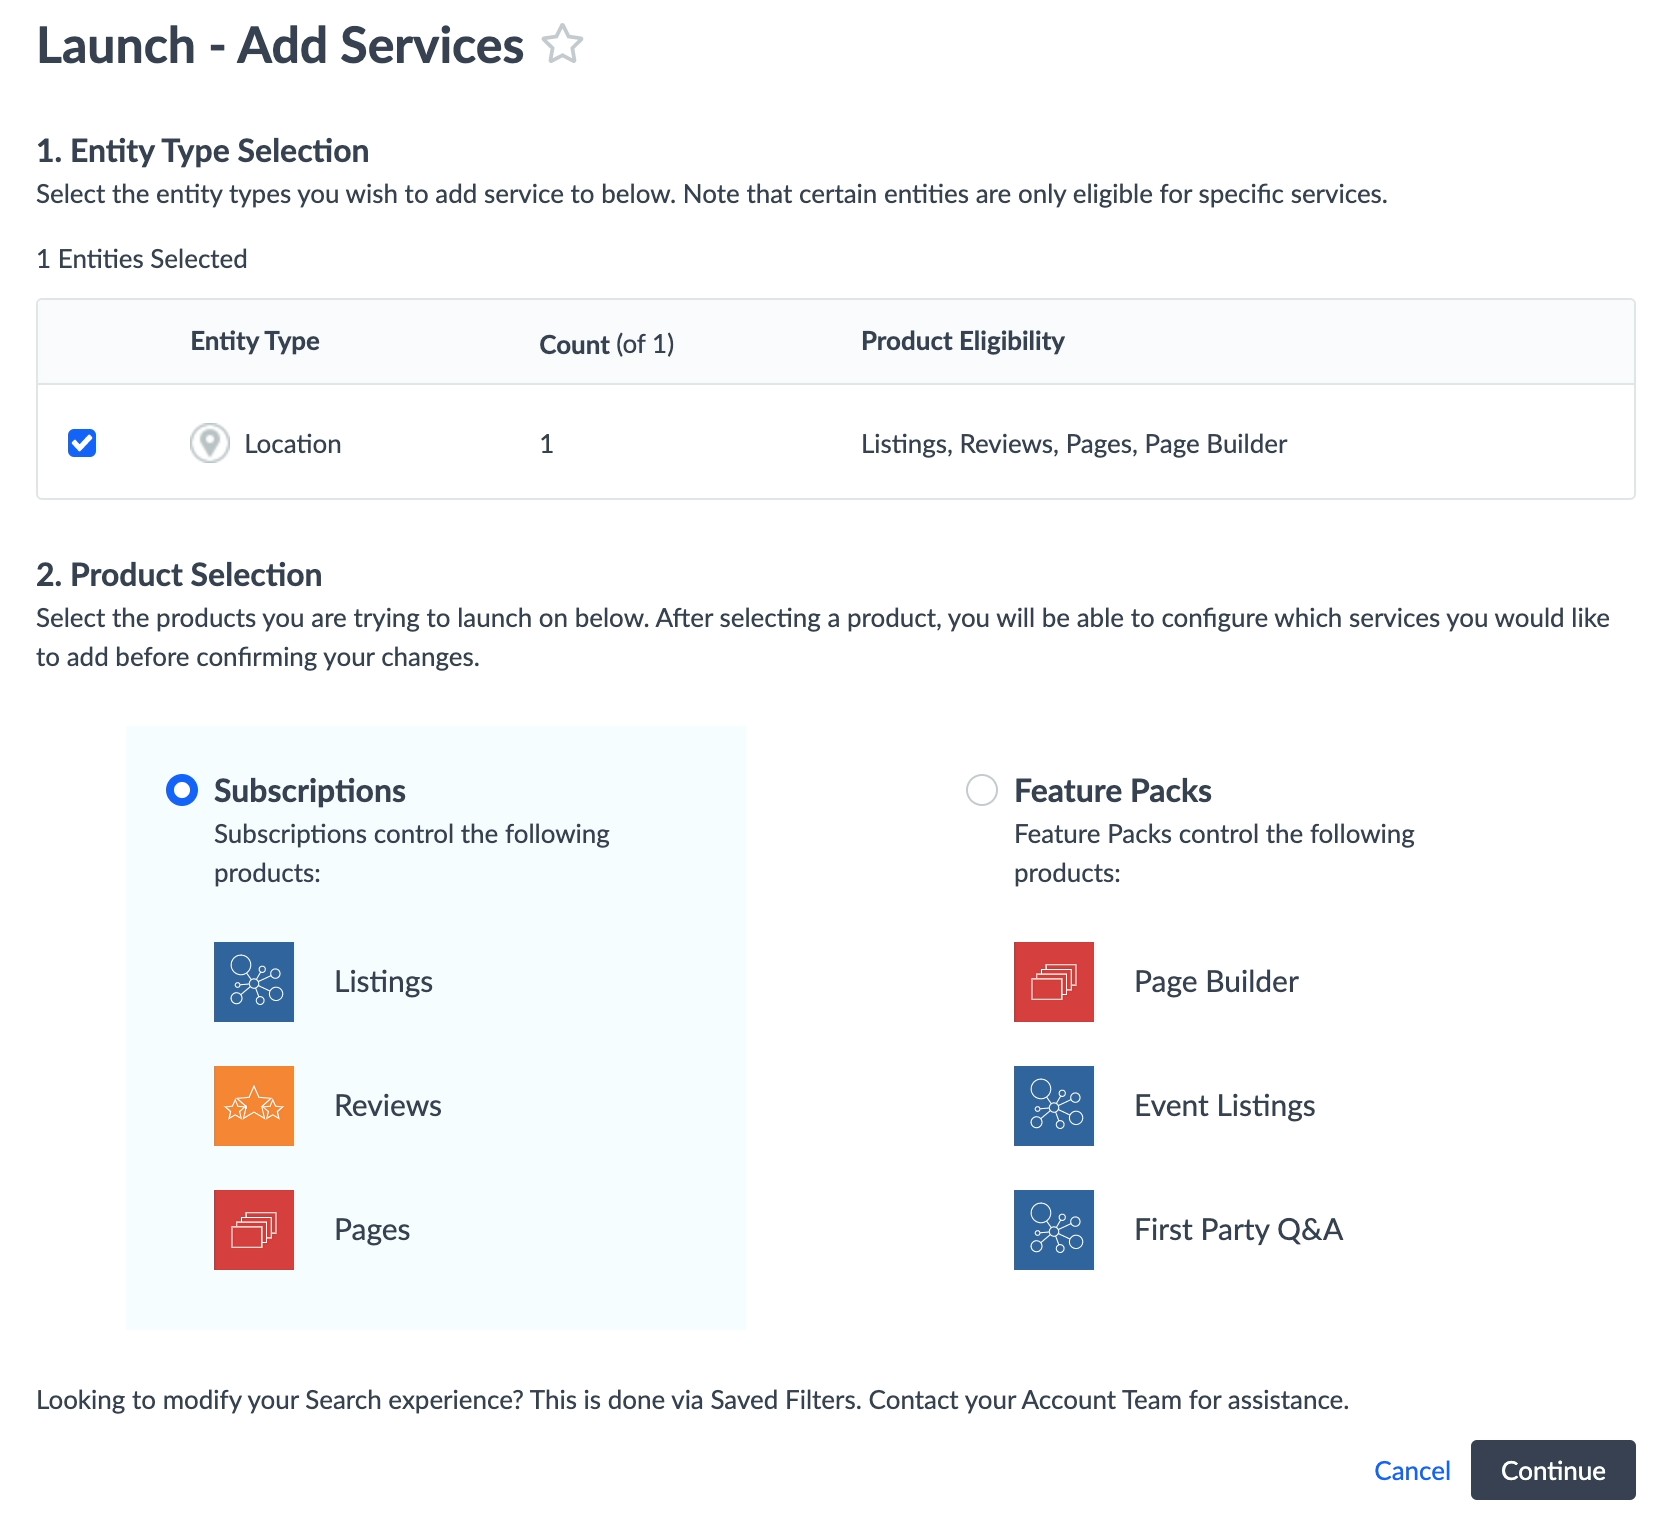
In the screen that follows, under 2. Product Selection, select Subscriptions and click Continue.
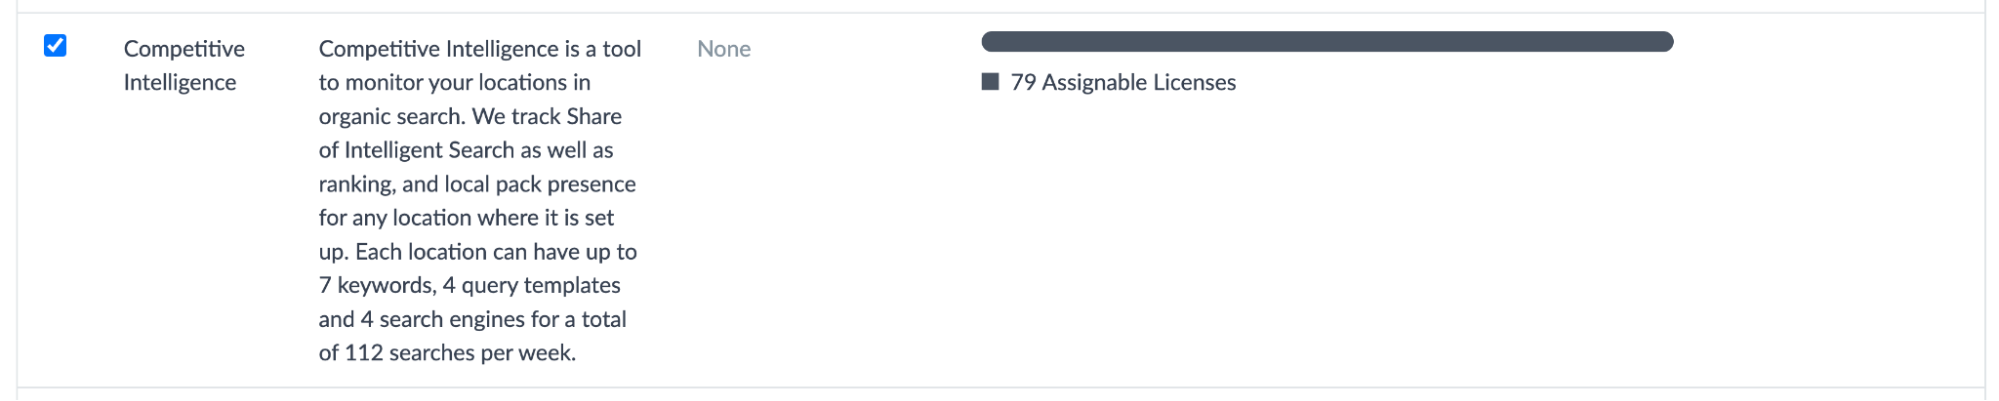
Select the Competitive Intelligence License Pack, and click Continue.
And finally, click Submit to apply your changes.
Set Search Tracker Enabled to True
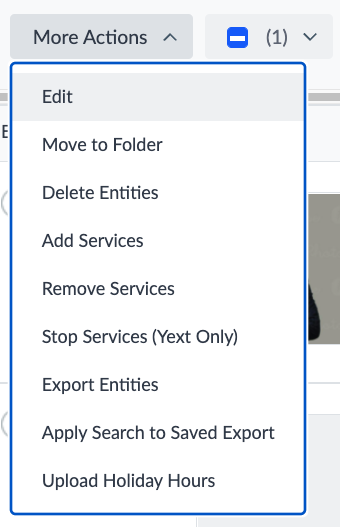
Now for the same location(s) that you modified, open the Entity Edit page by clicking More Actions > Edit.
Now you have added the required license pack to the location(s), you should see a new section in the Entity Edit screen under the Settings section called Search Tracker.
![]()
This section is where you will configure all of the fields for keywords, search engines, and matching logic that Search Tracker will use for the selected locations.
To start, we need to enable Search Tracker by selecting Yes under the first configuration field, Search Tracker Enabled.
![]()