
Create and Edit the Search Config | Yext Hitchhikers Platform
What You’ll Learn
By the end of this unit, you will be able to:
- Demonstrate how to create a Search config
- Edit the Search config using the UI and JSON editor
- Define configuration versions and configuration labels
- Explain the best practice approach for which versions to pin configuration labels to
Overview
In the last unit, we learned that the Search config controls the backend of your Search experience and the components included in the backend. In this unit, we will jump into what you need to know about editing the Search config. By default, you will set up your Search configuration via the UI in the Yext platform. You can also edit the configuration in JSON, which displays the options in code (learn more about JSON syntax in the Intro to JSON module).
The UI and JSON editor will always mirror each other and be in sync, except for some Search configuration features that are only available via the JSON editor. Make sure to always save your configuration edits before toggling between the UI and JSON formats, or between the different UI screens.
Create a Search Configuration
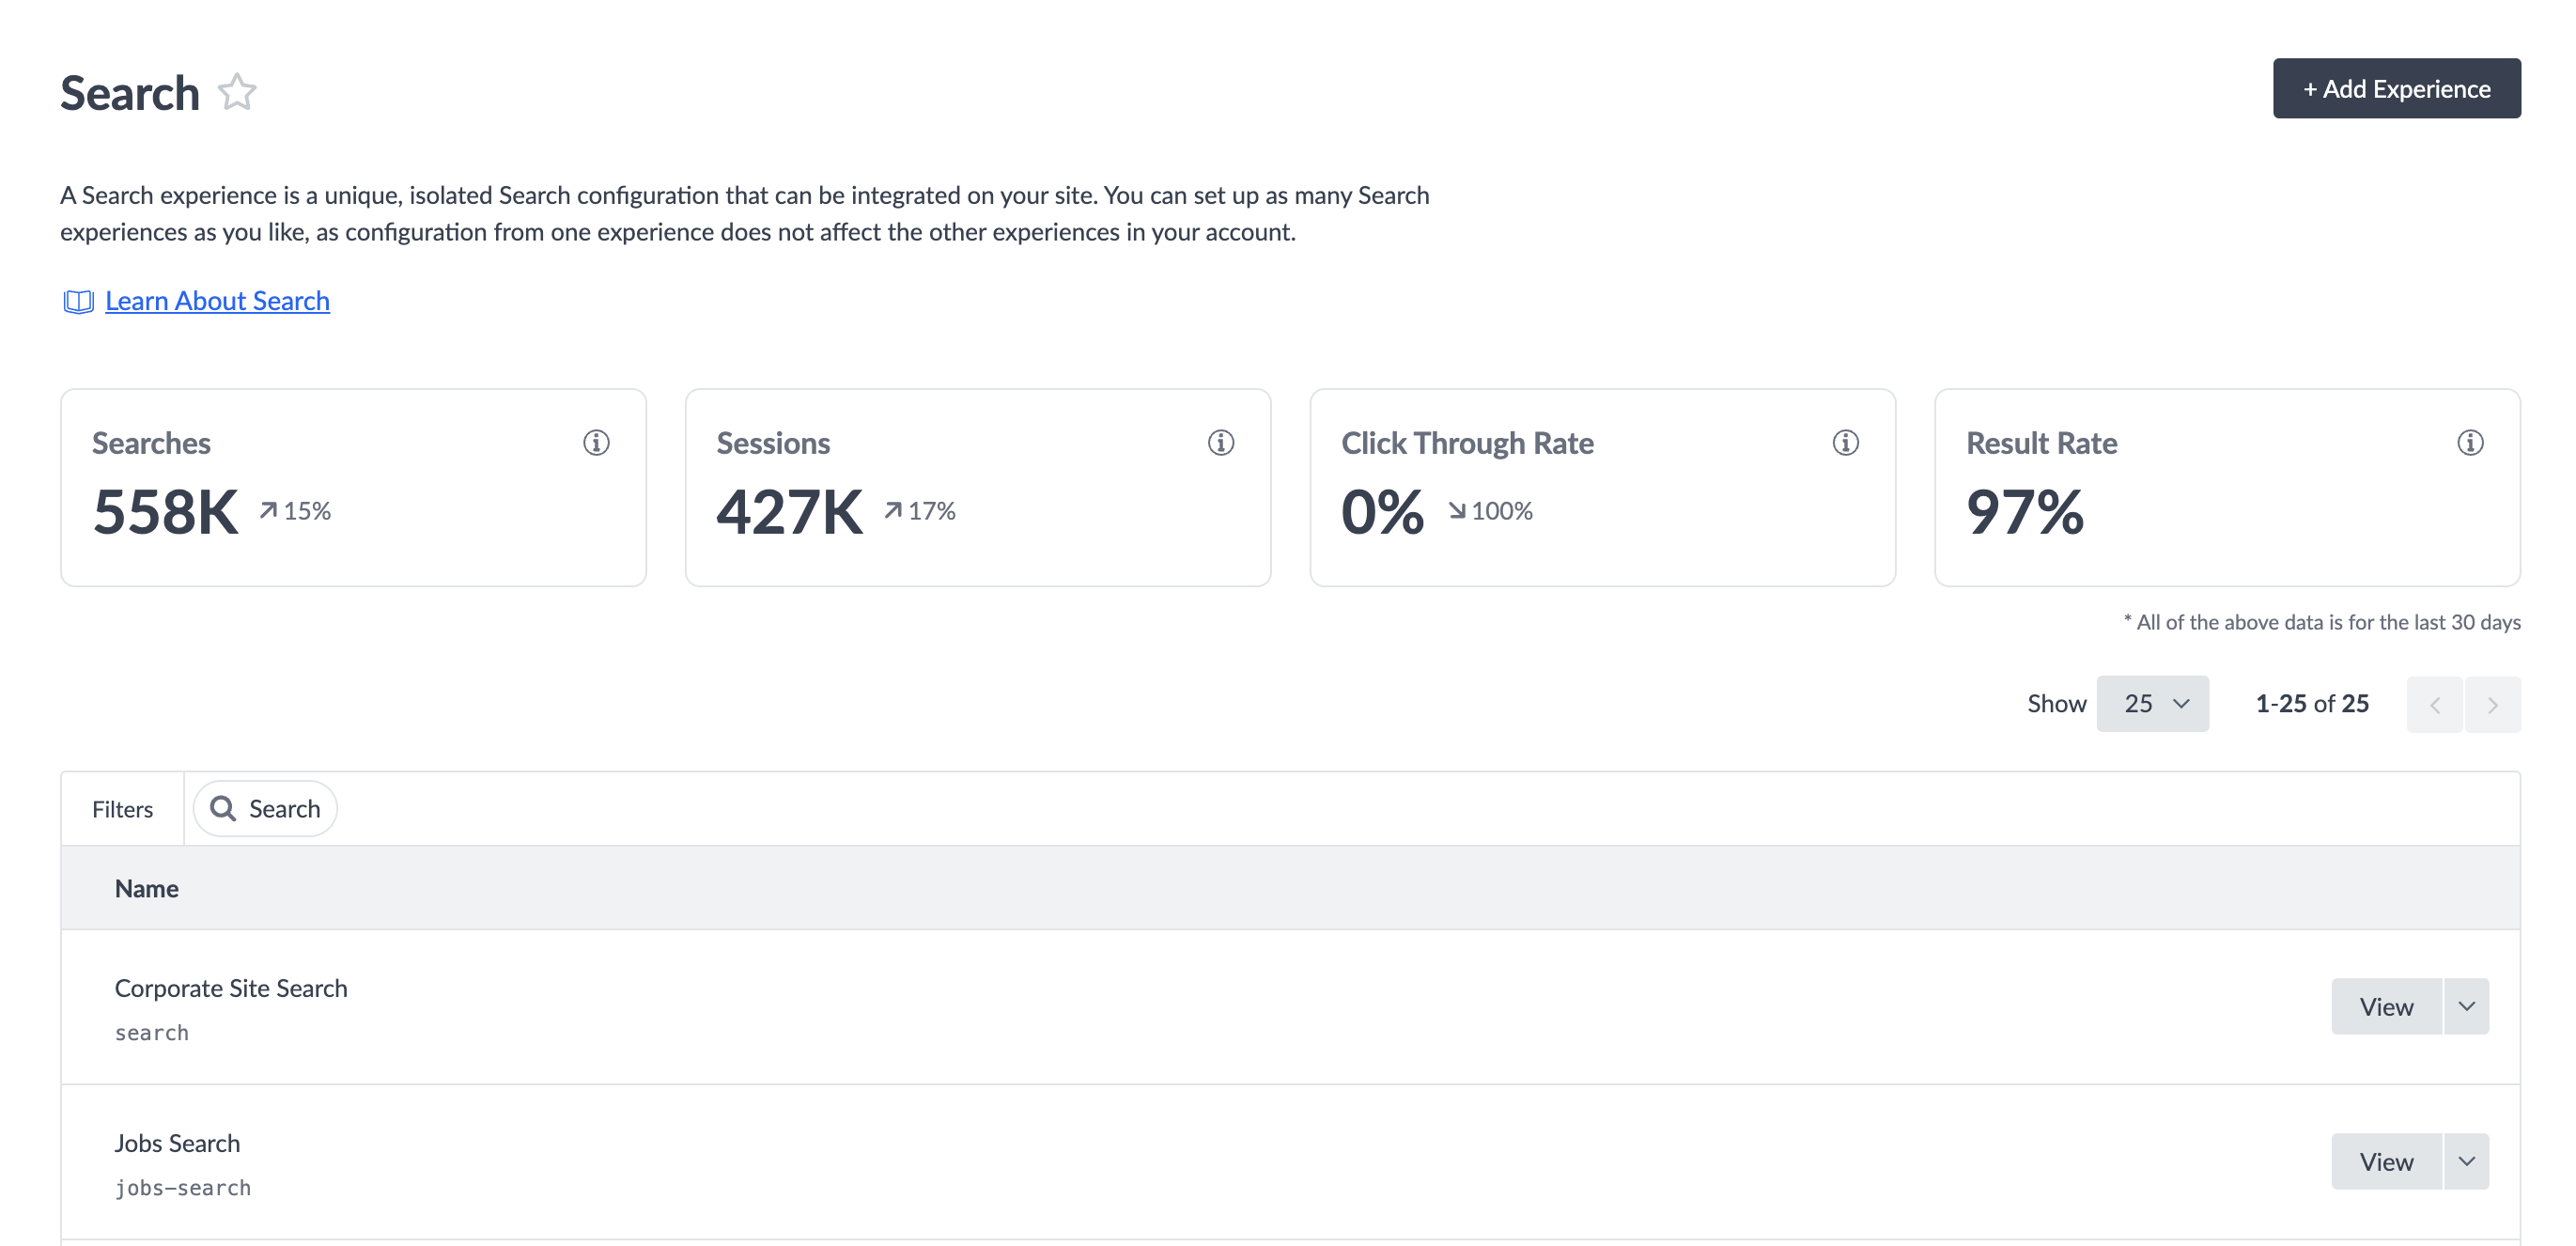
To create a Search configuration, go to the Search > All Experiences screen and click the Add Experience button.
The setup wizard will walk you through the steps to create a Search configuration (check out the Create a Search Configuration help article for details). When you make it through all of the steps, you will have the very first version of your backend Search configuration.
Once you’ve created an experience, the Search > All Experiences screen will display all the Search experiences you have in the account. From here, you can:
- Click View Experience to access the Search configuration.
- Click Add Experience to add an additional experience to your account.
- Click the drop-down next to an experience for options to Duplicate Experience and Delete Experience.
Edit a Search Configuration
Once you click into an experience, you can edit the Search config by clicking into any screen under the Configuration section. Check out the Edit a Search Configuration help article for step-by-step instructions or read on below.
Edit via the Platform UI
All Configuration screens except the Edit as JSON screen allow you to edit the configuration via the UI. To do so, click on the screen you wish to edit, make any edits, and click Save on the bottom of the screen. The process of updating the configuration through the UI is interactive, so you will typically find yourself in a state of editing, scrolling, and saving. If you want to make changes on different configuration screens, save before navigating to the new screen.
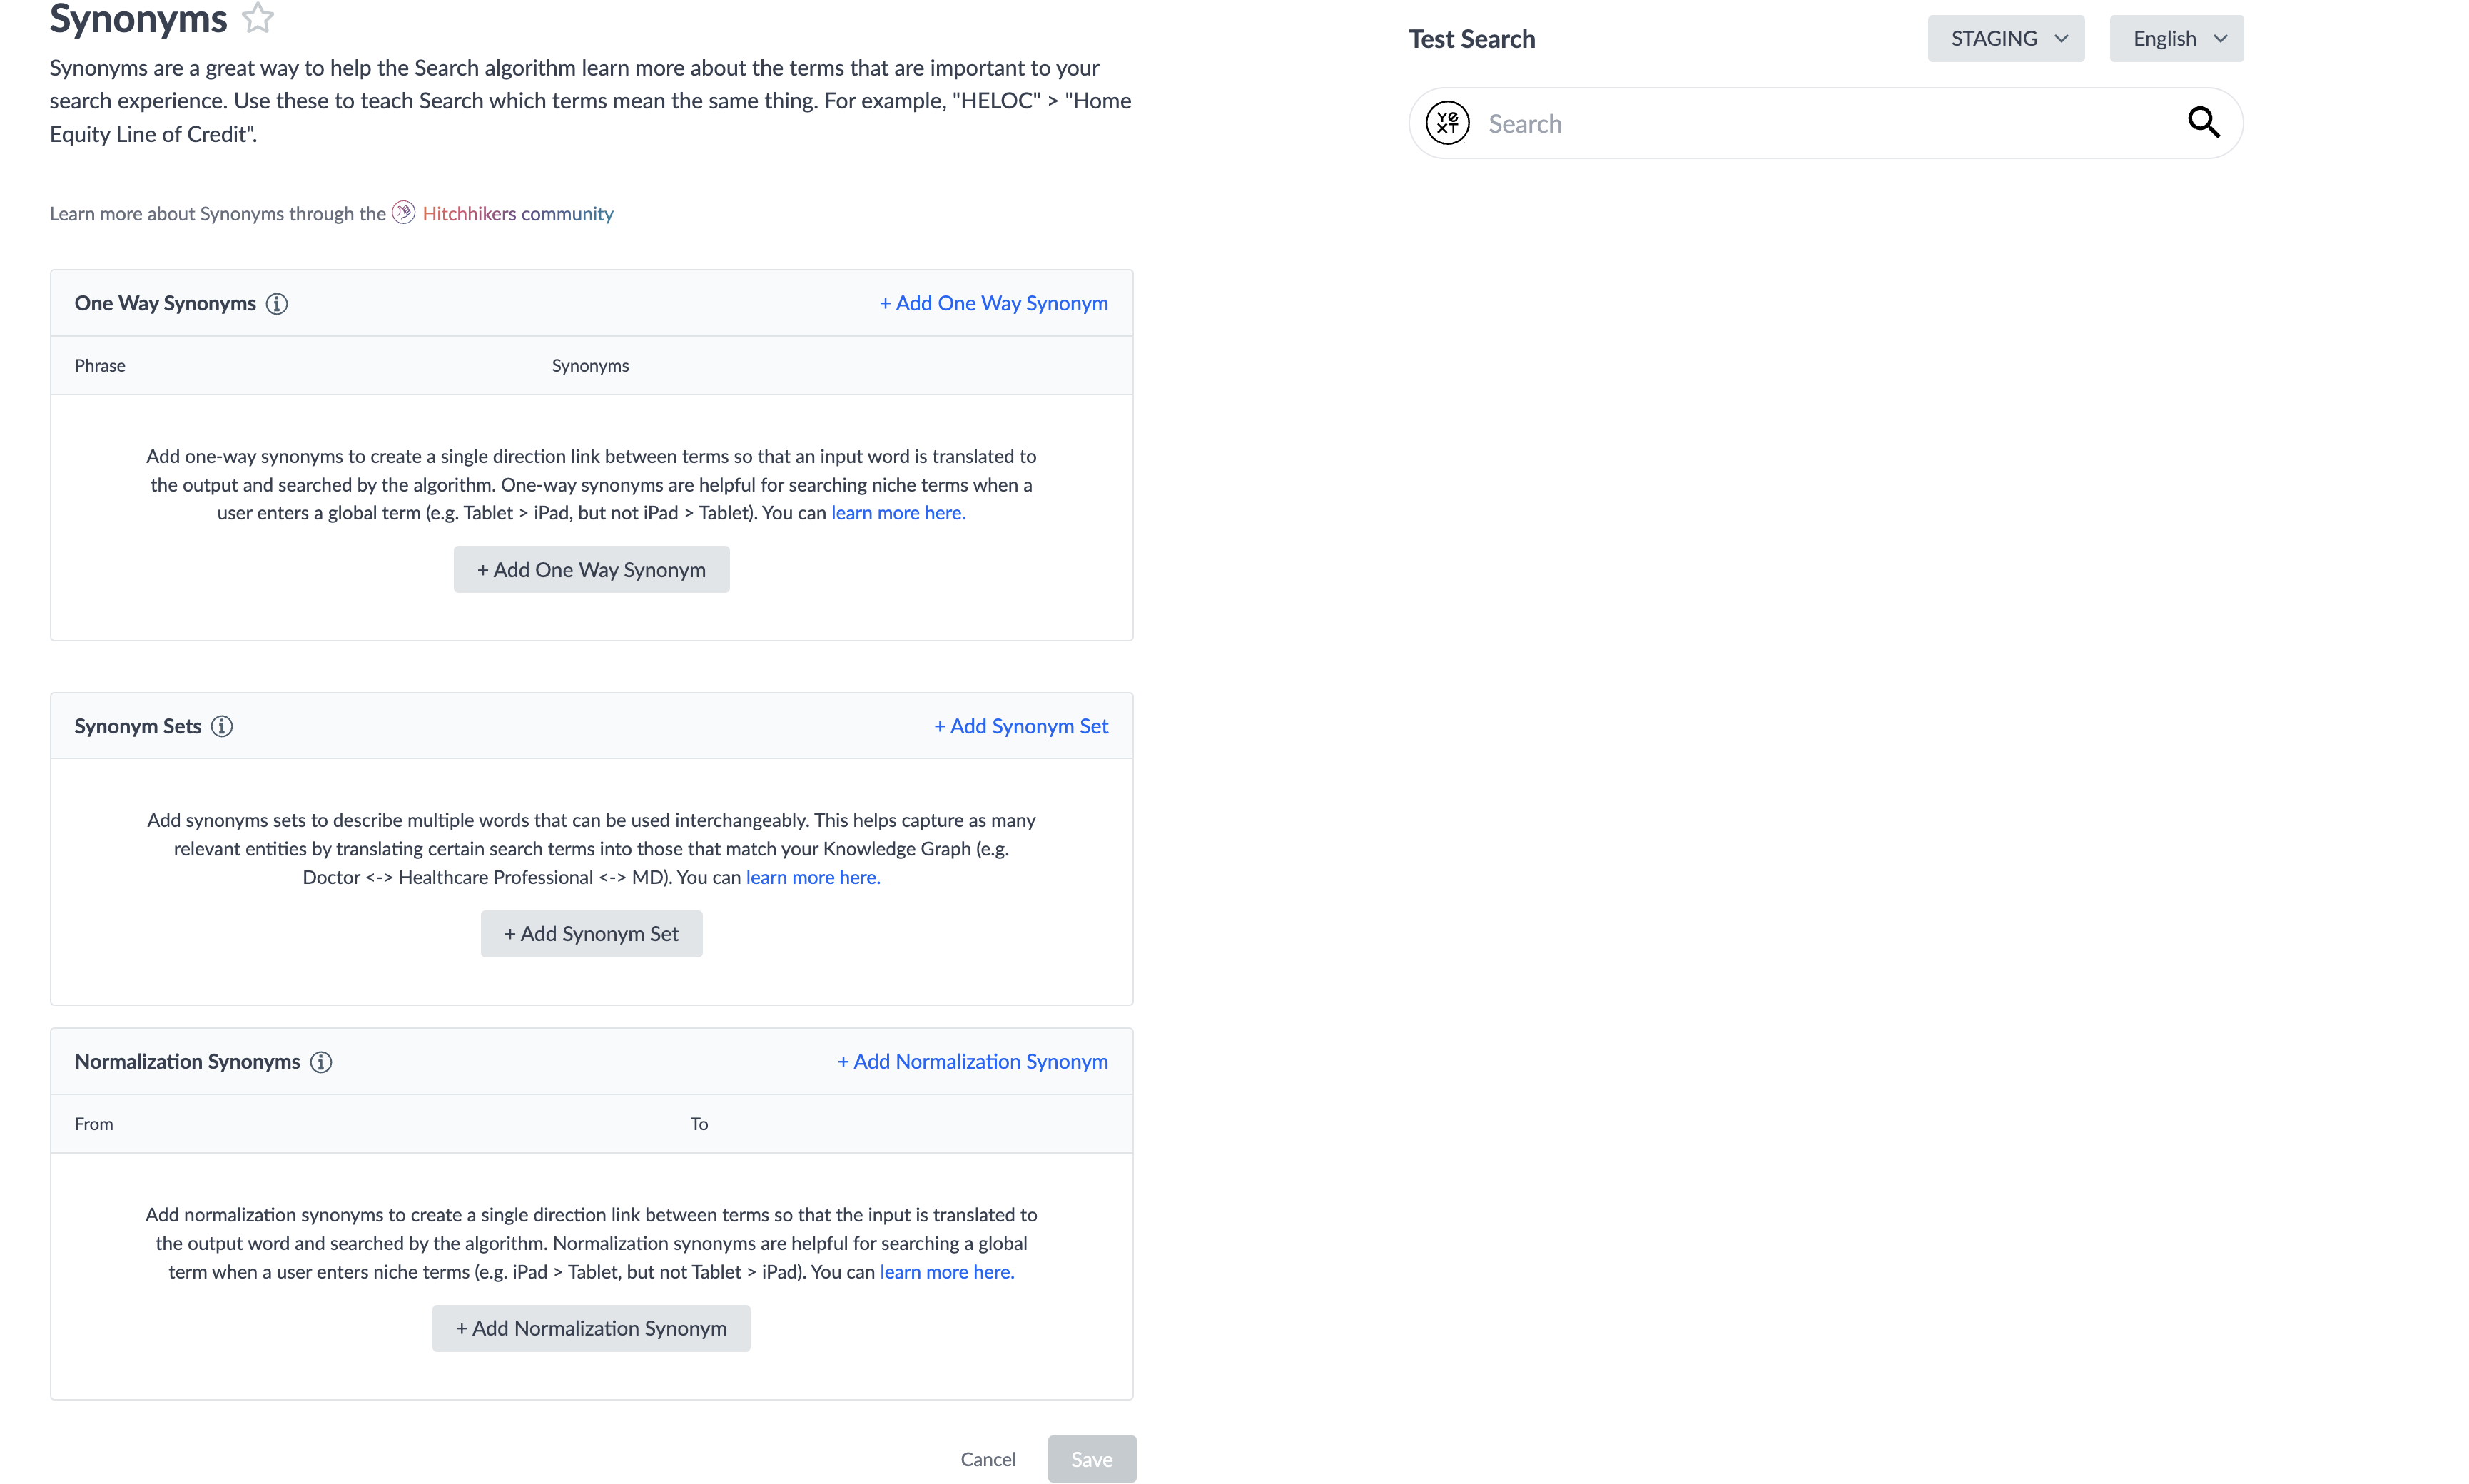
For example, in the screenshot below, the Synonyms screen under the Configuration section has modules for each type of synonym you can add, with descriptions of what they each are (these can also be found by hovering over the tooltip next to the name of each). Find the type you want to add and then click the + Add button. The UI will prompt you to add the necessary fields and properties depending on the feature you’re adding. The Save button at the bottom is currently grayed out, but once you make a change, you’ll be able to click on the button whenever you’re ready to save.
Edit via the JSON Editor
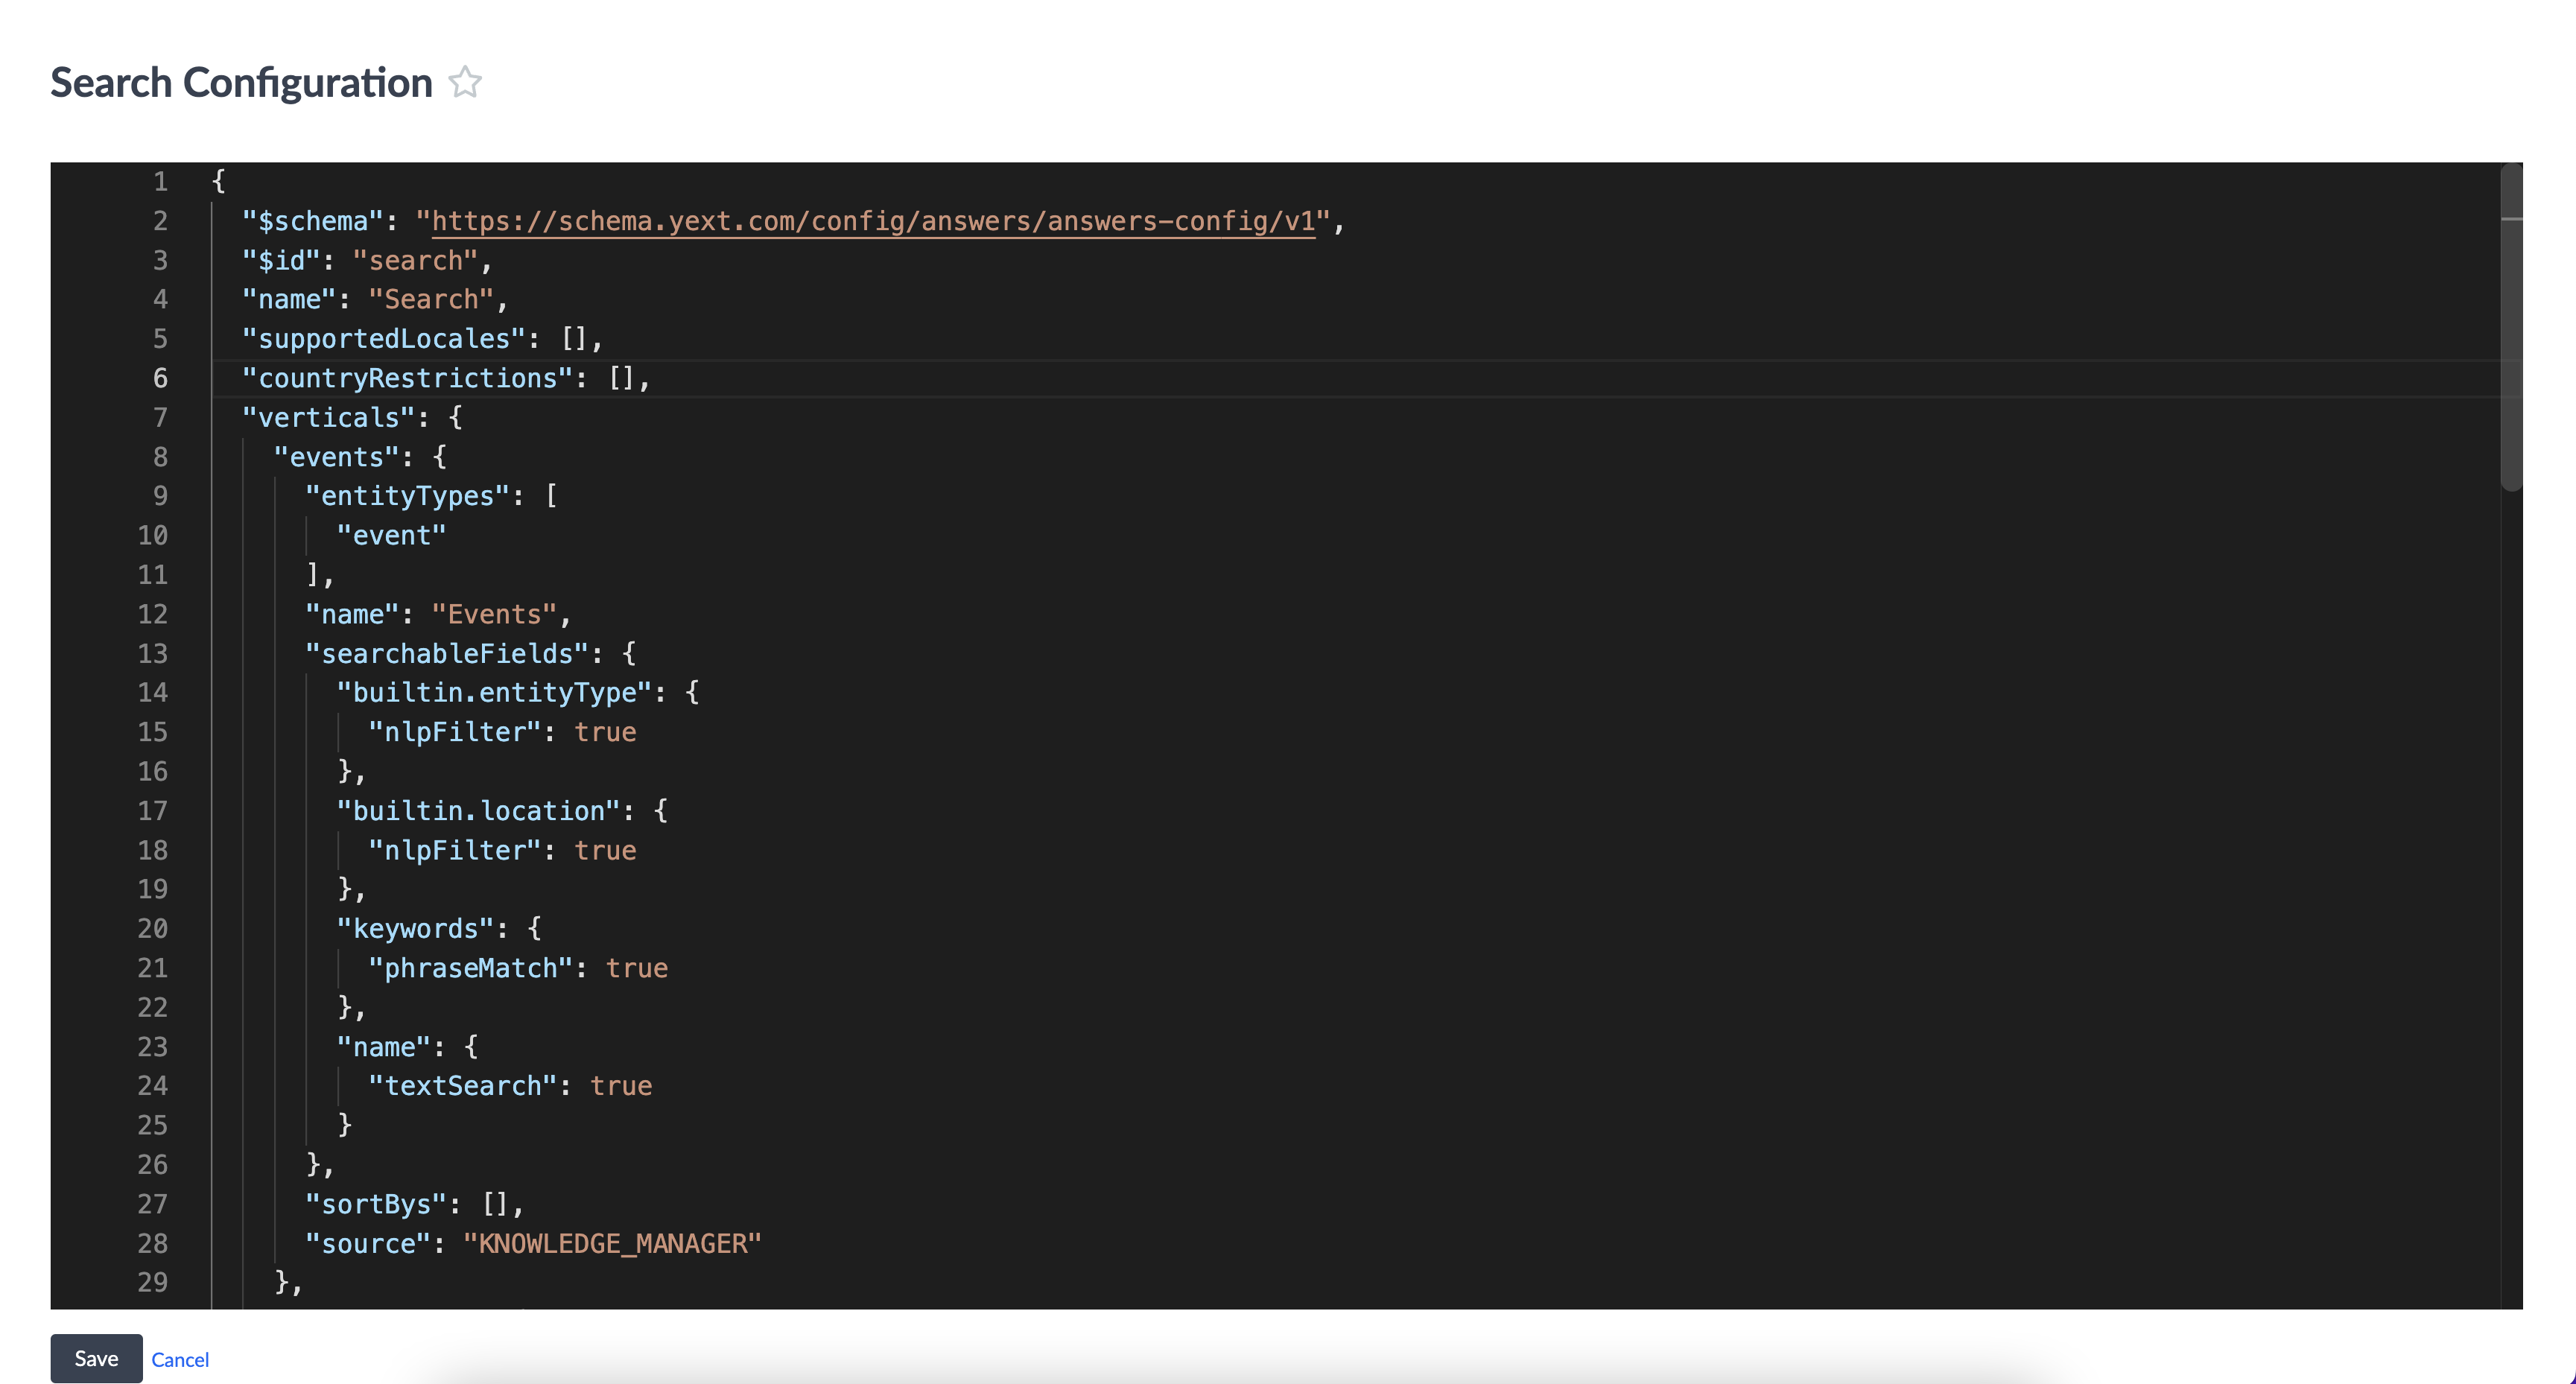
Edit your Search config using the JSON editor on the Edit as JSON screen. On this screen, you will be presented with a full code editor where you can edit the underlying JSON directly. The JSON editor below mirrors the UI we saw above. Since no synonyms have been added yet, the JSON file actually doesn’t even have an object for synonyms yet. You’ll need to copy property syntax from the relevant unit (or check out the schema in the Search Config Properties reference docs) or you can add a property via the UI first and then copy that syntax. Once you’ve made your desired edits, click Save at the bottom of the screen. Remember to save before toggling between the UI and JSON editor.
Configuration Versions
A configuration version is a unique instance of a saved configuration. Whenever you make a successful edit and save to your config (whether through the UI or JSON), it will create a new version. Configuration versions allow you to test out your configuration changes and apply unique versions to a staging and production instance of your experience.
You will see your various configuration versions on the “Configuration Versions” screen under the Deployment section of your selected experience. If you ever want to reference an old version of your config, you are able to download the JSON file directly from this screen.
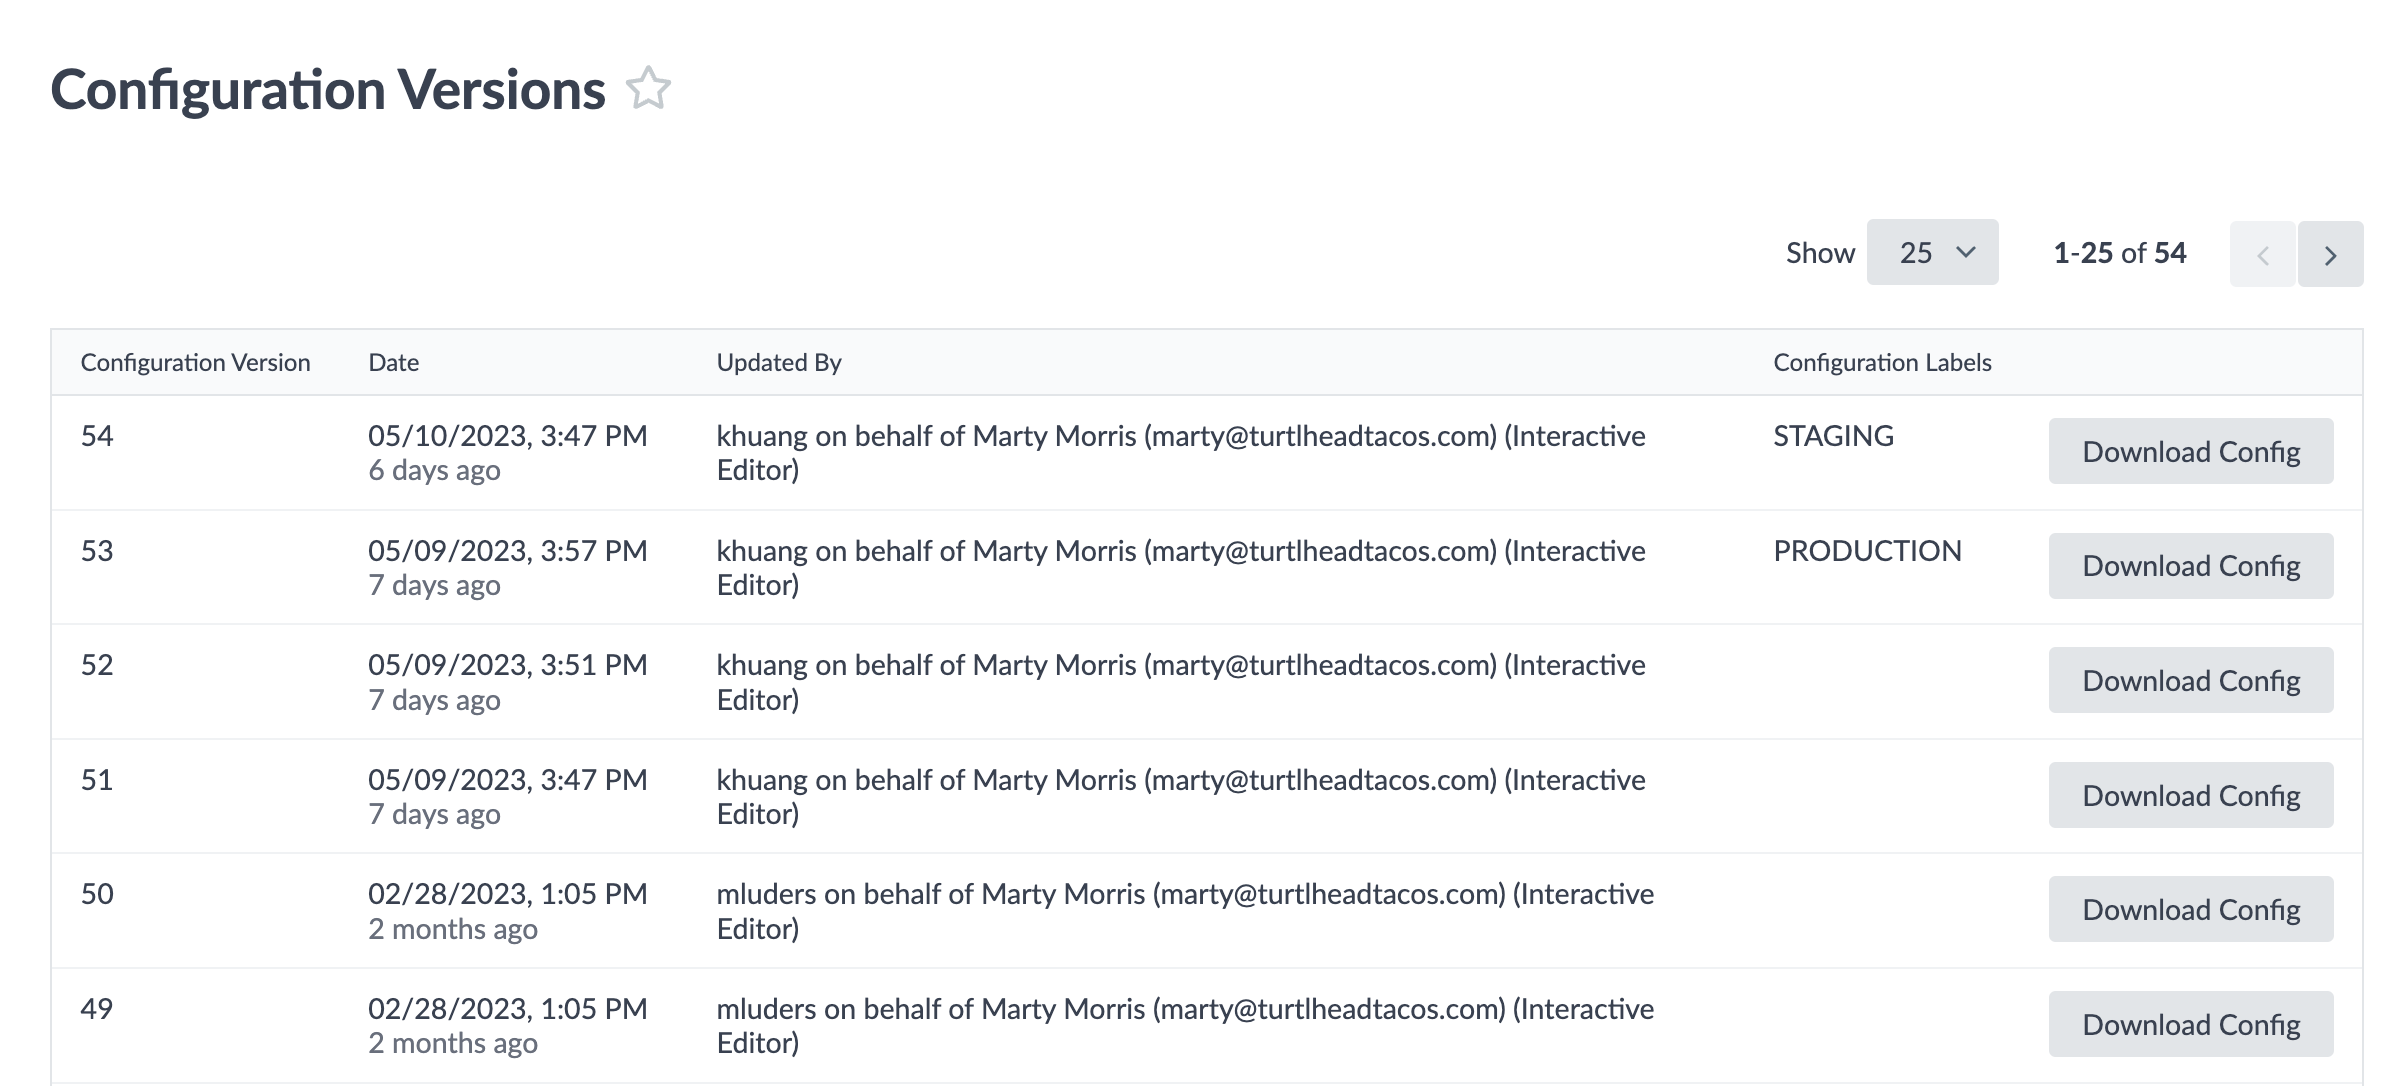
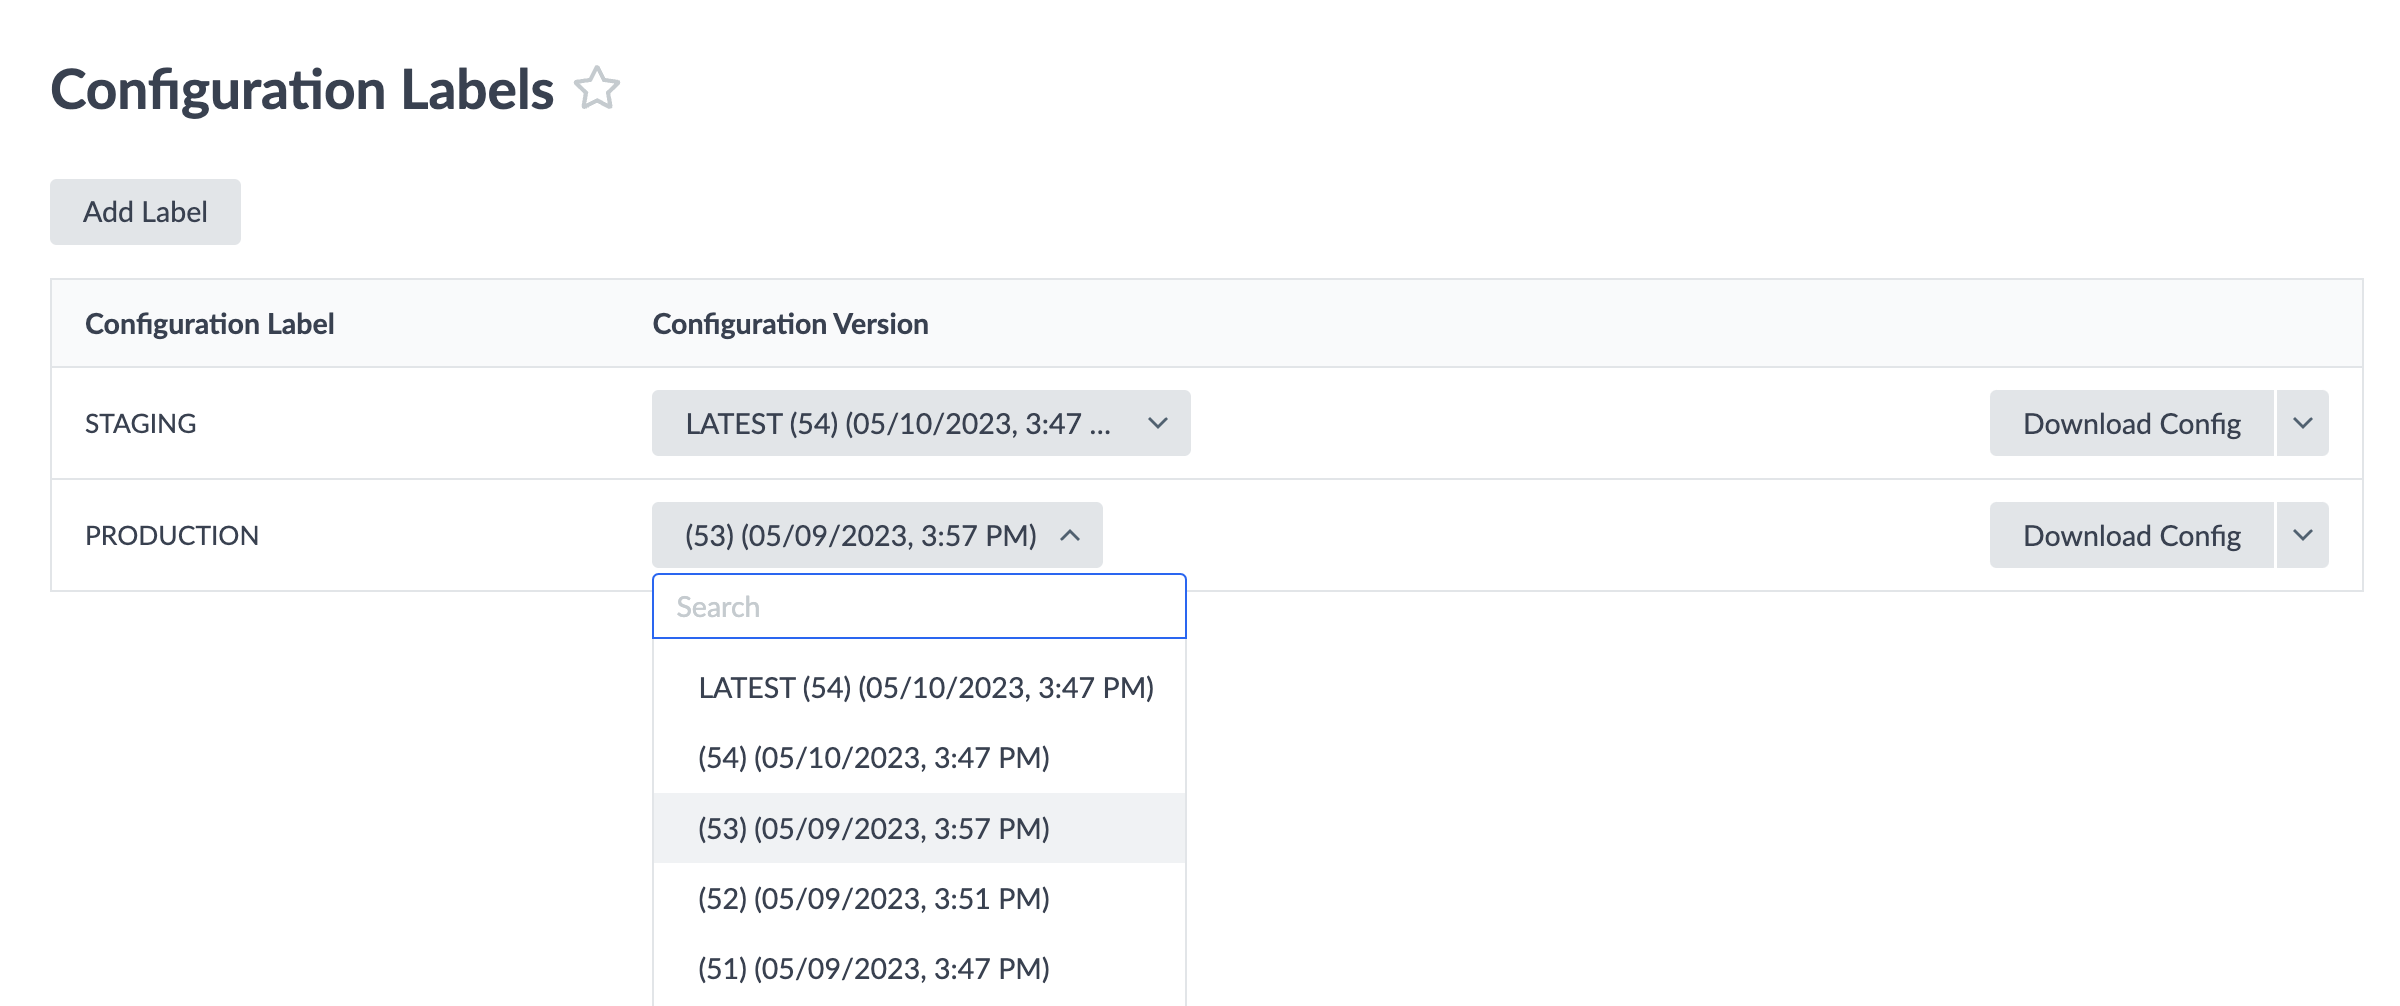
Configuration Labels
You’ll notice a column for configuration labels in the screenshot above. Each Search config has a staging and a production configuration label by default, which align with the staging and production instances of your frontend site. The staging instance of your frontend is powered by the staging configuration label of your backend and the production instance of your frontend is powered by the production configuration label of your backend.
Configuration labels allow you to pin a specific configuration version for use in staging or production. To publish a configuration version to a configuration label, open the dropdown for that label and select the version you want to pin.
The frontend staging site is a safe, “sandbox” environment to preview, test, and approve of changes before they go live to production. To match the backend to the frontend, it is best practice to pin the staging instance of your Search experience to the “LATEST” config tag. Then you’ll always see the latest version of the configuration on your frontend staging site, allowing you to easily test any of the changes you made before you set your production label to that same version.
You will never want to set your production label to “LATEST”, because config changes should always be tested in staging first. Instead you’ll want to set it to a particular configuration version. It is safe to switch your production label up to a new version once it’s been fully tested and approved.
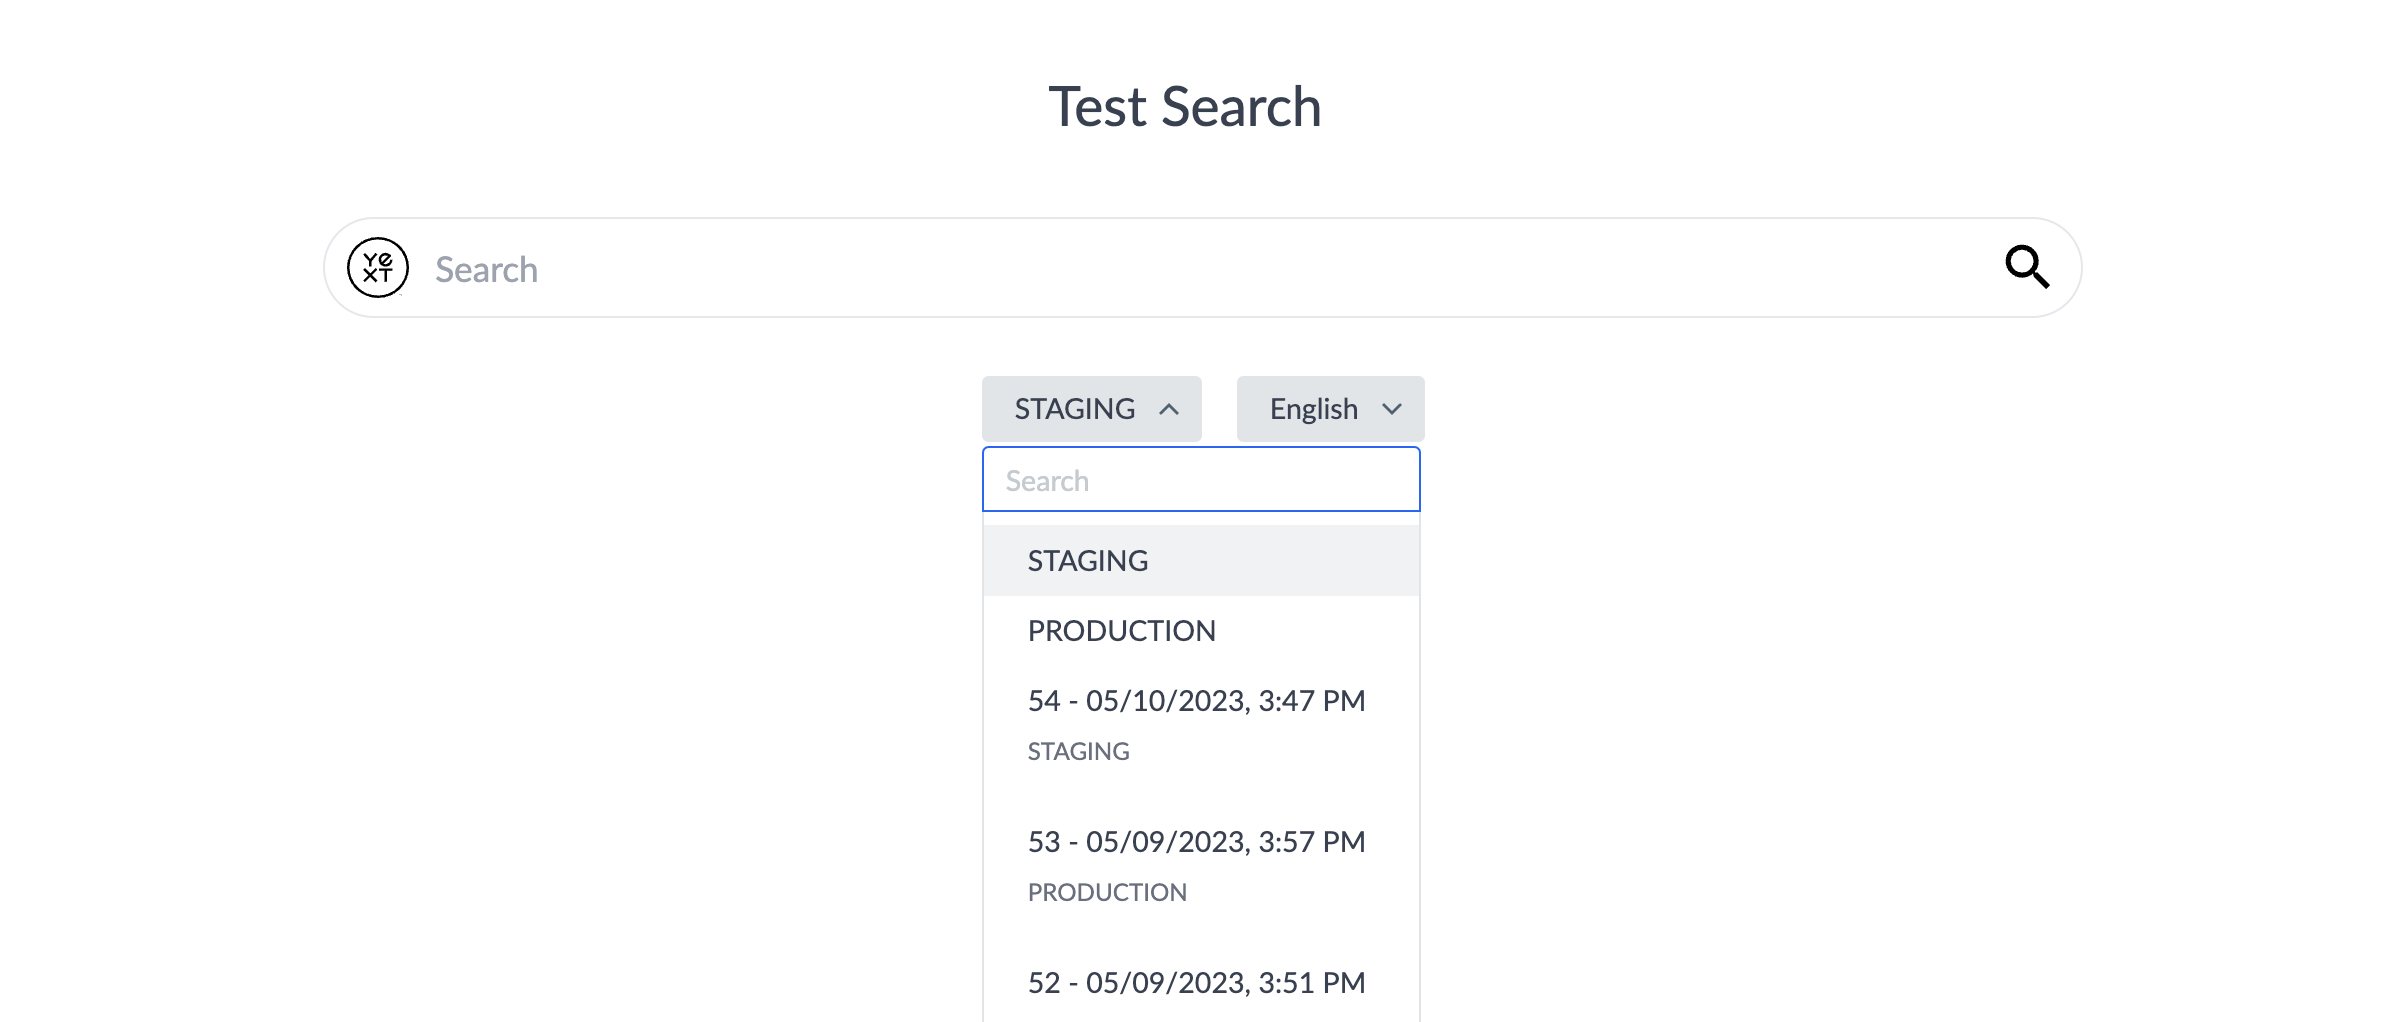
Configuration Versions in Test Search
Test Search allows you to run and compare queries by version, either a specific version number or a label (staging or production). Simply use the drop down within Test Search to select a Search configuration version and then run your search.
Note on Languages and Locales
Before you get too far into building your Search config, you’ll want to consider the locale of your experience and Content entities. A search experience will only return entities that have locales that match the locales specified in the search config using the top-level property supportedLocales (see the
Search Config Properties - Top Level
reference doc for more details).
If you are building a non-English experience or an experience with multiple languages or locales, be sure to go through the Multi-Language Experiences track, particularly the Multi-Language Search module.
What are ways you can manage Search experiences from the Experiences screen?
True or False: You can switch back and forth between using the UI and JSON formats of the Search config.
Your Search config currently has 10 versions. Which version is best practice to set the staging configuration label to?
Your Search config currently has 10 versions. Version 8 is the latest version that has been tested and version 5 is the latest version that has been tested and approved. Which version is best practice to set the production configuration label to?
High five! ✋
