

Step 1: Add a Domain Using the UI
One option for adding a domain is through the UI.
To add a domain using the UI for a single account:
Click Pages in the navigation bar and click Domains.
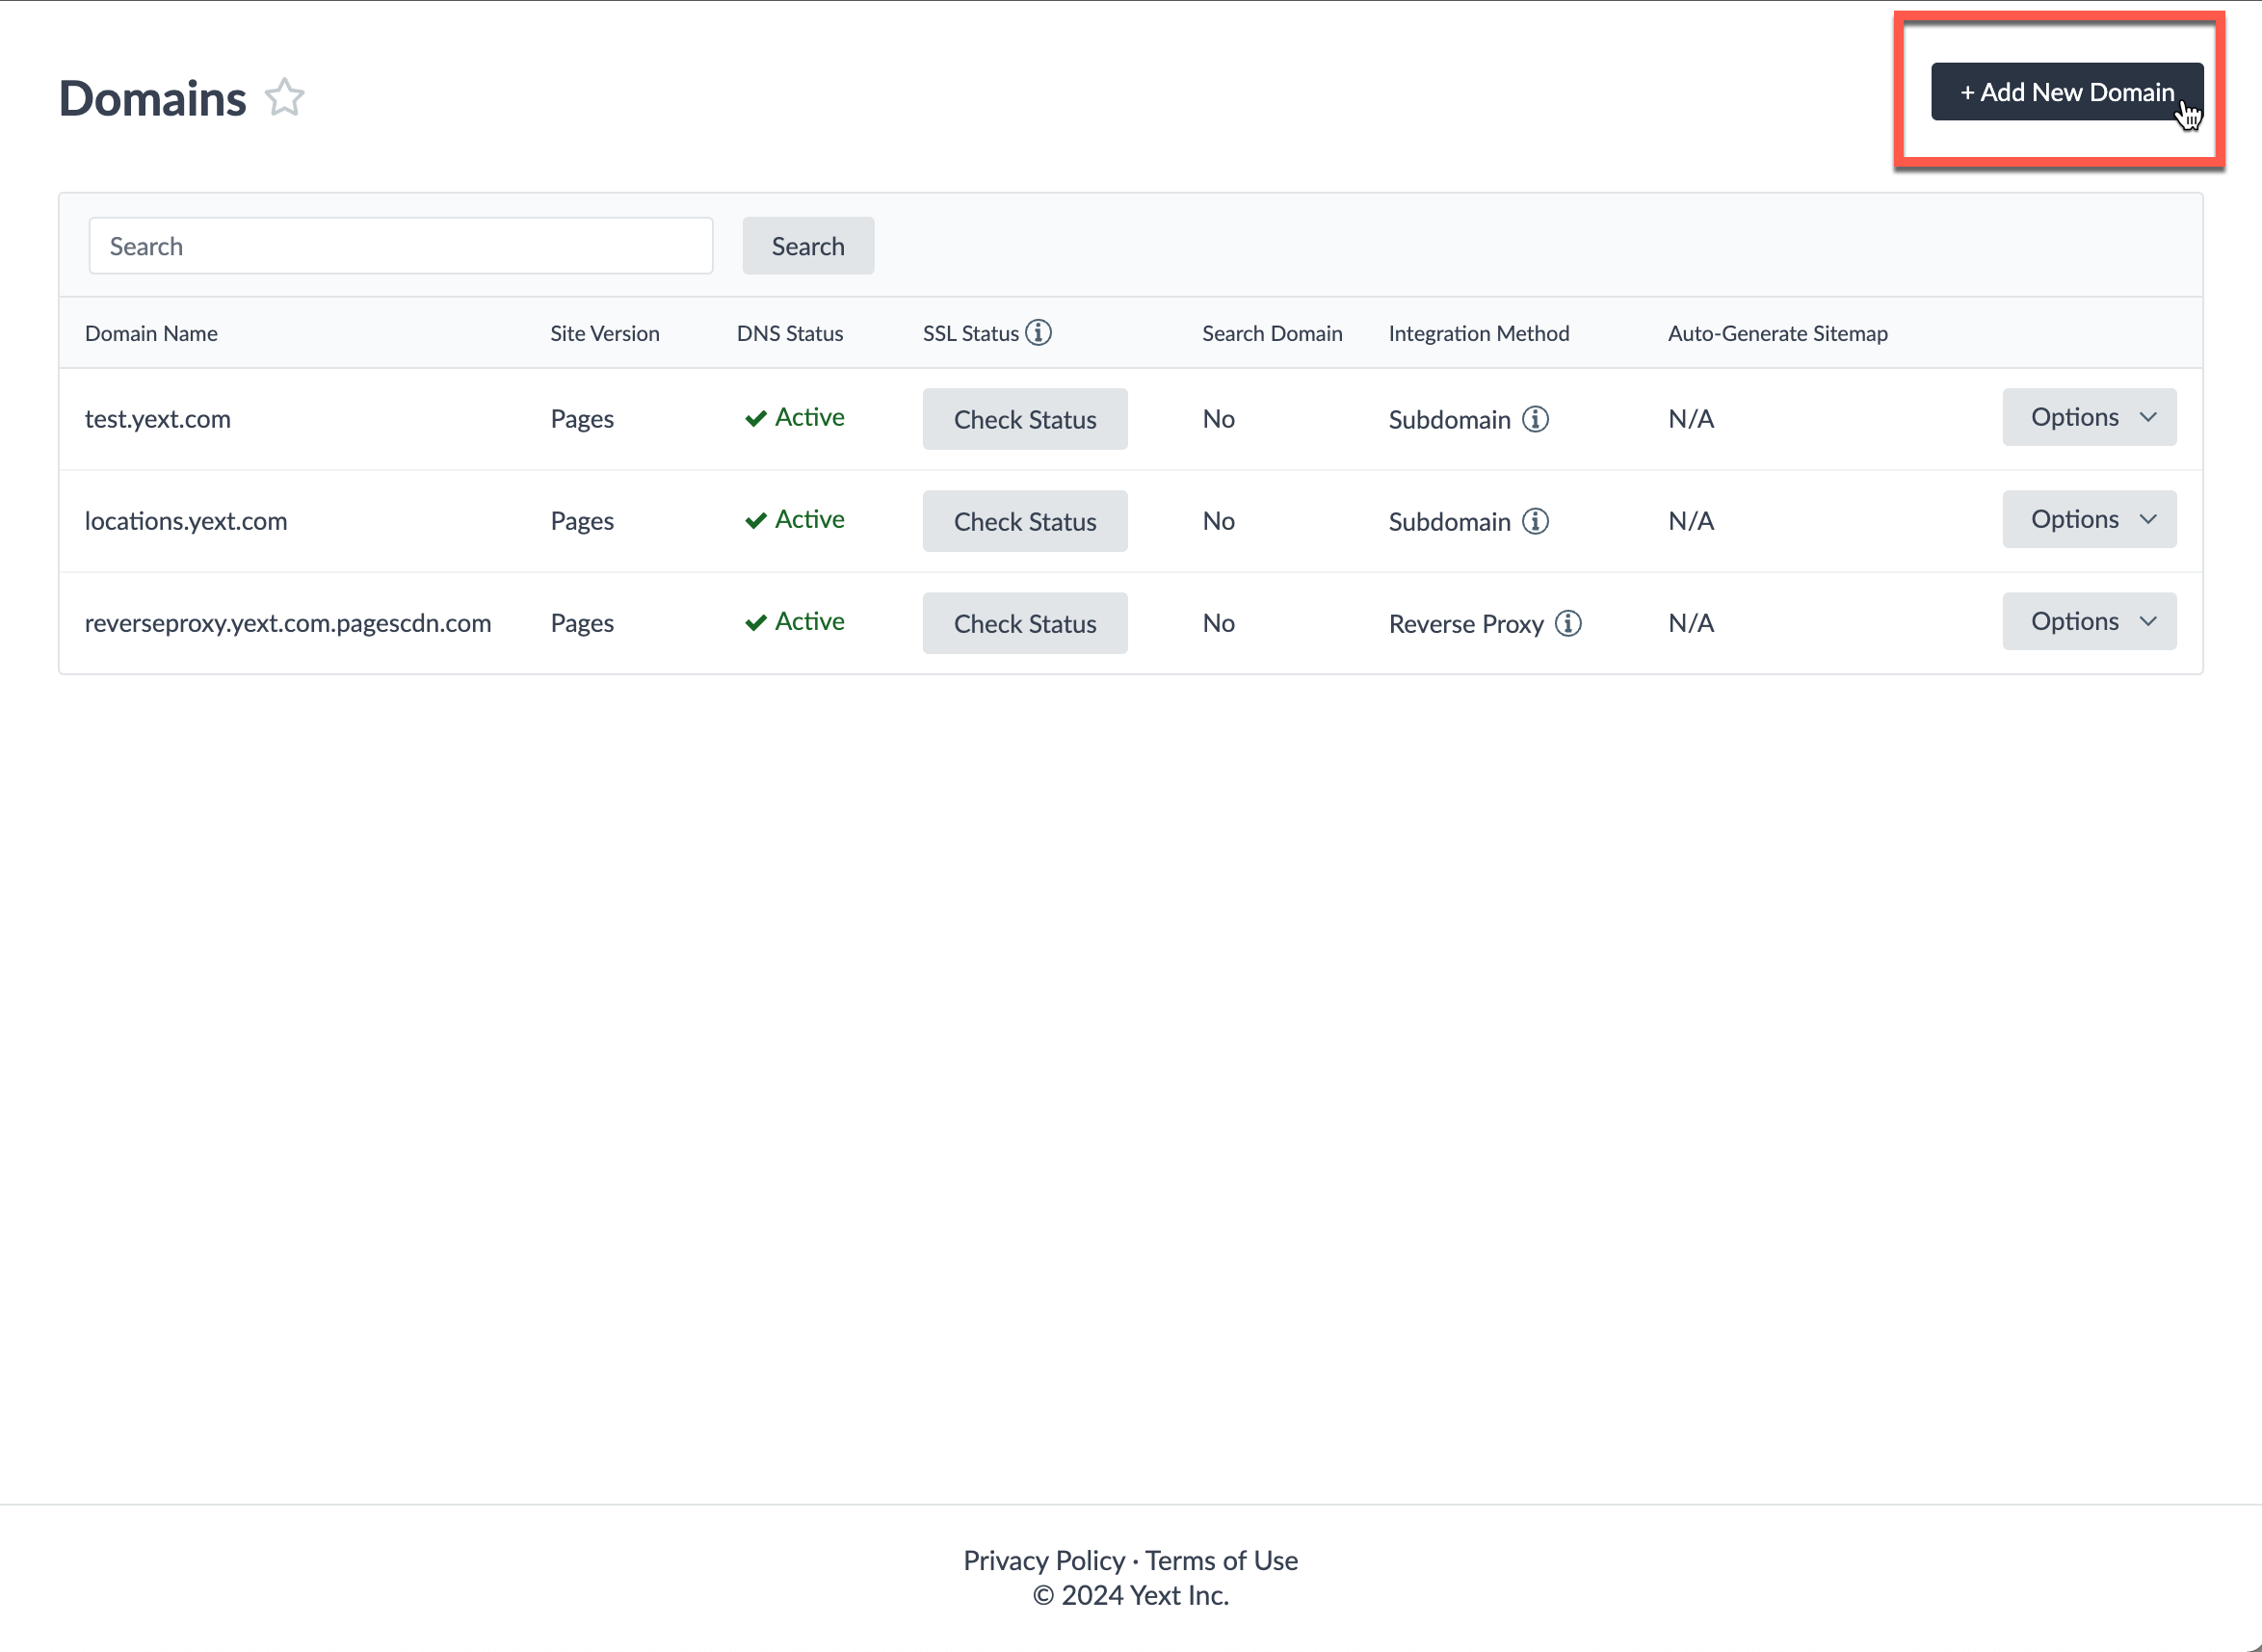
Click + Add New Domain. A dialog box appears.
If applicable, select if you would like to use this domain for Search or not.
Select the integration method from the drop-down menu (see the introduction of this guide for the options).
Click Continue.
Type your domain in the text box.
Click Continue. The bridge domain may appear in the dialog box.
If applicable, select if you would like to automatically generate a sitemap or not.
If applicable, select if you would like to automatically provision HTTPS for the domain.
Click Create Domain.
- If you’re integrating via a subdomain, copy the bridge domain to set up a CNAME record in your DNS provider. See detailed instructions on how to add a CNAME record to different DNS providers, including troubleshooting guidance, in the
Add a CNAME Record
step.
- Click Options next to the new Domain you create and click Copy Bridge Domain.
- The bridge domain will have the following structure:
yoursubdomain.yourdomain.com.pagescdn.com. - Note: Be sure to include the actual subdomain you’ve chosen and your domain in place of the example above, followed by the
.pagescdn.com.(including the period after .com.). Some DNS providers may handle this automatically; your IT team will know how to configure the record correctly. - If you are hosting your data in the EU cloud region for Search, point the CNAME record to
yoursubdomain.yourdomain.com.eu.pagescdn.com.instead. - Note: It can take up to 48 hours for the CNAME to propagate.
- Your domain’s Status will remain Inactive until your domain is set up correctly with your DNS Provider.
- Once your CNAME record has fully propagated, your domain’s Status will be marked as Active in the Domains tab.
- If you’re integrating via a subdomain, copy the bridge domain to set up a CNAME record in your DNS provider. See detailed instructions on how to add a CNAME record to different DNS providers, including troubleshooting guidance, in the
Add a CNAME Record
step.
Once the domain is created, you’ll have to connect the domain to your site. These instructions differ based on what type of Pages site you are using (refer to the Types of Pages reference doc if you’re not sure of your Pages type).
- If you are using Pages:
- Navigate to Pages, select your site, then click Settings.
- In the Basic Details > Domain field, select the domain you just added.
- If you are using classic Pages:
- Navigate to Pages and select your site.
- In the top left corner, click the dropdown for Domain: and select the domain you just added.
- If you are using Pages:
Once your domain is connected to your site, ensure you have completed the necessary DNS changes/reverse proxy logic to forward traffic to the relevant Yext bridge domain. The Add a CNAME Record step of this guide has some guidance on how to do this. Your site should be up and running shortly after!