Step 2: Add a Search Bar
Go to any of the pages that you want to input the search bar onto your site. If you want to add the search bar on multiple pages or in a header/section that persists on all pages you can do that as well. In this example, we will add the search bar to the home page underneath the header.
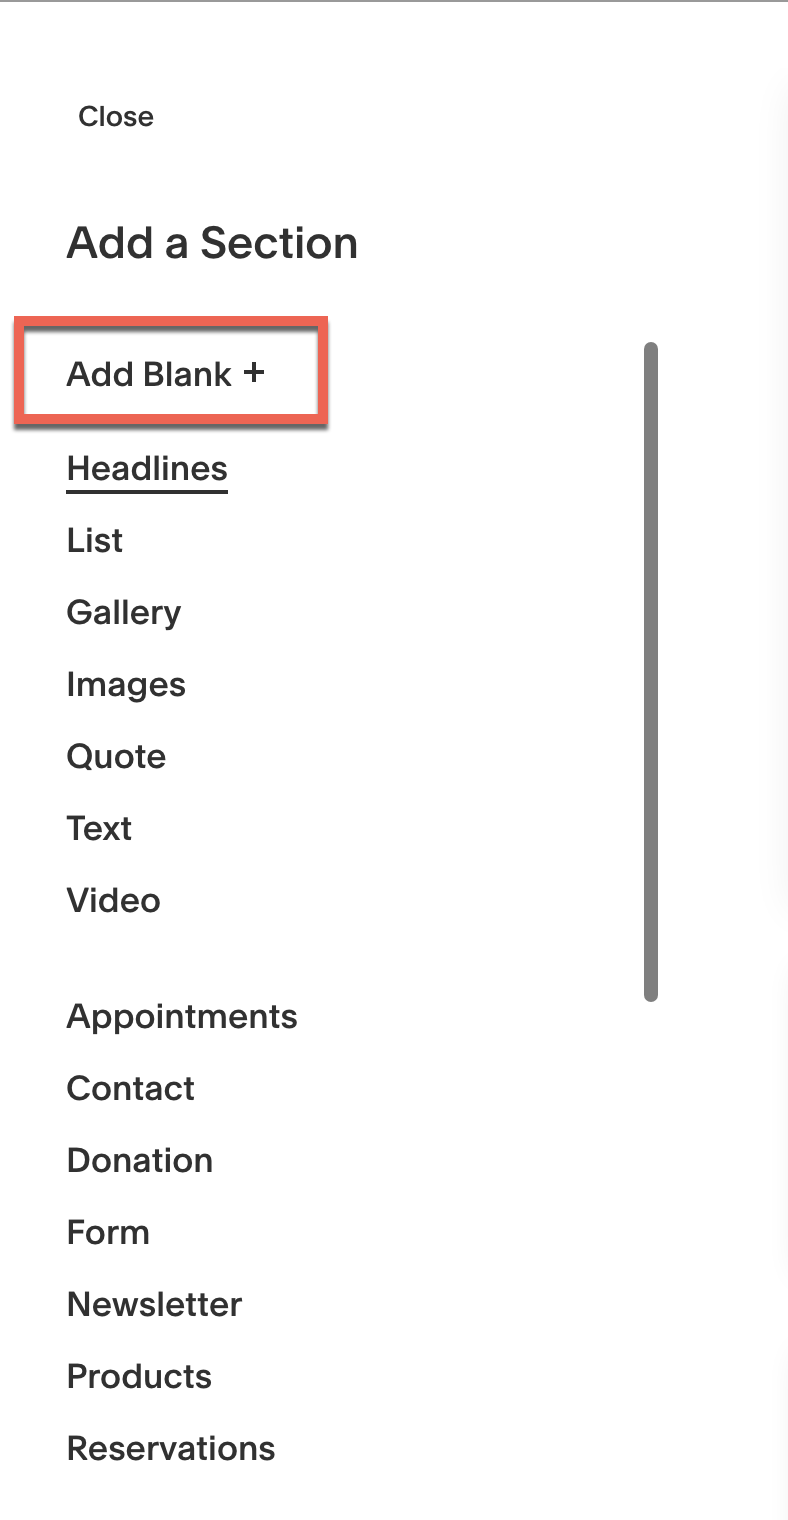
Underneath the header, hover over it and click Add Section.

Choose Add Blank +.

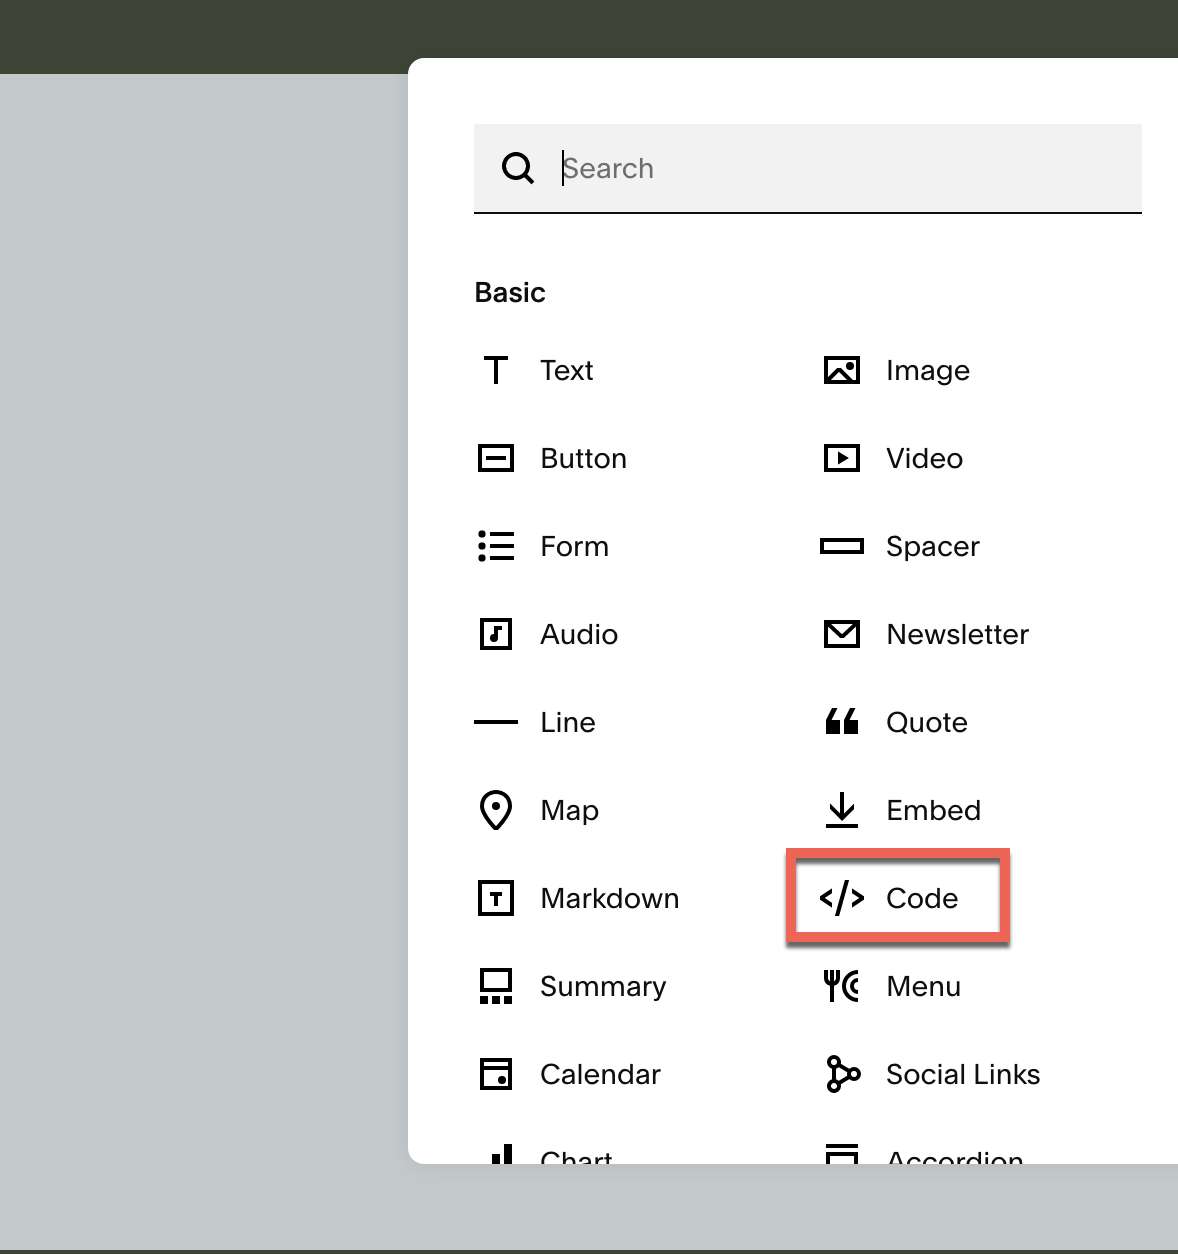
Click on the + sign on either side of the text box that appears and choose Code to add a code block to the section.

Open the code block. When you first open the code block it will look like this:

Follow step 1 from the Adding a Search Bar guide to initialize the search bar library. Make sure you have the following information:
apiKeyexperienceKeybusinessId- This can also be found in the URL of any page on your Yext accountredirectUrl- This is the link to your Search results page. If you created a results page on your Squarespace site using step 1 of this guide, you will use the url of that page
Follow step 2 from the Adding a Search Bar guide to add in the search bar in the code block on the page.
- Note: if you are previewing your site, you may see something like this:
 That’s normal! Squarespace has said that scripts don’t always appear correctly when you are designing your site.
- Note: if you are previewing your site, you may see something like this:
Click Done. You will be able to see the search bar on your page!
If you want to further style your search bar, you can do so by clicking on Design on the left navigation tab and then Custom CSS. Follow the steps here for some inspiration and guidance.

