

Step 2: Create a Crawler
First, you’ll create a crawler to extract your webpage data. Later, you’ll create a connector to transform the scraped data into new entities or updates to existing entities.
To create a crawler:
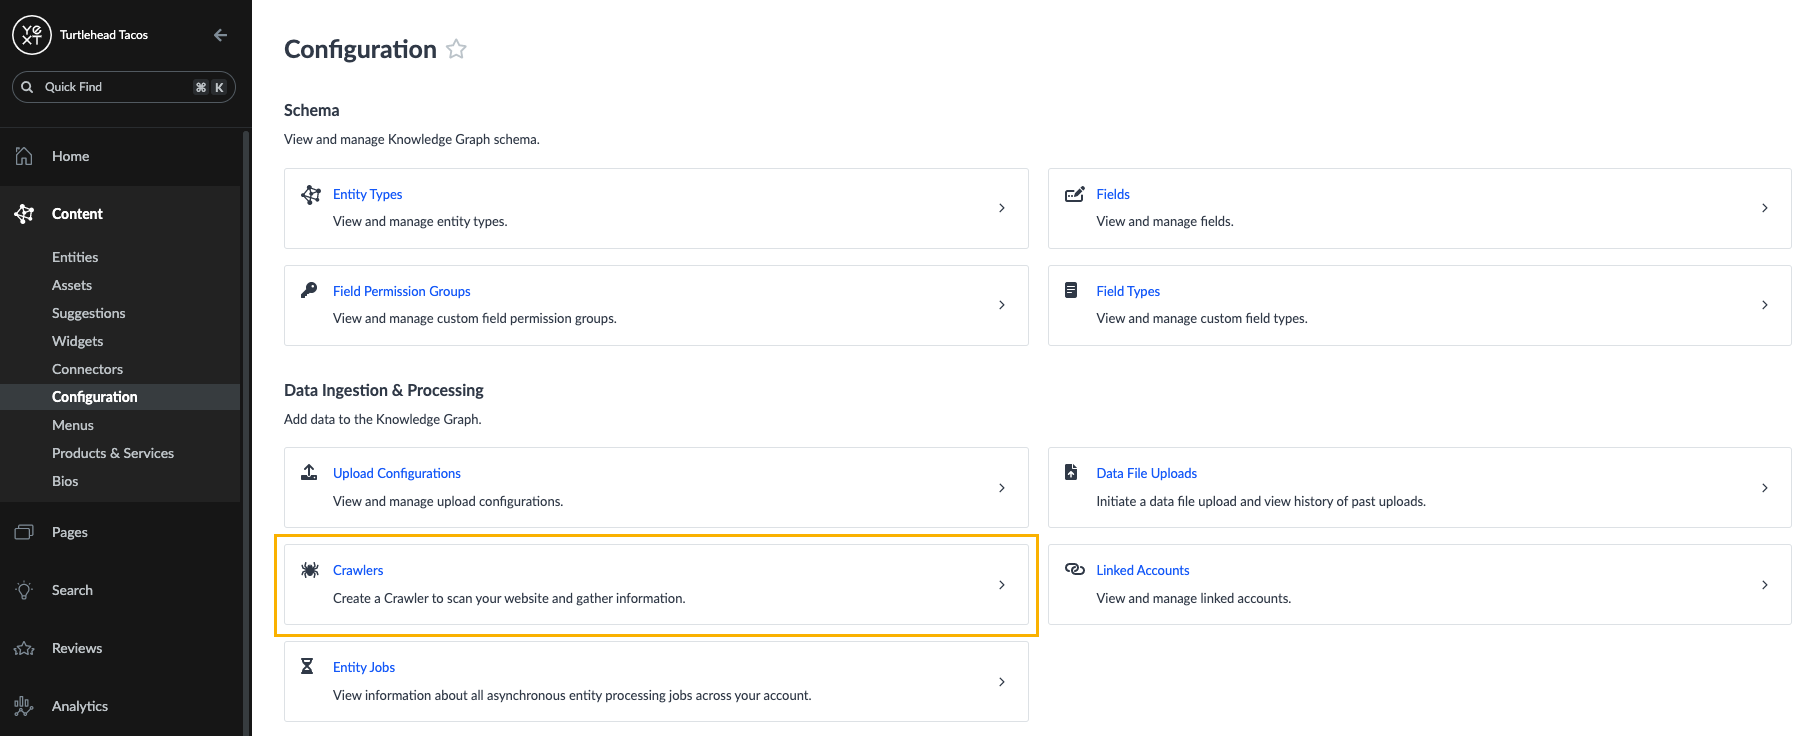
Click Knowledge Graph in the navigation bar and select Configuration.
Under the Data Ingestion & Processing header, click the Crawlers tile.
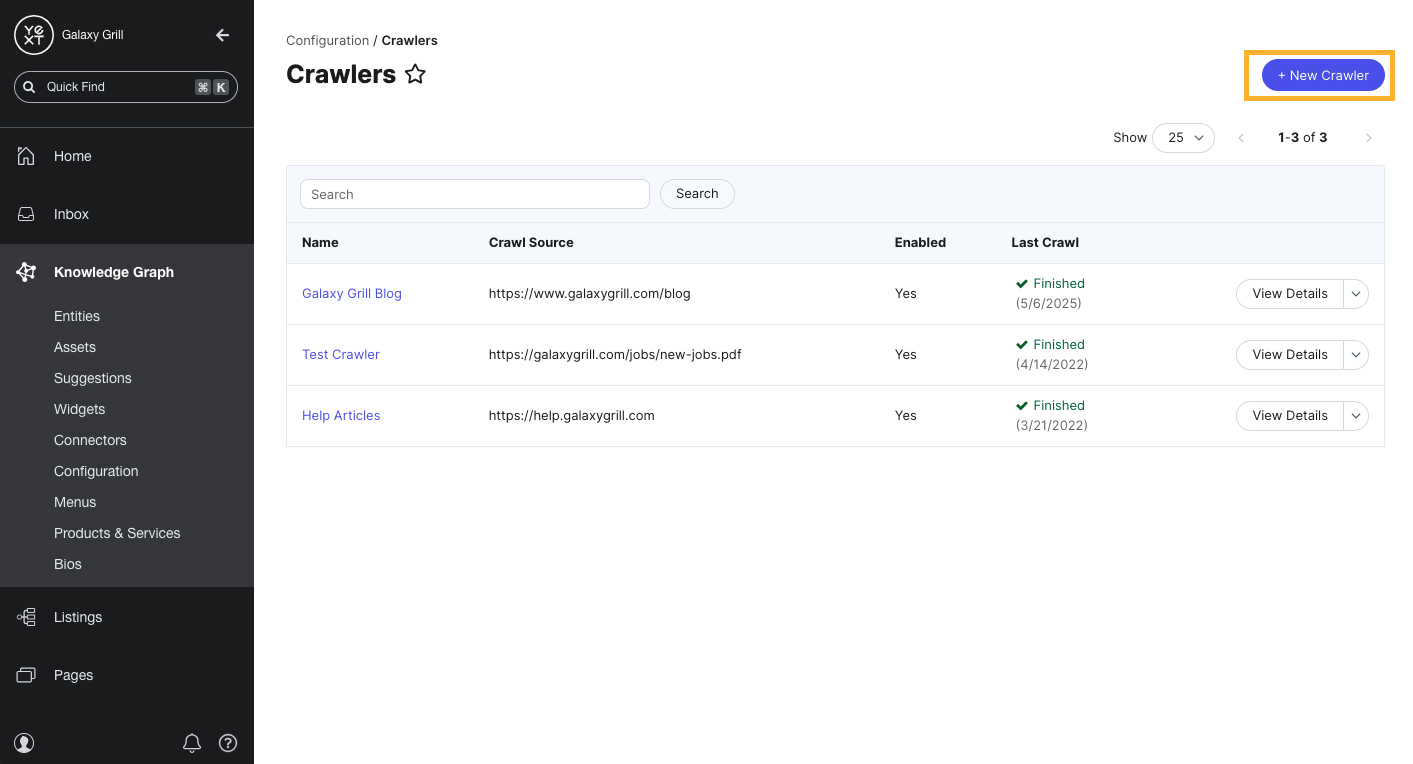
- On the Crawlers screen, click the New Crawler button in the upper right.
Basic Information
In this section, define the basic settings for your crawler.
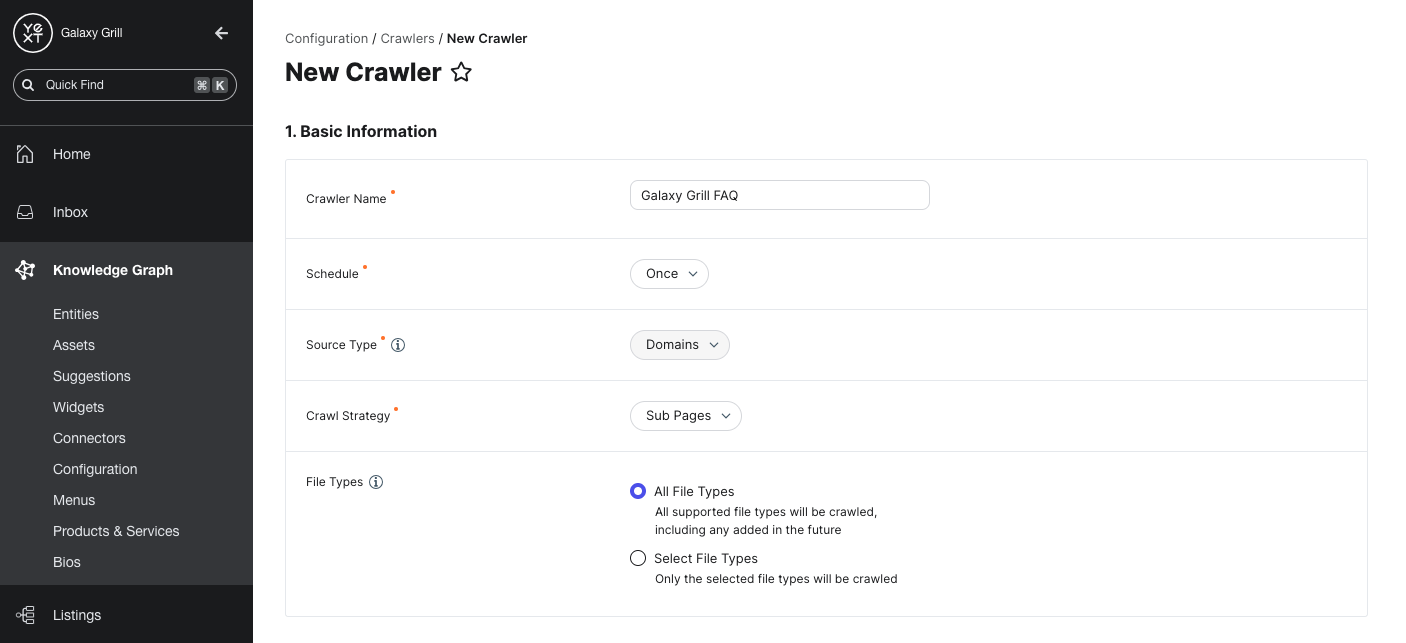
Crawler Name: Enter a name for your crawler. We recommend something that clearly designates the site you plan to crawl and is easy to distinguish from other crawlers you may create later.
Schedule: Choose how often you would like the crawler to scrape your chosen webpages for data: Once, Daily, or Weekly.
Source Type: Choose how the crawler should find your webpages.
- Domains: Specify one or more web domains that should be crawled. Later in the setup process, you can choose the crawl strategy and specific pages on your domain(s) to include or exclude from the crawl.
- Sitemap: Select this source to input a sitemap URL of the site you want to crawl.
File Types: The crawler can pull data from HTML and/or PDF files.
- All file types: Scrape data from all available HTML and PDF files on your chosen pages, and from any available file types that Yext may support in the future.
- Select file types: Specify the file types on your chosen pages to scrape for data.
The rest of the crawler setup depends on whether you chose Domains or Sitemap as your source. Follow the steps in the next sections based on your chosen source type.