Step 6: Add Transforms and Map Data
Next, you have the option to use transforms to clean up any of the data returned by the API before loading it into Yext. For a full list of available transforms, see the Transforms reference.
After adding any transforms, the last step is to map each of the elements you extracted from the API request to fields on entities.
To do this, select the entity type that corresponds to the data you are pulling in via the connector. In this example, we would choose the Help Article entity type.
Once you select your entity type, the Map Fields screen will show a table of your data.
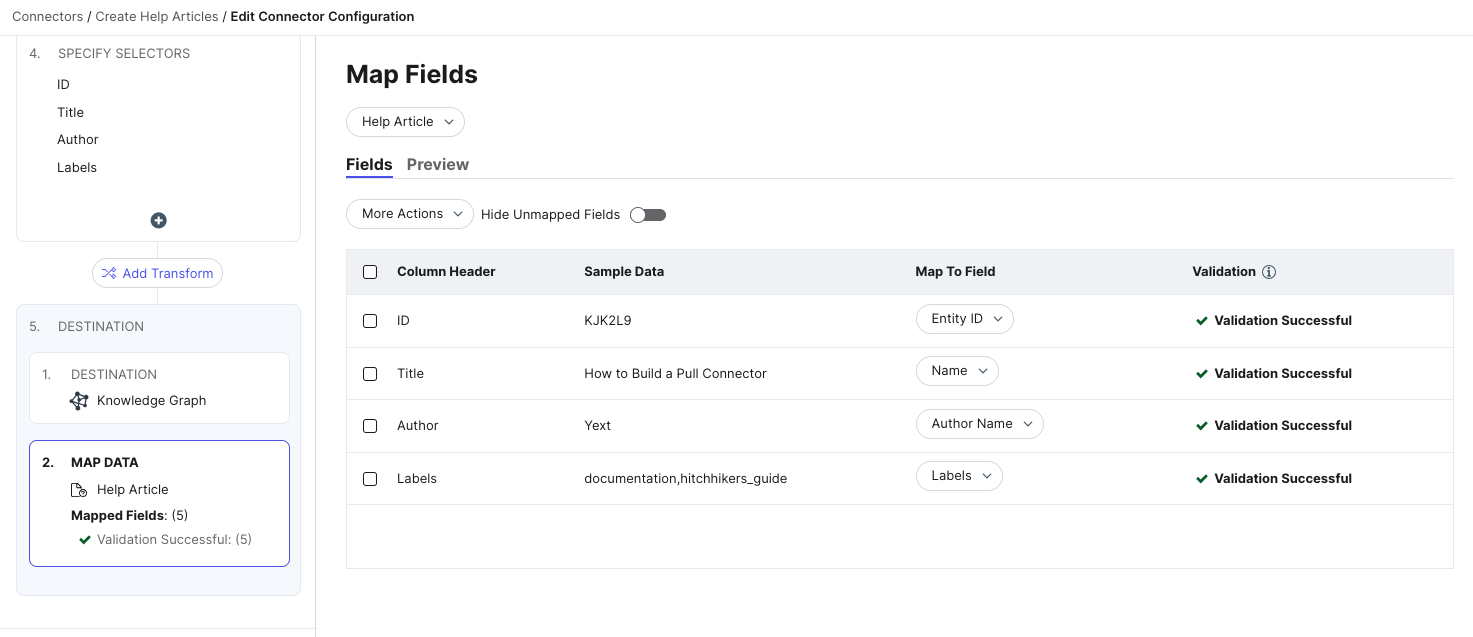
All fields displayed in the Map to Field column are fields on the selected entity type. The Validation column displays the validation status for each selected field. If you see any warnings in this column, you can still proceed with running your connector, but any entities with errors will fail to be created or updated.
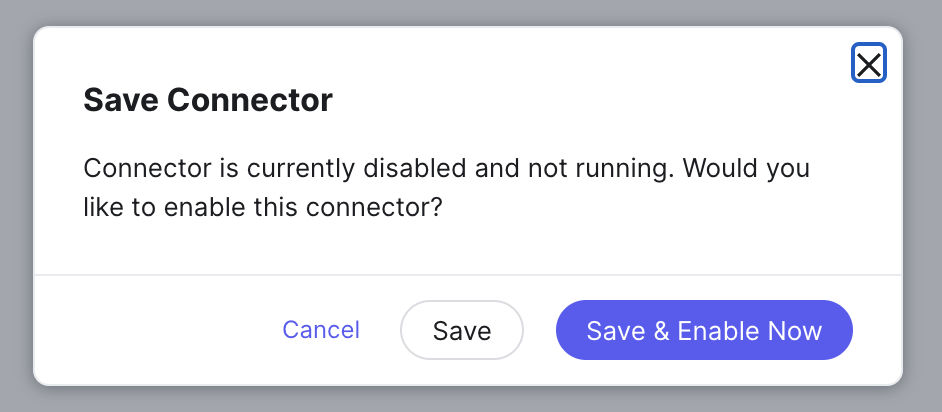
After mapping your fields, click Save. You will be prompted to Save or Save & Enable Now.