Step 1: Create an Apple Business Connect Account
Overview
The first steps to connecting your Apple Business Connect account to Yext are creating an Apple account (if you don’t have one already) and creating brand folders in Apple for each country where you have locations.
Note
Throughout this guide, you will be creating brands and linking locations to Apple. When doing so, keep in mind that for delegated OAuth locations, Apple requires that all Location name exactly match their respective Brand names. However, there are some exceptions based on vertical or on a case-by-case basis. Review the
Apple Brand and Location Naming Guidelines documentation
to learn more.
Create an Apple Business Connect Account
- Create an Apple Business Connect account directly with Apple by visiting https://businessconnect.apple.com/.
- For full steps to create an account, visit the Create your account in Apple Business Connect help article on the Apple Support site.
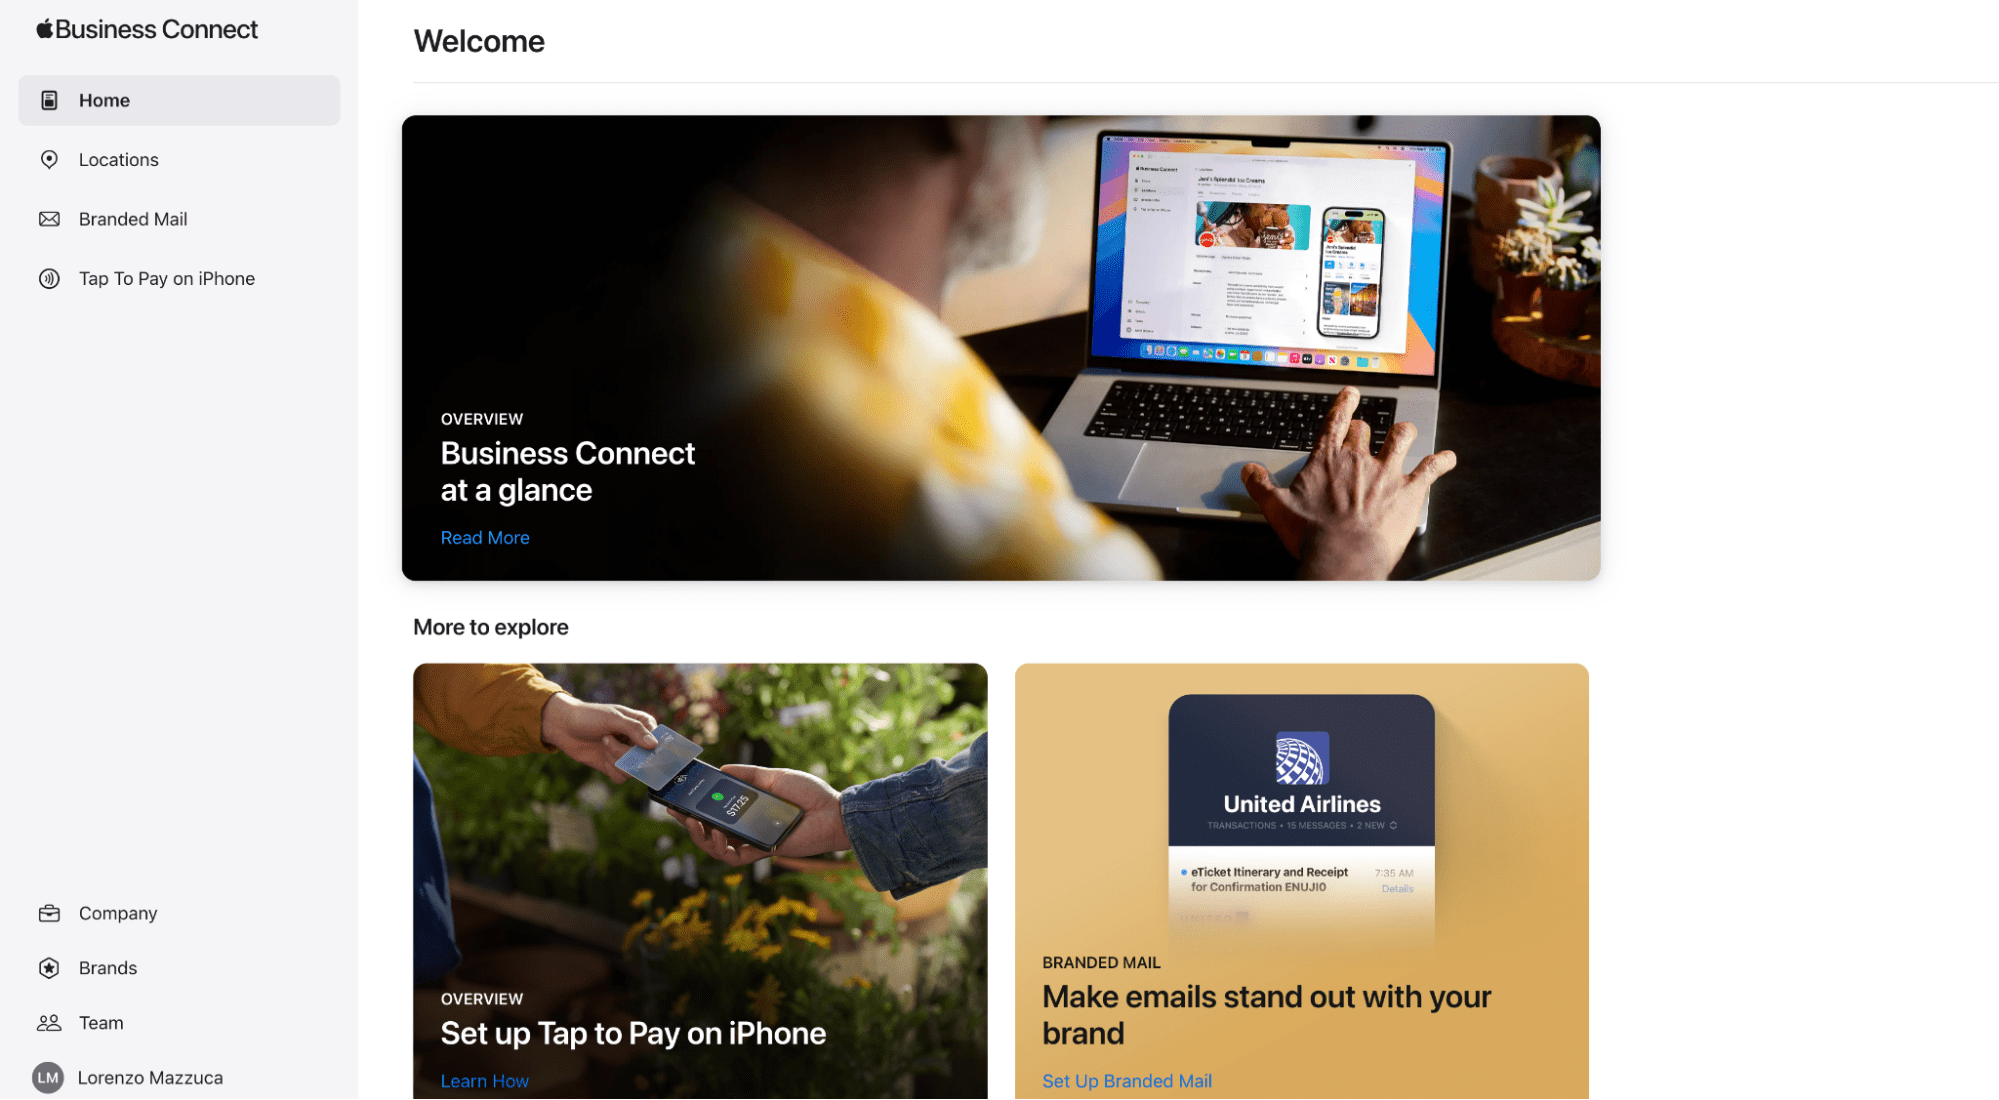
- Once the account is created you will see the following page:

- In the bottom left, select Brands
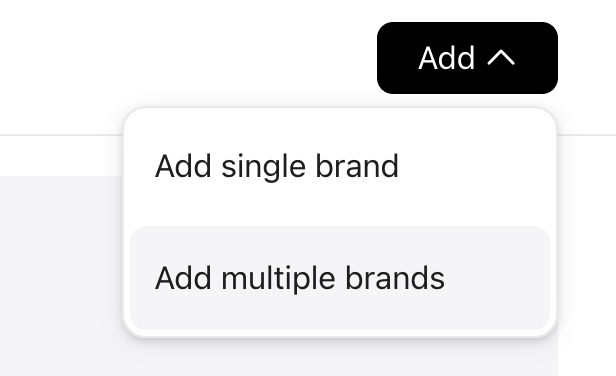
- You will need to create a brand folder for the account at the country level. A new brand folder is required for each country and each brand that you want to have under the same Apple account. To do this click Add in the top right corner

- Click Add single brand to create a brand manually.
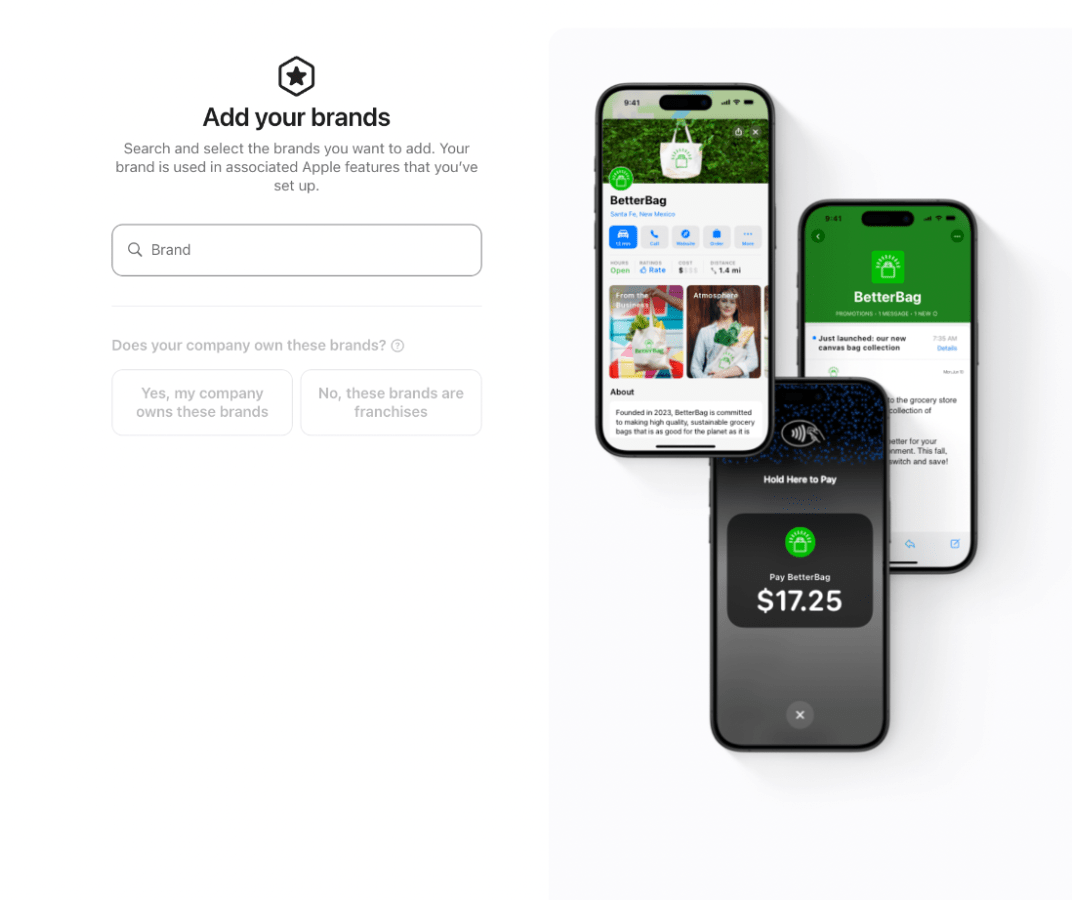
- Click Add multiple brands. You will be directed to a search bar where you can search for your brand. If your brand appears, you will be able to auto-create all.

- Once you create your first brand, you will go through the brand verification process. Once the brand is verified, you can start creating additional brands using steps 3 and 4 listed above.
- It can take up to 5 days for Apple to verify your account.
- Note: For companies based outside of the US, if you can’t find your DUNS number, visit Dun & Bradstreet to search for your company and look up your DUNS number. For further assistance with obtaining your DUNS number or verifying your account, contact Apple Support.
- Location names should be exactly the same as brand folders names. You do not need to add each location individually. Once the brand folder is delegated (approved by Apple), Yext will automatically create locations in your brand folder.
Note
You should not create or claim locations directly in your Apple Business Connect account. Doing so may result in duplicate locations which will prevent Yext from syncing to Apple Maps listings.
<% elem.innerText %>

