

Step 7: Launch and Integrate
We are no longer implementing new Page Builder sites. This guide is for existing Page Builder clients to maintain their existing Page Builder sites.
We’ve launched a new Pages in-platform experience for marketers. To learn more, check out the guide here.
For current Pages customers interested in accessing these new capabilities in addition to the current experience, talk to your account team to learn more about how to rebuild your pages on this new experience.
Congratulations on building your Page Builder templates! The next part is getting your Pages live. Going live consists of four steps:
- Set up your domain
- Activate your template
- Publish your pages
- Integrate with your website
Set Up Domain
These pages are intended to link out from your existing website and should live under the same domain as the rest of the site to ensure a seamless experience for your customers. In order to do this, you will need to choose your desired subdomain, and register it with your website’s DNS provider.
The Yext hosted subdomain is the default format for Page Builder domains. This integration path is simply the subdomain of your choosing. We recommend choosing a short and meaningful subdomain (e.g., restaurants.mydomain.com, locations.mydomain.com, agents.mydomain.com, or branches.mydomain.com) that helps users clearly distinguish between the different pages on your website.
Pages created through Yext are hosted by Yext. In the platform, we will provide you with a Bridge Domain for the page. In order for these pages to connect and display as part of your website, you need to create a connection between your website, and the Yext-owned page. This is done by creating a subdomain and adding the Bridge Domain to your website provider. That way, when customers access your website, it will point to the Yext page and display the correct content.
Follow the Add a Domain guide to add a domain and add a CNAME record to your DNS provider.
Considerations
A page can only have one domain. For example, the page will only be published to locations.yext.com.
Each site must have a unique subdomain, but all pages in that site share the same subdomain. For example, all Yext location pages will be published to locations.yext.com. Once you set the domain for a Page, you cannot change it.
Domain setup can be done at any time before publishing. You don’t have to wait to start designing pages.
Additionally, Pages made in Page Builder must be on a subdomain (they cannot support subdirectories).
Activate Your Template
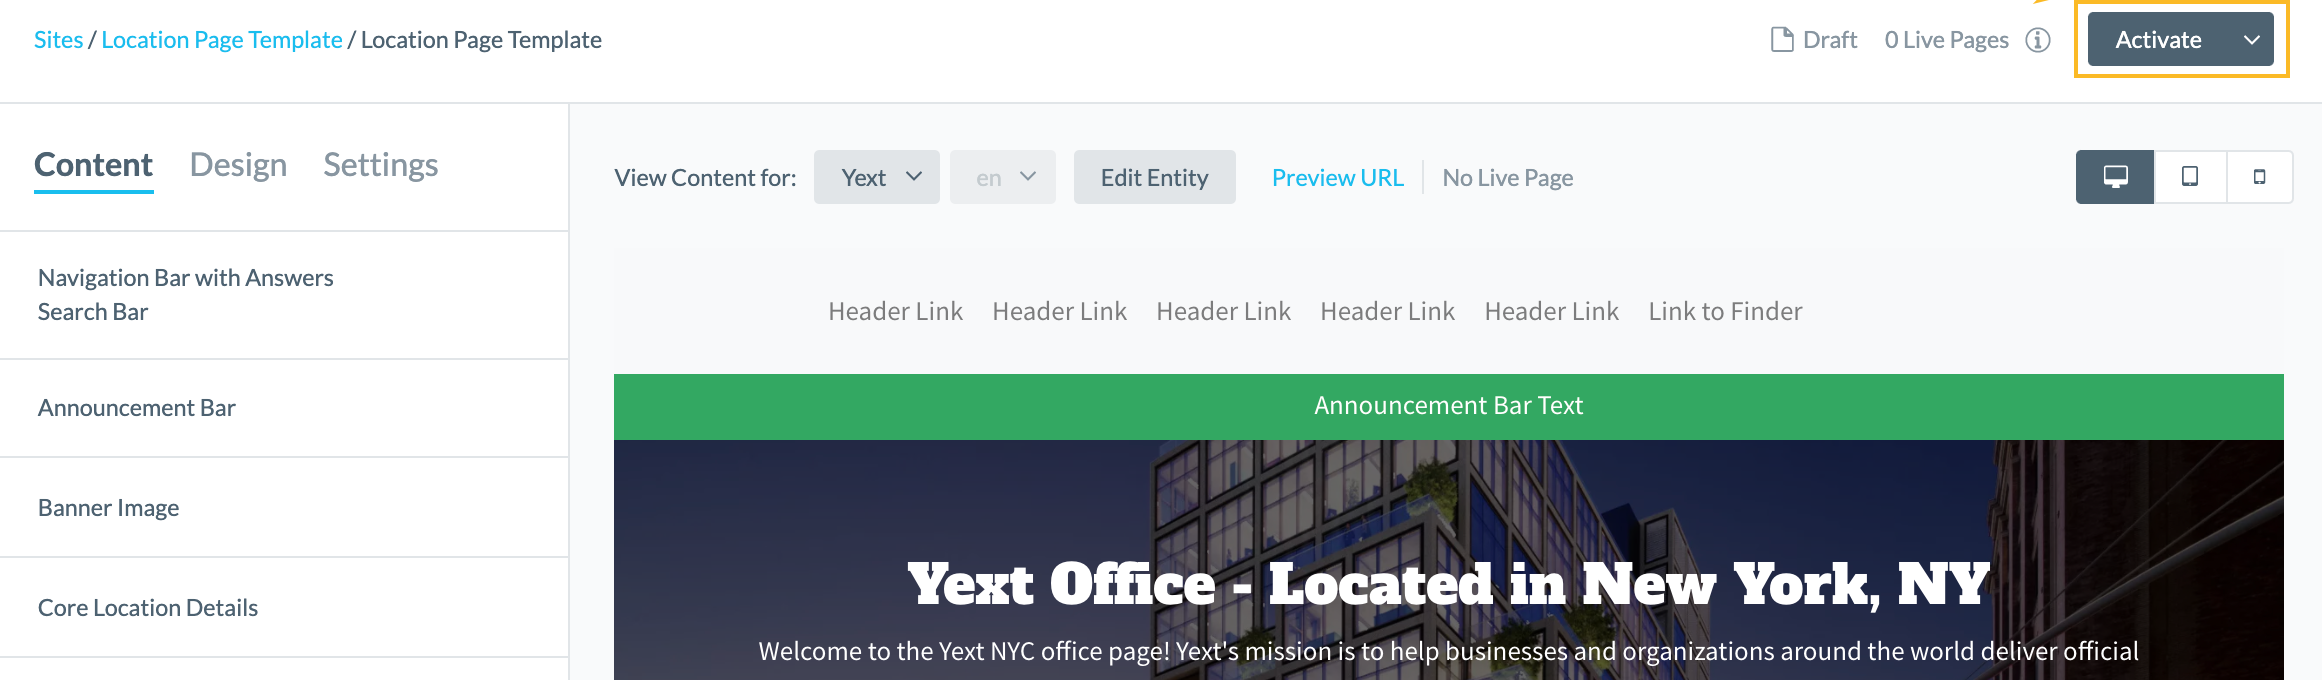
Pages will remain in ‘Draft’ status (and the Activate button will only be displayed) until the page template is activated. If you have not set up the domain for this site, clicking Activate will prompt you to add a domain. Go back to the previous section for instructions.
Click Activate in the top right of the page to push the pages to production. This will enable you to publish entities to the template and generate a live URL for each entity. The pages are ready to go live on your site.
Page Statuses in Page Builder
Now that you’ve activated your page template, below is a list of Page Builder page statuses that you may see as you go through the process of creating and updates pages:
| Status | Definition |
|---|---|
| Draft | Newly created page that has never been published (i.e., activated). |
| Active | All necessary subdomain configurations have been completed and the template has been activated. Templates can be active regardless of whether it’s being used by any entities. |
| Unpublished Changes | Changes have been made to an active page, but they have not been published. You’ll see the changes in the Preview URL, but the Live Page will only show the last published changes. |
| Update in Progress | An update is in progress but taking longer than usual. |
| Error | Something went wrong and the system is unable to update the page. |
Publish Your Pages
To publish pages, you must add the Pages feature pack to the entity. This adds service to the entity and will allow you to publish the page.
Follow the steps in the Publish Your Pages help article.
Once you assign Pages licenses to the entities, each entity will be published at a live, unique URL. View a Live Page by finding the URL in the “Landing Page URL” field on the entity itself, or you can find it in the page template next to the “Preview URL” link we previously discussed.
Add the Landing Page URL
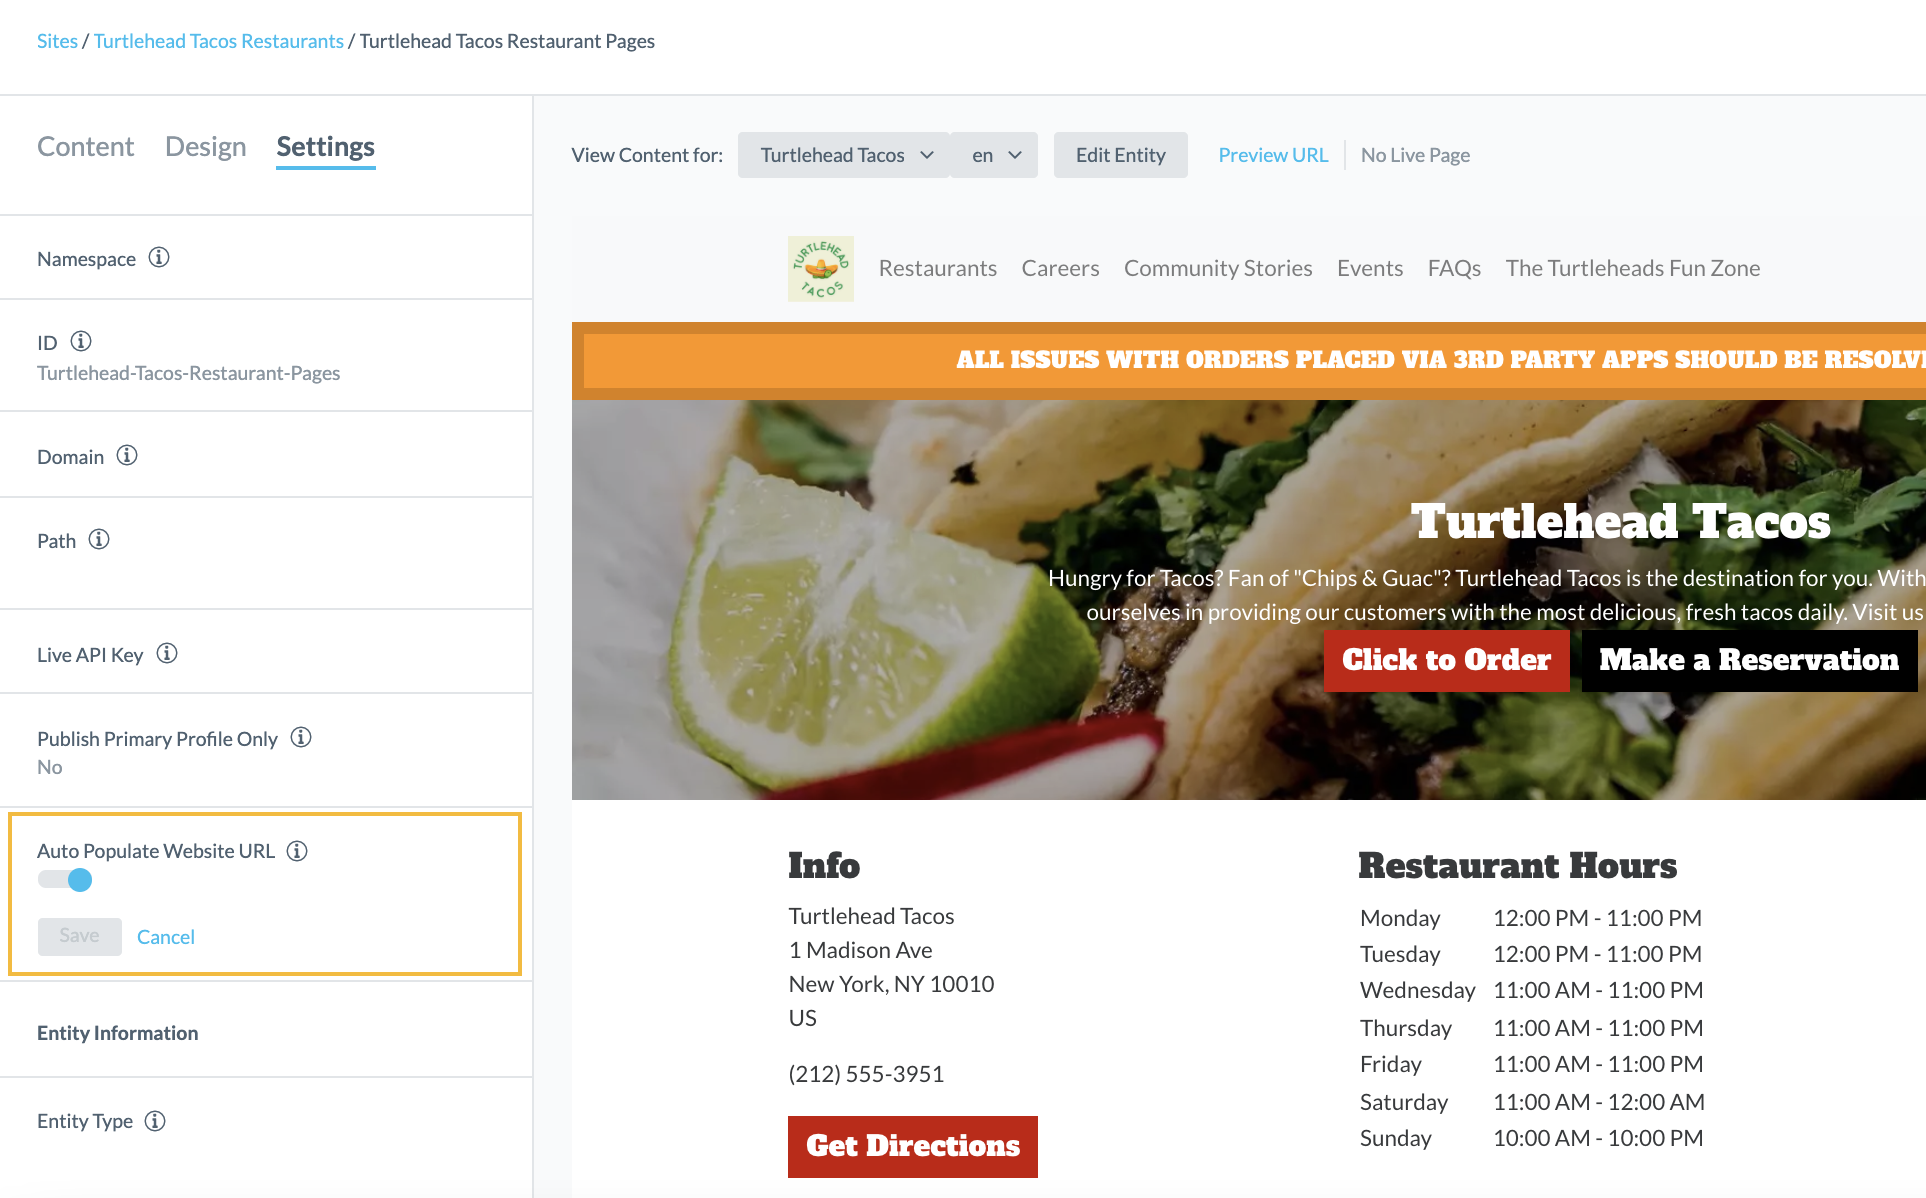
You can automatically push your Landing Page URL to the Website URL field in the Knowledge Graph when the Page is published. To set this up:
- Navigate to the relevant Page Builder Template.
- Click Settings in the sidebar.
- Click on the Auto Populate Website URL field and make sure it is toggled on — then click Save.
If you also use Yext Listings, when this setting is on, we’ll publish the Landing Page URL to the Publisher Network whenever you publish a page. To do so, we’ll populate the Website field for each entity with the Landing Page URL.
One important thing to note is that if you change the Website field to another URL, but do not update this setting, our system will continue to override the URL with the Landing Page URL.
This is extremely helpful for SEO. To increase visibility and create backlinks and citations, it is critical that your Listings in the Publisher Network point to the landing pages you power through Yext, and this feature helps you set that up automatically.
Integrate with Your Website
The integration step will happen on your own website, rather than on Yext. This is when you set up links on your website that get the user to these newly published pages. Consider these questions:
How will a user get to these pages from your website?
Think about how a user should land at your pages. For example, if you created a location page template, you are likely going to integrate the URLs into your existing Find a Location page.
Do you need to set up any redirects from previous pages?
If the Yext pages are replacing any previous web pages on your site, you may consider updating those links or implementing redirects to ensure that if a user is linked to an old URL that he/she is redirected to the new, Yext pages.