

Step 5: Build a Directory
Overview
Directories are an excellent way for visitors to see the full breadth of your brand’s locations and drill down to navigate to the ones relevant to them. We recommend adding directories to your site to improve your SEO.
Location directories in Yext Pages have four levels: Root → Country → Region → City. The root level links to a page for each country in which you have locations. You can drill down by clicking on a country, which will list links to pages for each region in that country in which you have locations. Similarly, region-level pages show cities with locations. Once you get to a city-level page, the directory will list all locations in that particular city, linking to the location pages you created.
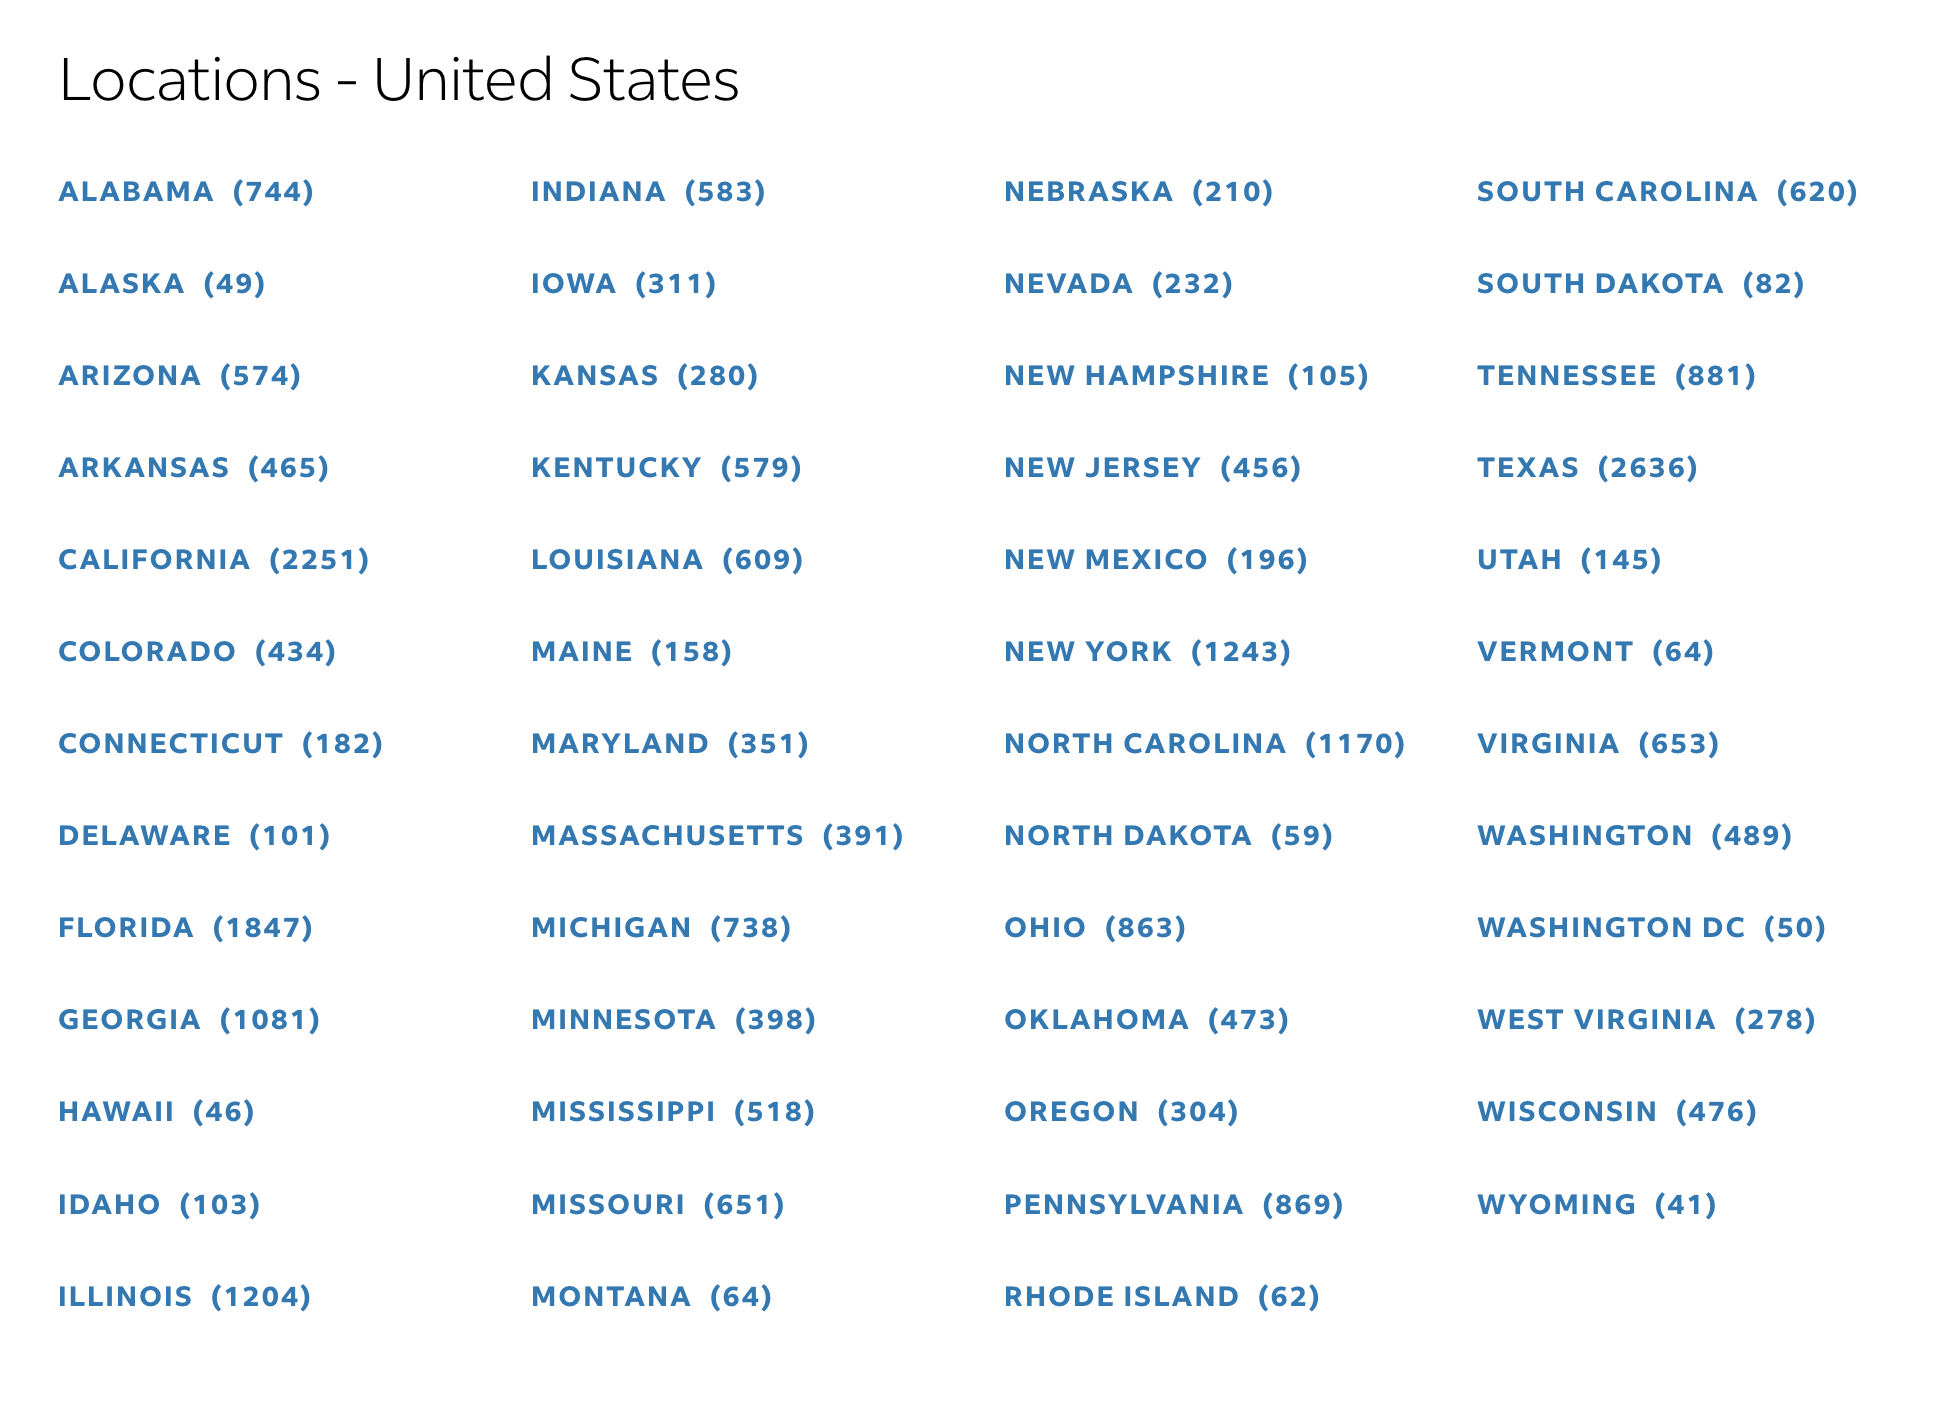
For example, this country-level page for the United States shows all the regions (i.e., states) with locations and the number of locations in each. From here, a user can drill down to a specific state to narrow down their search.
Build a Directory
If you did not generate a directory when you added a page group, you can go back to do so:
- Navigate to Pages > [[Site Name]] > Page Groups.
- Click the menu icon in the row of the page group for which you want to generate a directory.
- Select Create Directory.
- Confirm you want to create a directory.
Once the site finishes deploying, you will see four additional page groups, one for each directory level. Generating a directory for a page group will automatically create a hierarchy of directory entities in the Knowledge Graph to represent your brand’s location structure. Each entity has parent and child entity relationships and saved filters for the page groups.
The layout for each directory page group was created using templates in the starter. To edit the layout, click the Edit Layout button next to a page group, as you would for other page groups.
This directory will also stay up-to-date if you add/remove entities or make changes to the underlying structure of entities.