

Step 2: Create Data Share in the Admin Console
A Yext employee with Admin Console access can create the Data Share using Configuration-as-Code (CaC).
- Click on Developer in the navigation and click on Admin Console.
- Click Authorize. You should see a screen that looks like this:
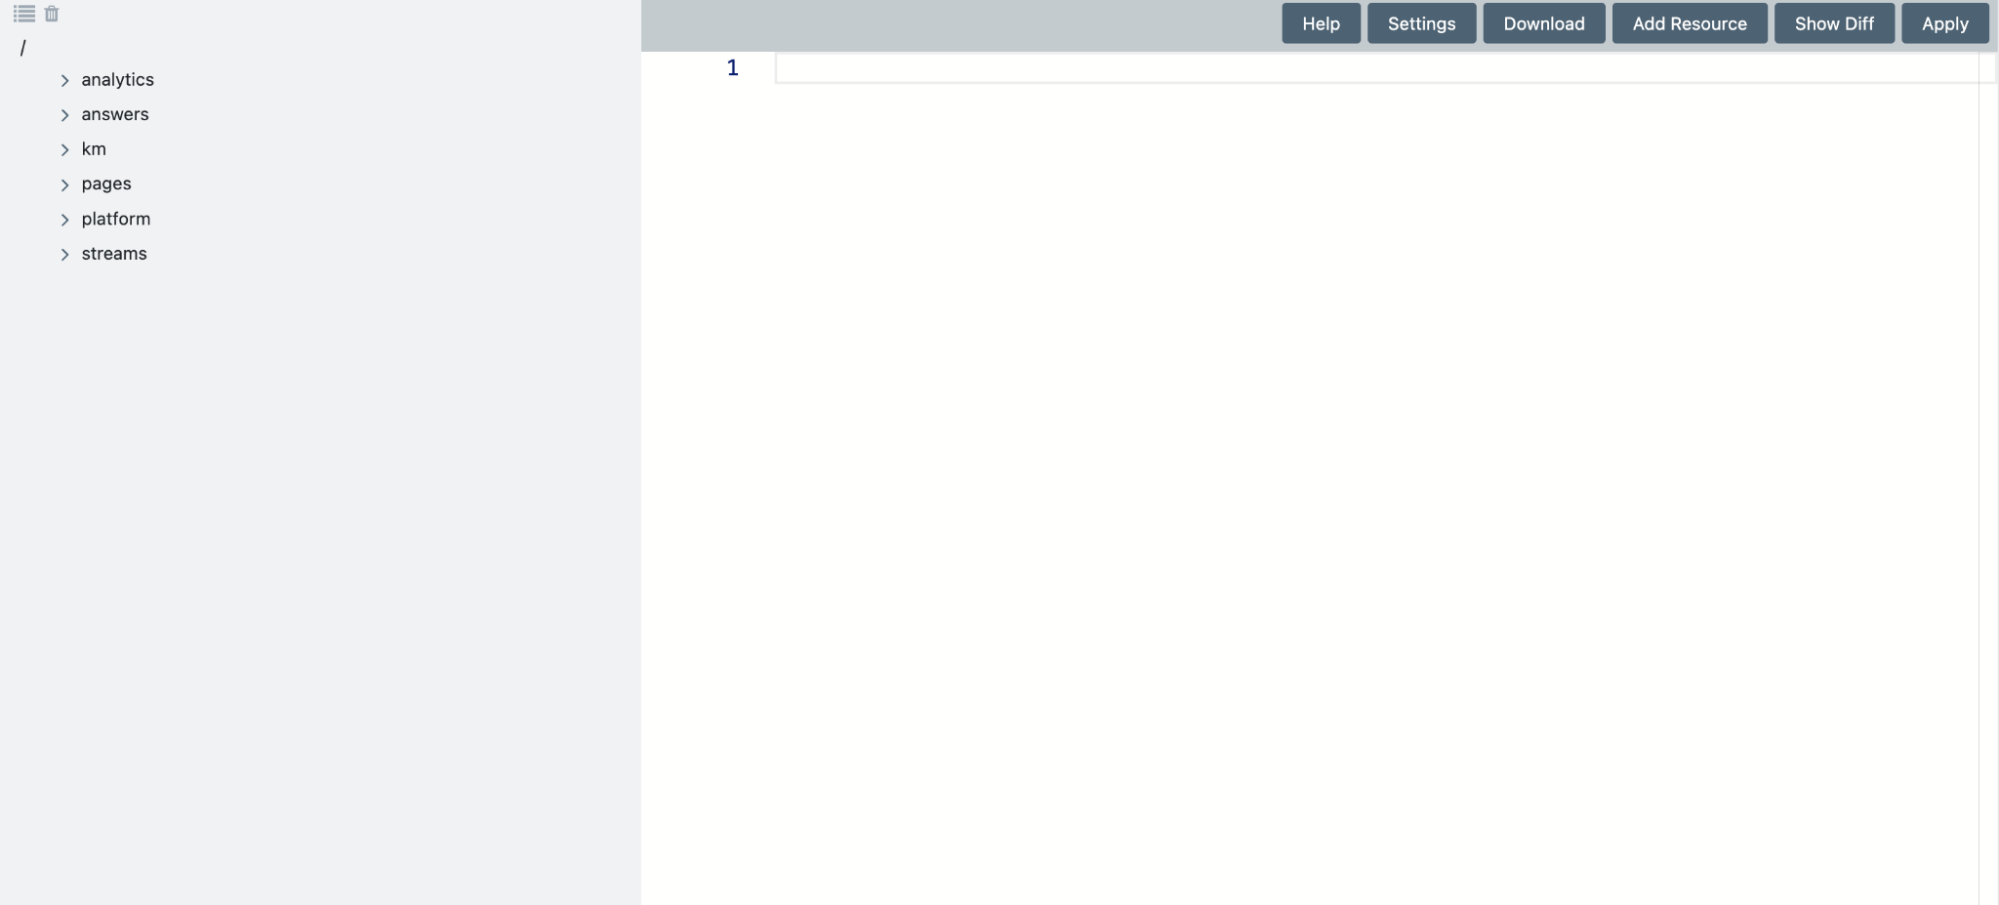
- Click on Add Resource in the upper right, select Analytics → data-share, name your file and click Create. This file contains the Data Share resource.
For the next step, you’ll need your Snowflake account locator. Copy the following CaC resource into the file, replacing the placeholder Snowflake accountLocator with your real Snowflake account locator:
{
  "$schema": "https://schema.yext.com/config/analytics/data-share/v1",
  "$id": "external",
  "accountType": "EXTERNAL",
  "externalAccount": {
    "region": "us-east-1",
    "accountLocator": "<put account locator here>"
  }
}
This action will create the Data Share resource. Following this, you will need to apply your changes to the account.
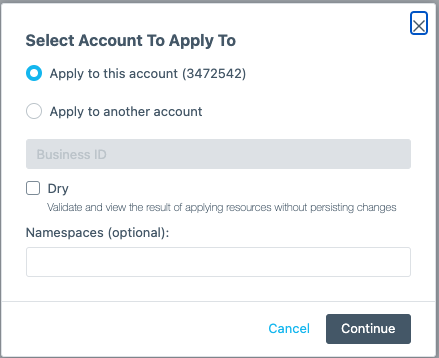
Click Apply in the upper right corner, make sure the Apply to this account option is selected by default, then click Continue.
- This action will create the Data Share resource! Following this, you will need to apply your changes to the account.
Click Apply in the upper right corner, make sure the Apply to this account option is selected by default, then click Continue.
You might encounter a Variables screen when going through the flow - feel free to ignore this, as it is not relevant to creating a Data Share - click Save.
You will then be prompted with a View Diff screen that shows the file(s) you added, modified, or removed. In this case, you should only see one file added - the file containing the Data Share resource.
Click Continue, upon which you will be prompted to confirm that you’d like to apply your changes. Click Confirm, and you should see a success message in the console when the resource is successfully applied, upon which you can exit the page.
To confirm that the resource was successfully created, log back into the Admin Console and check to see if the Data Share exists. You should see the file you just created in the analytics → data-share path.