

Step 9: Managing Downstream Integrations
Downstream integrations are any system that reads data from a field. If any downstream integrations reference a Legacy Rich Text field, you will need to update it so that it references the new forked field.
Content Delivery API
Your Content API is configured via your Content Endpoint. On your Content Endpoint, you will have defined a Stream which determines how the data will be indexed. We now will add your new field to your Stream configuration and thus it’ll be delivered via your Content Endpoint.
If you have many Content endpoints and aren’t sure which of those reference your Legacy Rich Text fields, it may be easier to edit your Stream configuration via the Admin Console or the Yext CLI.
Content Endpoints
To edit your Stream configuration from within the Yext platform:
Navigate to Developer > Content Endpoints.
To add a field, click Configure on the Stream you want to add the field to. Then, click Add Fields and enter the name of the new field.
If you are adding a Markdown field, choose one of the following:
- If you are planning to receive this content as Markdown, select
{fieldID}.markdown. - If you are planning to receive this content as HTML, select
{fieldID}.html.
- If you are planning to receive this content as Markdown, select
If you are adding a Rich Text (v2) field, choose one of the following:
- If you are planning to update your application to process the JSON AST directly, select
{fieldID}.json. If you are planning to receive this content as HTML, select
{fieldID}.html.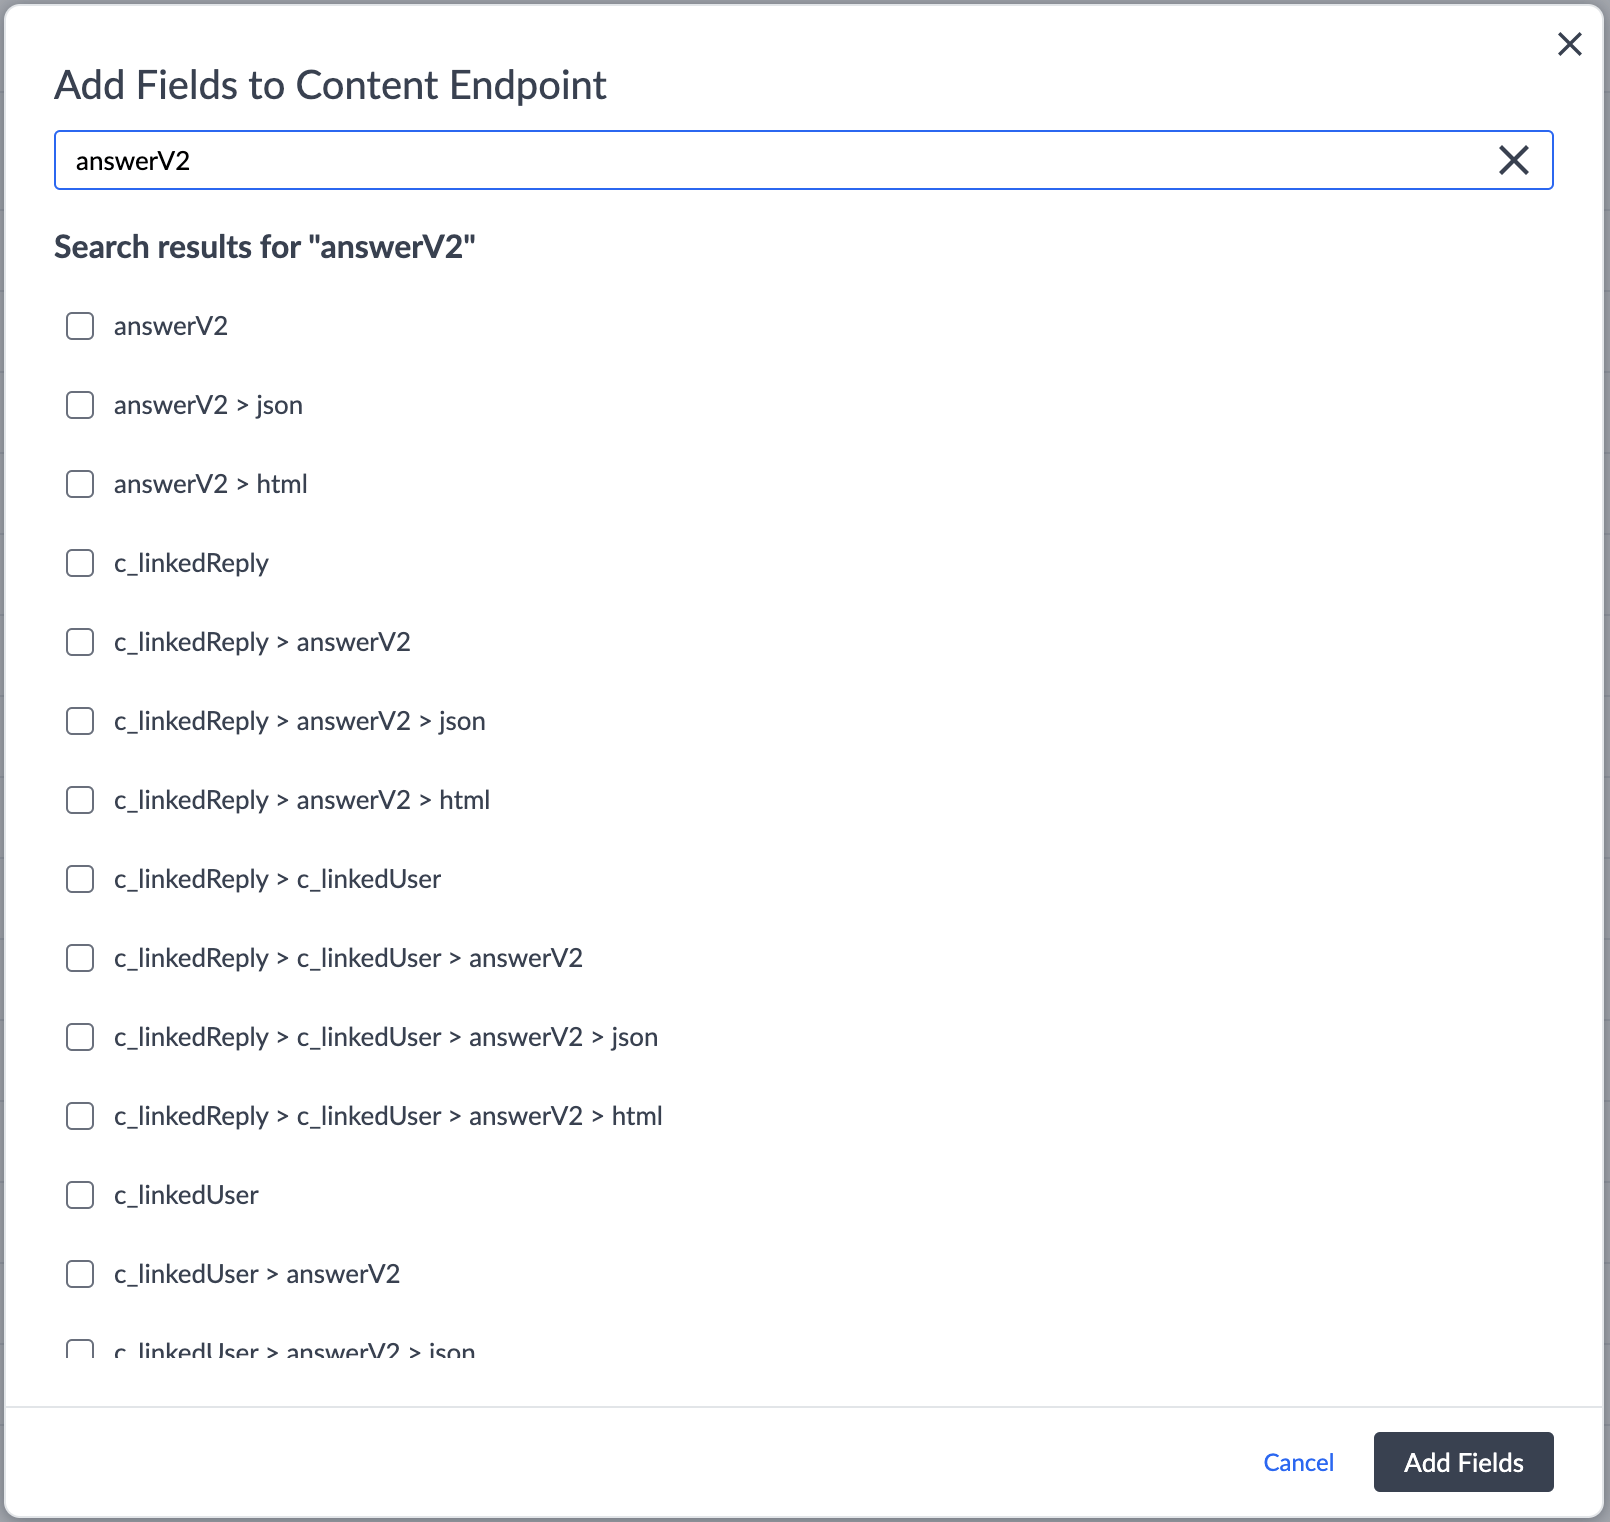
Note you can’t include both the top level field and subfields of that field in the same stream. If you want to use the HTML of a field, only include
{fieldID}.htmland not{fieldID}.
- If you are planning to update your application to process the JSON AST directly, select
Click Add Fields, and then Save.
Entities Management API and Content Delivery API
By default, the Entities Management API and Entities Content Delivery API will return the native storage format of the field, which is the JSON AST. If you wish to begin processing this AST directly, you will need to update your application to handle this new field and data format.
If you do not wish to handle the AST directly in your application, you can use the convertRichTextTo query parameter in your API request. To do this, pass convertRichTextToHTML=true to receive the data converted to HTML.
Pages
Your next steps will vary based on whether you are using a Markdown or Rich Text (v2) field and what kind of Pages experience you are leveraging. The following are for Pages v2.
Rich Text v2 - HTML Subfield
Rich Text (v2) type fields store a named sub-property for html. We recommend using the HTML subfield to render Rich Text (v2) type fields since the formatting is rendered directly by the Yext system. You can render the rich text with:
<div dangerouslySetInnerHTML={{ __html: c_lrt.html }} />where c_lrt is the custom field that uses the Rich Text (v2) field type.
Rich Text v2 - Lexical Rich Text Component
Update your Stream definition to include the new field.
Install the
@yext/pages-componentslibrary (npm i @yext/pages-components) if you haven’t already. Import theLexicalRichTextcomponent:import { LexicalRichText } from "@yext/pages-components";Here is a simple example of the component:
<LexicalRichText serializedAST={JSON.stringify(c_richTextDescriptionV2.json)} />Remove the reference to the old field.
If you receive the following error, make sure to use the JSON stringify function on the JSON subfield on the desired field using the format specified above.
TypeError: editorState.isEmpty is not a function
 at LexicalEditor.setEditorState (/Users/my-user/Documents/Github/my-repo/node_modules/lexical/Lexical.dev.js:10747:21)
Markdown - Handlebars
- Update your Stream definition to include the new field.
- Add in a transform to your Stream definition to ensure that the JSON AST is converted to HTML.
- Replace the reference in your code to the new field.
Remove the helper that converts Yext-flavored Markdown to HTML.
{
  ...
  "transform": {
    "richTextToHTML": [
      "field3"
    ]
  }
}
Search
Your next steps will vary based on whether you are using a Markdown or Rich Text (v2) field and what kind of Search experience you are leveraging.
Backend Configuration
- Navigate to Search > [[Your Experience]] > Edit as JSON.
Add a top-level config property to convert rich text to HTML.
- For Rich Text v2 fields, the
richTextV2ToHTMLproperty needs to be set to true. For Markdown fields, the
markdownToHTMLproperty needs to be set to true.{ "$schema": "https://schema.yext.com/config/answers/answers-config/v1", "$id": "test", "name": "test", "verticals": {}, "richTextV2ToHTML": true, "markdownToHTML": true }
- For Rich Text v2 fields, the
If you are already using the display fields property, add the new custom field to the
displayFieldsarray.{ "verticals": { "products": { "displayFields": [ "photoGallery", "name", "c_testRTDescription", "c_testMarkdown" ] } }, "richTextV2ToHTML": true, "markdownToHTML": true }
Theme
To render the field in the Code Editor, use the html subfield of the field you just added when mapping profile fields to properties in the card component.js file. Both rich text and markdown fields will be converted to HTML.
dataForRender(profile) {
  return {
    title: profile.name,
    details: profile.c_testRTDescription ? profile.c_testRTDescription['html'] : null
  }
}
React
In order to render the fields in the frontend, take a look at the example cards in the following repo:
- HTML Example Card: this will be used to render Rich Text and Markdown fields that have been converted to HTML.
- Markdown Example Card: this will be used to render Markdown fields that have not been converted to HTML.
For Markdown fields that haven’t been converted to HTML, you will need to do the additional following steps:
- Make sure the
markdownToHTMLconfig property is set tofalse:"markdownToHTML": false,in the backend config. - Run this command in your terminal:
npm i @uiw/react-md-editor
- Make sure the
Check out the Update a Result Card to Support Rich Text help article for step-by-step instructions on display rich text on a result card.