Step 2: (Optional) Migrate from App to In-Platform
If you are currently using the Automatic Review Response app, we recommend you migrate to the in-platform version of Automatic Review Response to utilize new features, such as support for embedded fields, and updates moving forward. This page calls out steps needed to do so. Yext will no longer provide support for the app.
To migrate from the Automatic Review Response app to the in-platform Automatic Review Response:
- Delete the current Automatic Review Response app. The new system will not work unless the app is deleted!
- Navigate to Developer > Developer Console.
- Find the Automatic Review Response app you created (you may have customized the name), click the meatballs menu, and select “Delete App”.
- Identify all Review Labeling Rules being used for the Automatic Review Response app.
- Navigate to Reviews > Configuration > Review Labeling Rules.
- Search for relevant rules. These may have “automatic” or “auto” in the name or review label.
Identify all review response assets that correspond to each Review Labeling Rule used for the Automatic Review Response app.
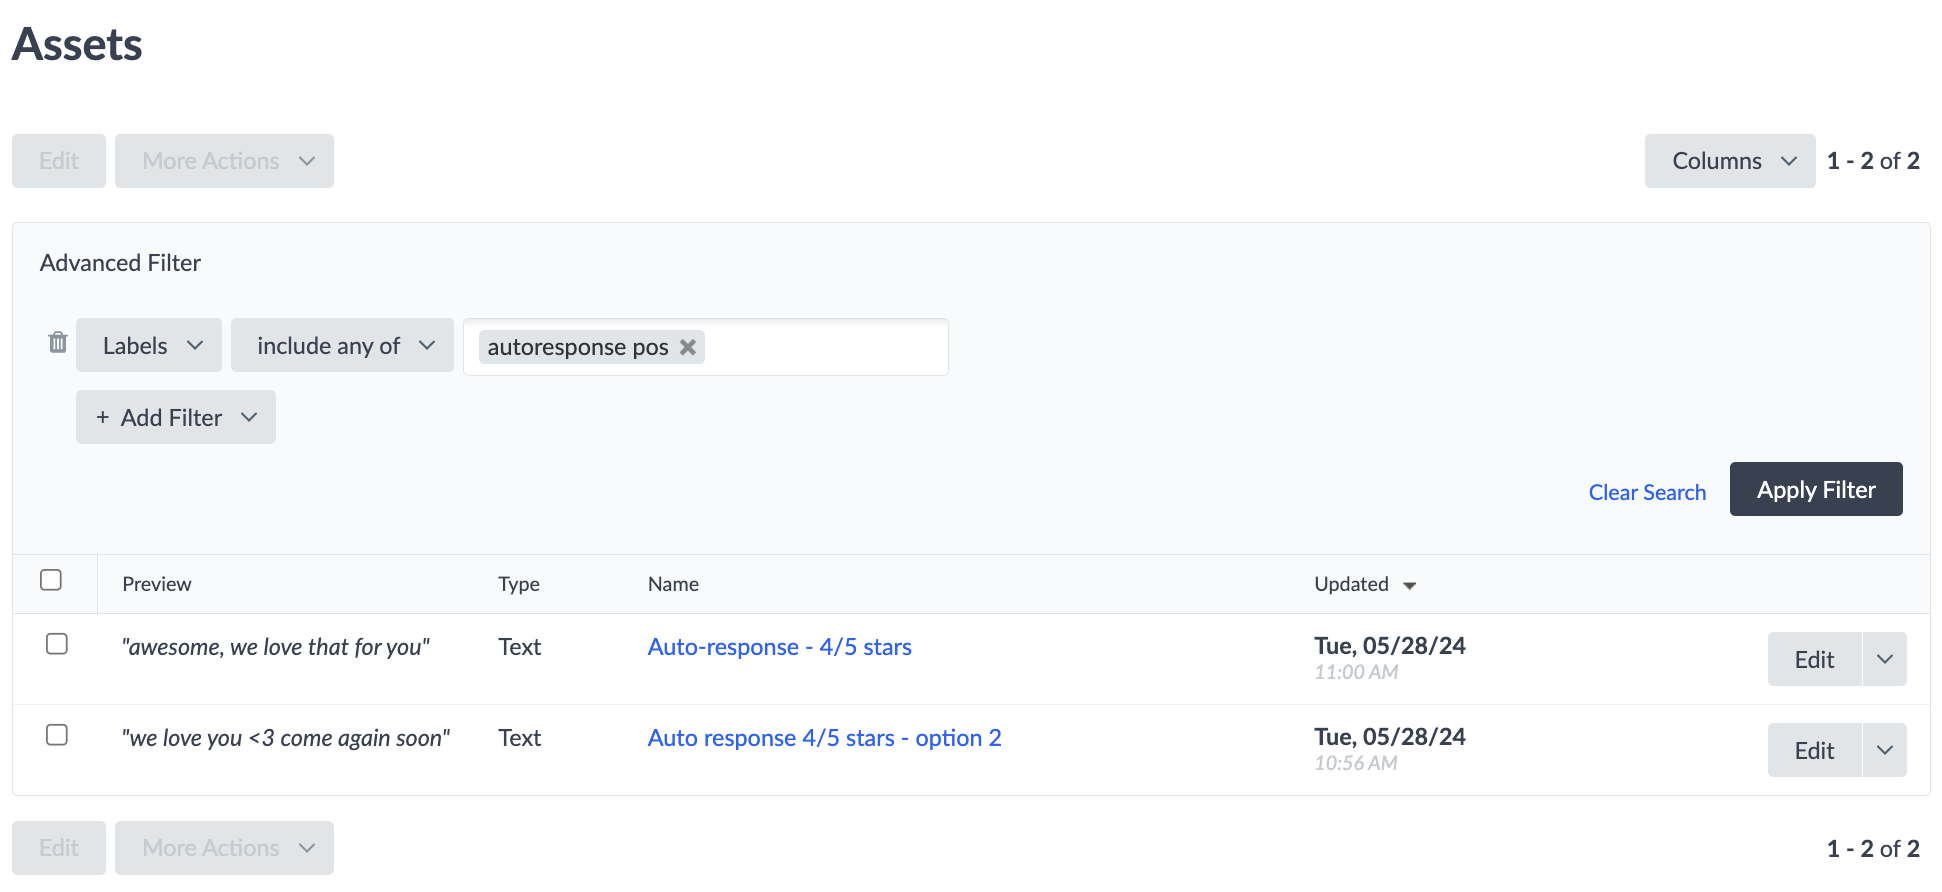
- Navigate to Knowledge Graph > Assets. Filter for Text assets under Type on the left.
- Search for text assets that have labels that match the labels you found in the previous step under Review Labeling Rules.
- Use “Advanced Filters” on the top right to filter for specific labels.

Create new workflow rules that correspond to the existing Review Labeling Rules used for the Automatic Review Response app. It could be helpful to have the Review Labeling Rules open in a separate tab to view and keep track of the rules.
- Navigate to Inbox > Configuration.
- Click “Create Rule” on the top right of the page and fill in the rule fields.
- Select “Auto Reply” for the Reply Type.
- Give the rule a descriptive name to help you identify it in the future. This does not have to match the corresponding rule in the Automatic Review Response app.
- Add rule criteria. Use the same criteria that was used in the Review Labeling Rule for the Automatic Review Response app.
- Select “Apply only to new reviews”.
- Click “Add Assets”. Select “Select from Existing Assets” and check all review response assets you identified above that correspond to the criteria of the existing Review Labeling Rule. The asset preview shows its labels, which you can use to confirm it matches the relevant rule.
- Note that each rule can only have up to 25 associated review response assets.
- You can also create new assets at this point if you’d like.
- Click Save.
Ensure that all rules in the Workflow Rules table with the “Auto-Reply” tag under Assignee match the previous Review Labeling Rules used for the Automatic Review Response app.
(Optional) Delete Review Labeling Rules used for the Automatic Review Response app.
- We now have built-in filters for Auto-Reply to see which reviews received an automatic response in the new system. (Note that this only applies to reviews responded to using the new system.)
- On the Reviews > Monitoring tab, you’ll see an “Auto Reply” tag under the Response column. You can also add a filter for “Automatic Response” = “Yes”.
- If you still want these reviews to be labeled, feel free to keep your Review Labeling Rules.
- We now have built-in filters for Auto-Reply to see which reviews received an automatic response in the new system. (Note that this only applies to reviews responded to using the new system.)
Check for any new reviews that may have come in during the setup process.
- These reviews will need to be responded to manually. You can use the same response assets used for Automatic Review Response to post a reply.

