
Navigate the Knowledge Graph | Yext Hitchhikers Platform
Overview
Here’s a tour of the Knowledge Graph tools that you’ll use throughout the rest of this track:
- Entities: the main screen in the Knowledge Graph, where your entities are stored
- Configuration: where you’ll manage the settings for your entity types, data fields, and more
- Connectors: tools you can use to pull entity data into the Knowledge Graph, or sync data to other systems
- Assets and Suggestions: manage data updates at scale and standardize content for your team
- Enhanced Content Lists and Widgets: store information like product listings, staff bios, and restaurant menus. Then, create widgets that you can use to display this information on your website pages.
See the Keep Learning section at the end of this unit for resources to learn more about the tools you’ll see as you go through the Knowledge Graph.
To start, click Knowledge Graph in the left navigation bar in Yext.
Entities
Select Entities in the left navigation bar under Knowledge Graph. This screen is also referred to as Entity Search.
The Entities screen is the home base for your Knowledge Graph: here, you can search and filter for all your entities and take actions like importing and exporting data, editing entities, or creating saved searches.
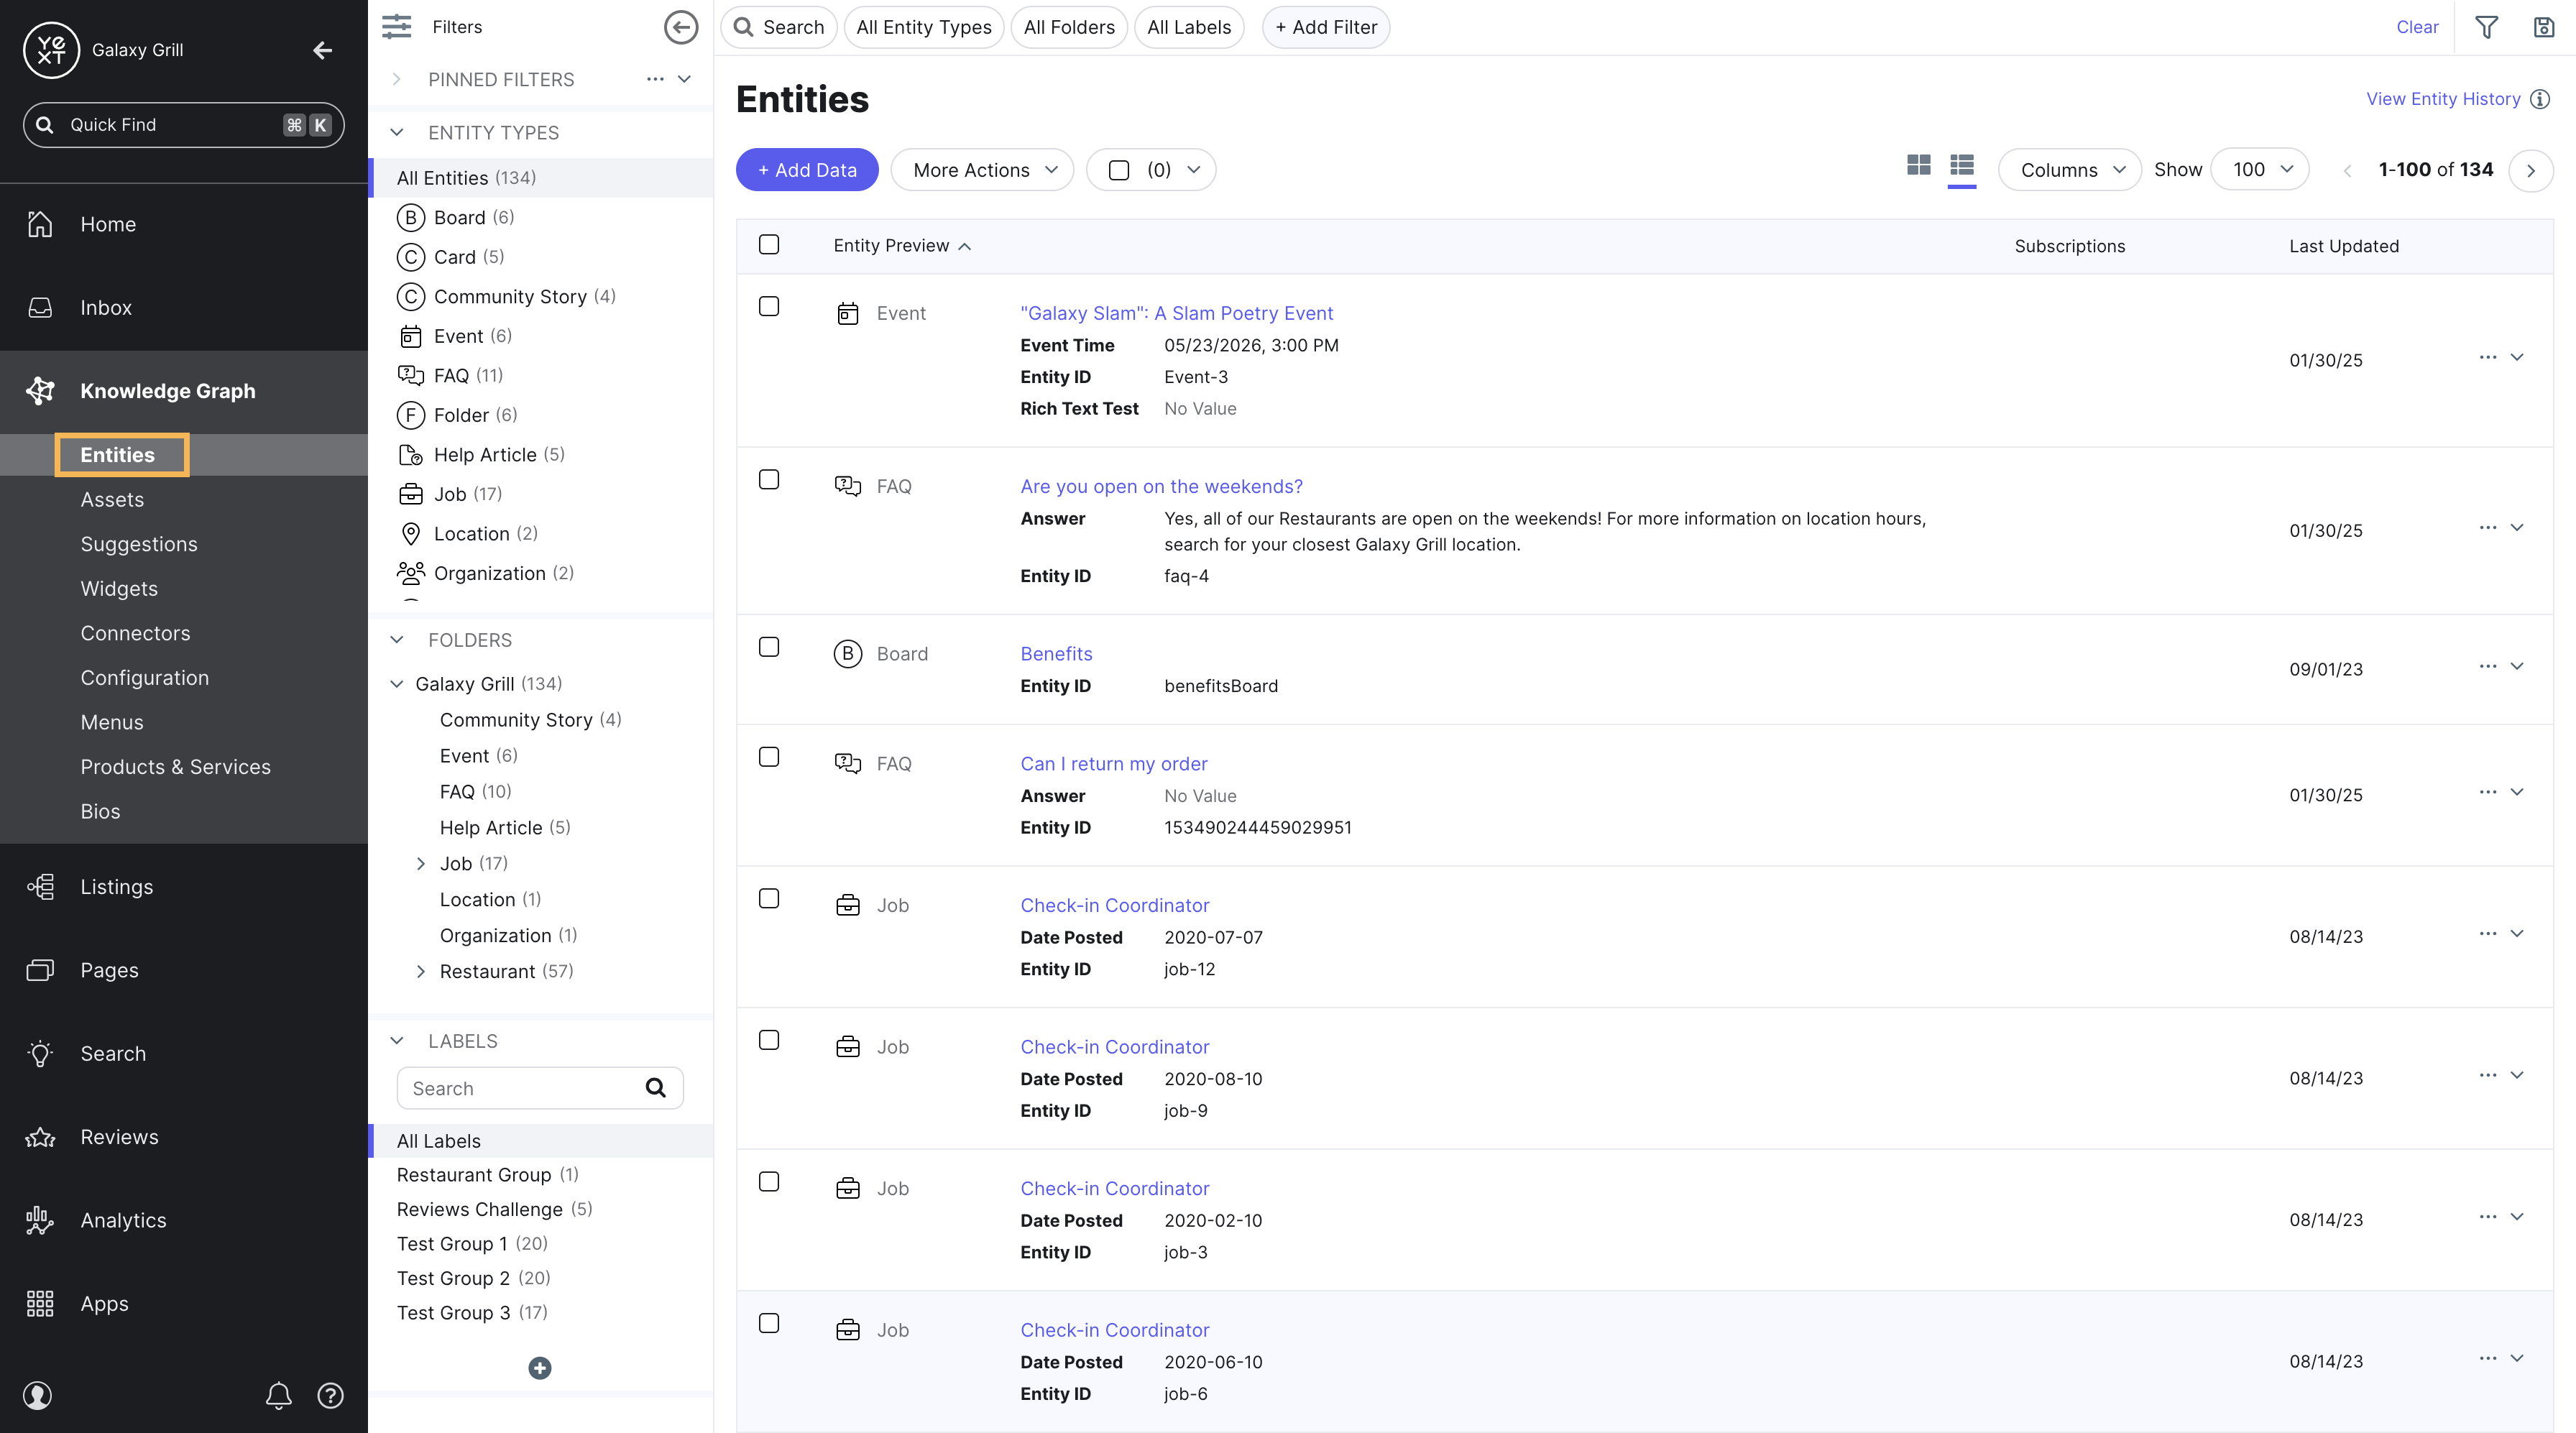
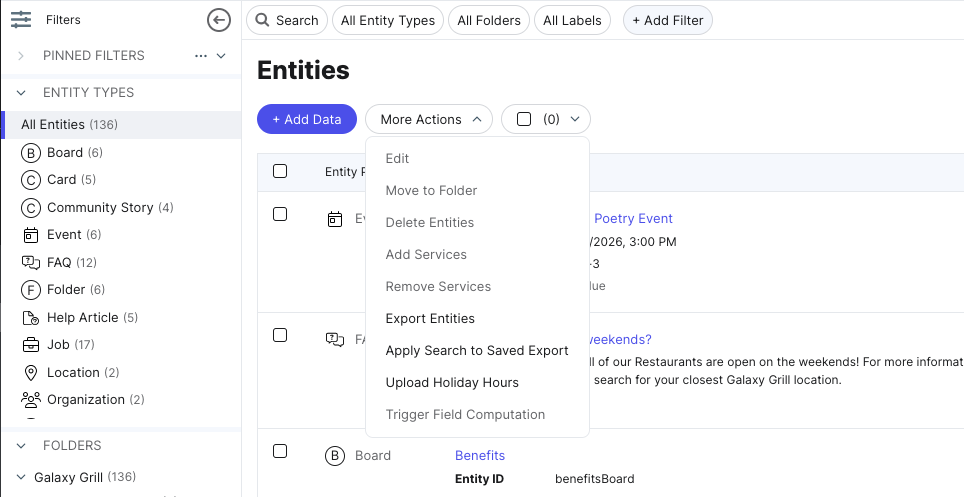
Filters, Add Data, and More Actions
Use the search bar and filter options at the top of the page to filter your entities by certain criteria. You’ll also see a button to Add Data to create new entities.
Under the More Actions dropdown, you’ll find more options like exporting entities or moving entities to different folders to keep them organized.
Entity Edit
When you click into a single entity, you’ll land on the Entity Edit screen.
This is where you can view and edit an entity’s field values. You can also bulk-edit entities to make changes to multiple entities at once.
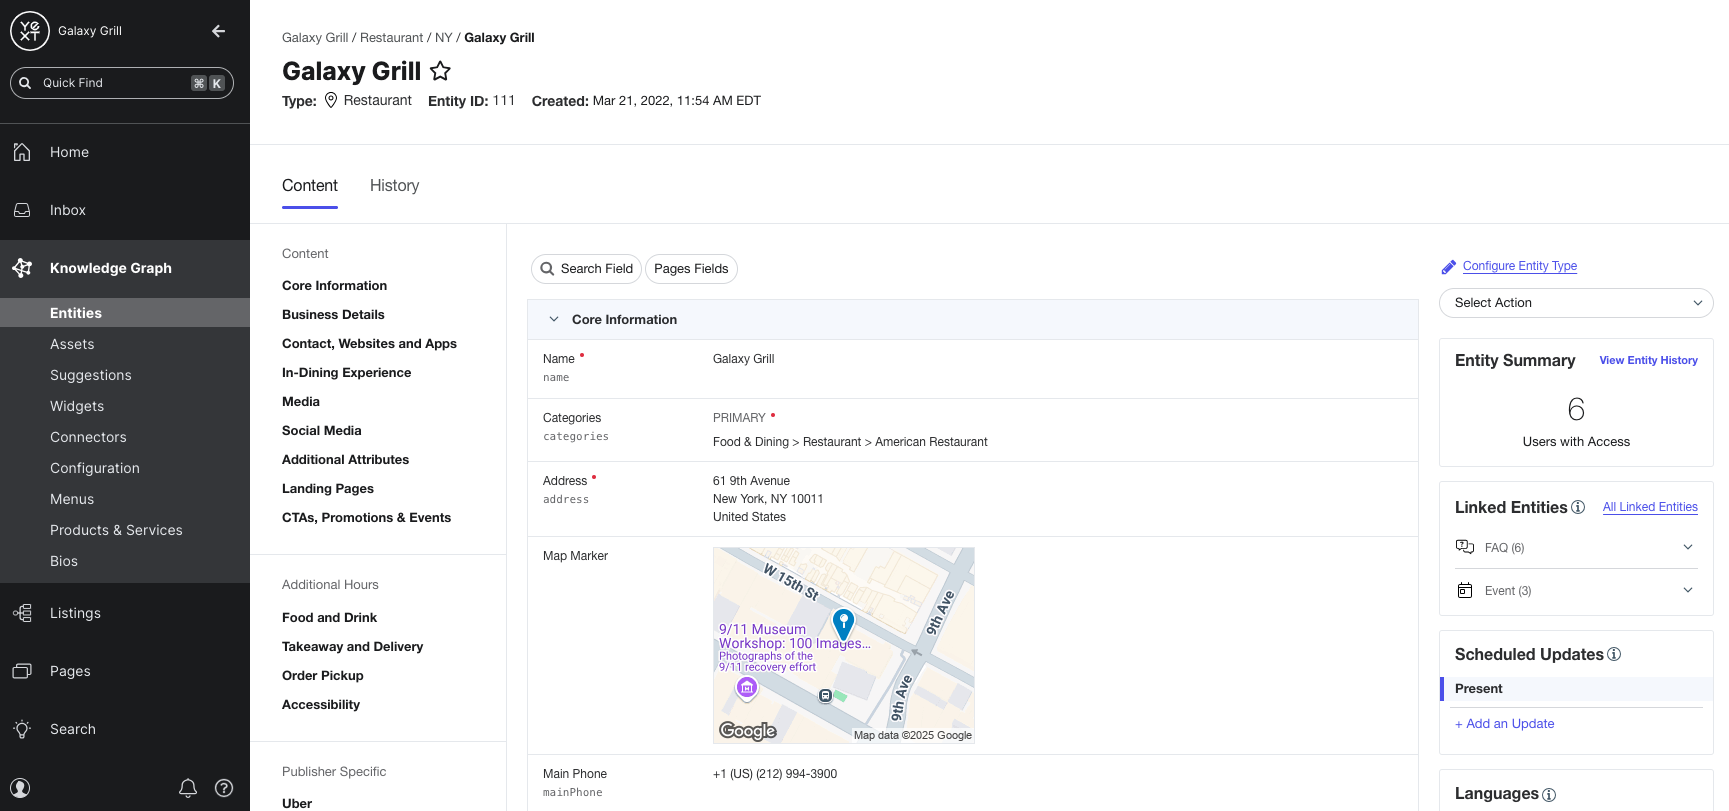
The information and tools you’ll see on Entity Edit are:
- The fields for your entity (in the center of the screen). Click any field to edit it.
- The field sections (in the sidebar on the left). These are the sections you configured in your entity schema. Click any section in the sidebar to jump to that section.
- Modules on the right sidebar for linked entities and scheduled updates, alternate language profiles, Knowledge Tags, and licenses.
- The Entity History tab (at the top of the screen) to view past data updates.
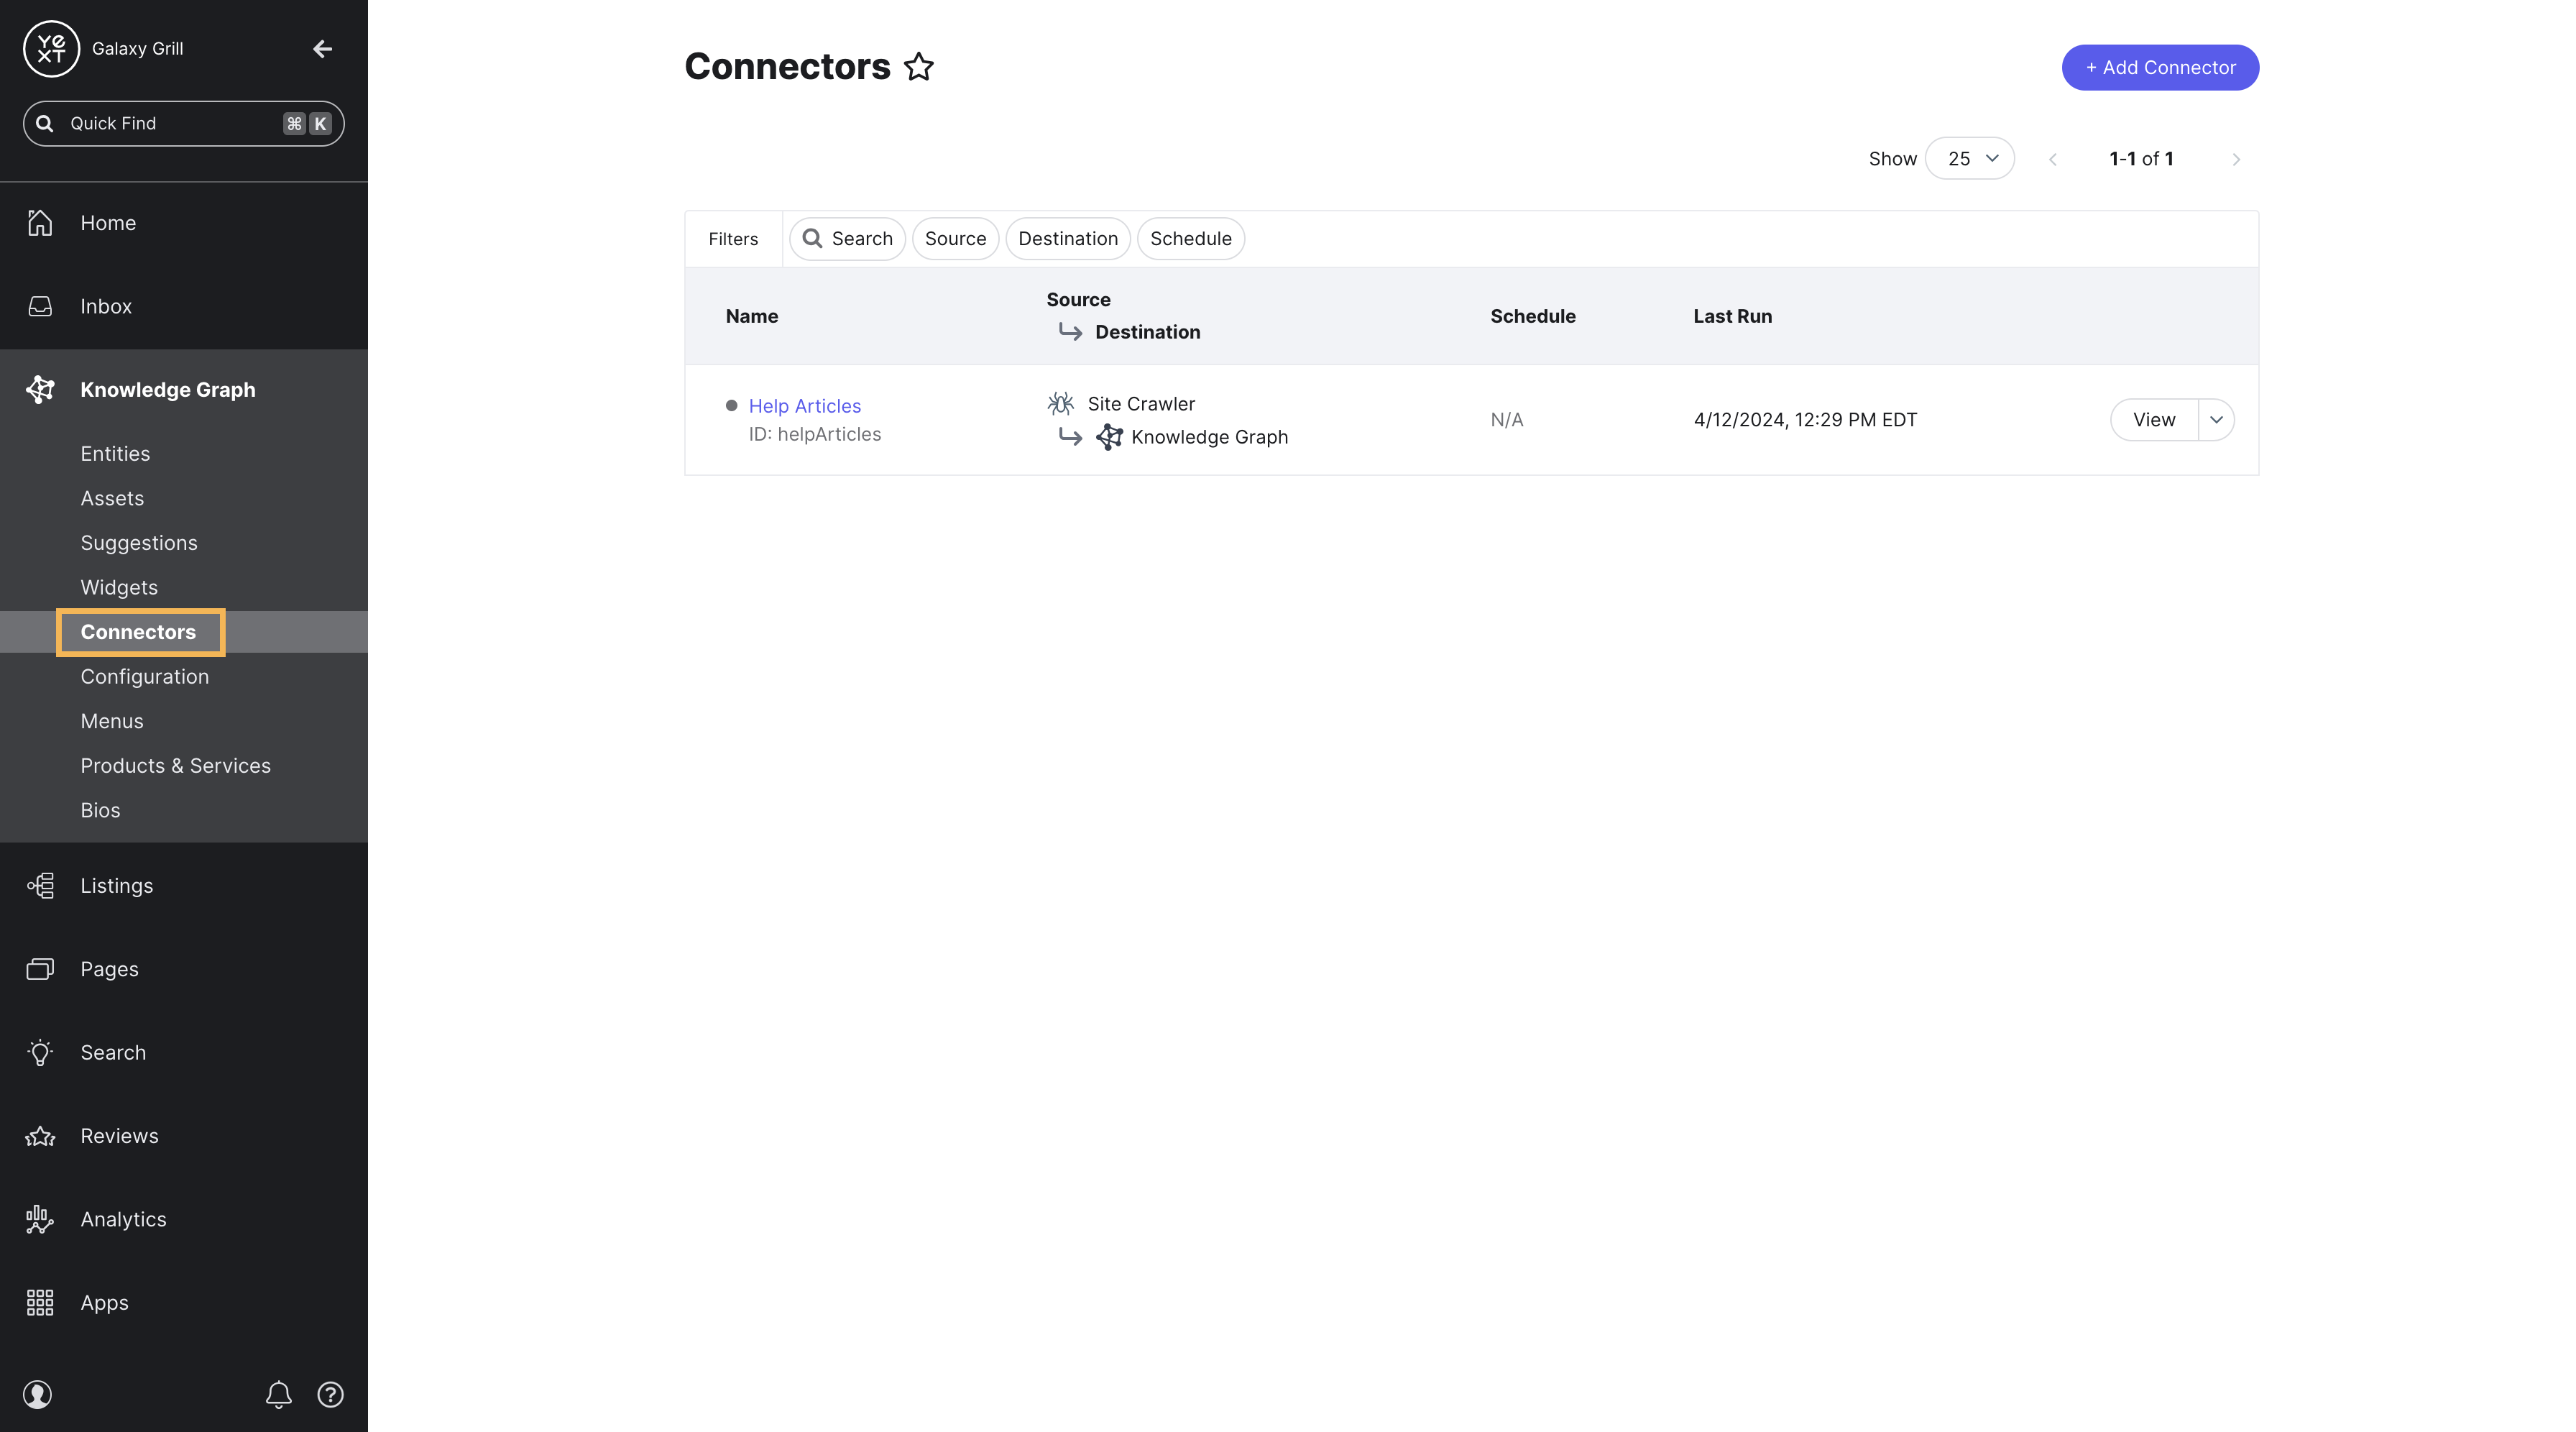
Connectors
A connector is anything that takes data from a source (such as a spreadsheet or a third-party system, like Google Business Profile) and transforms it into entities in the Knowledge Graph. You’ll learn more about this in the Connectors module.
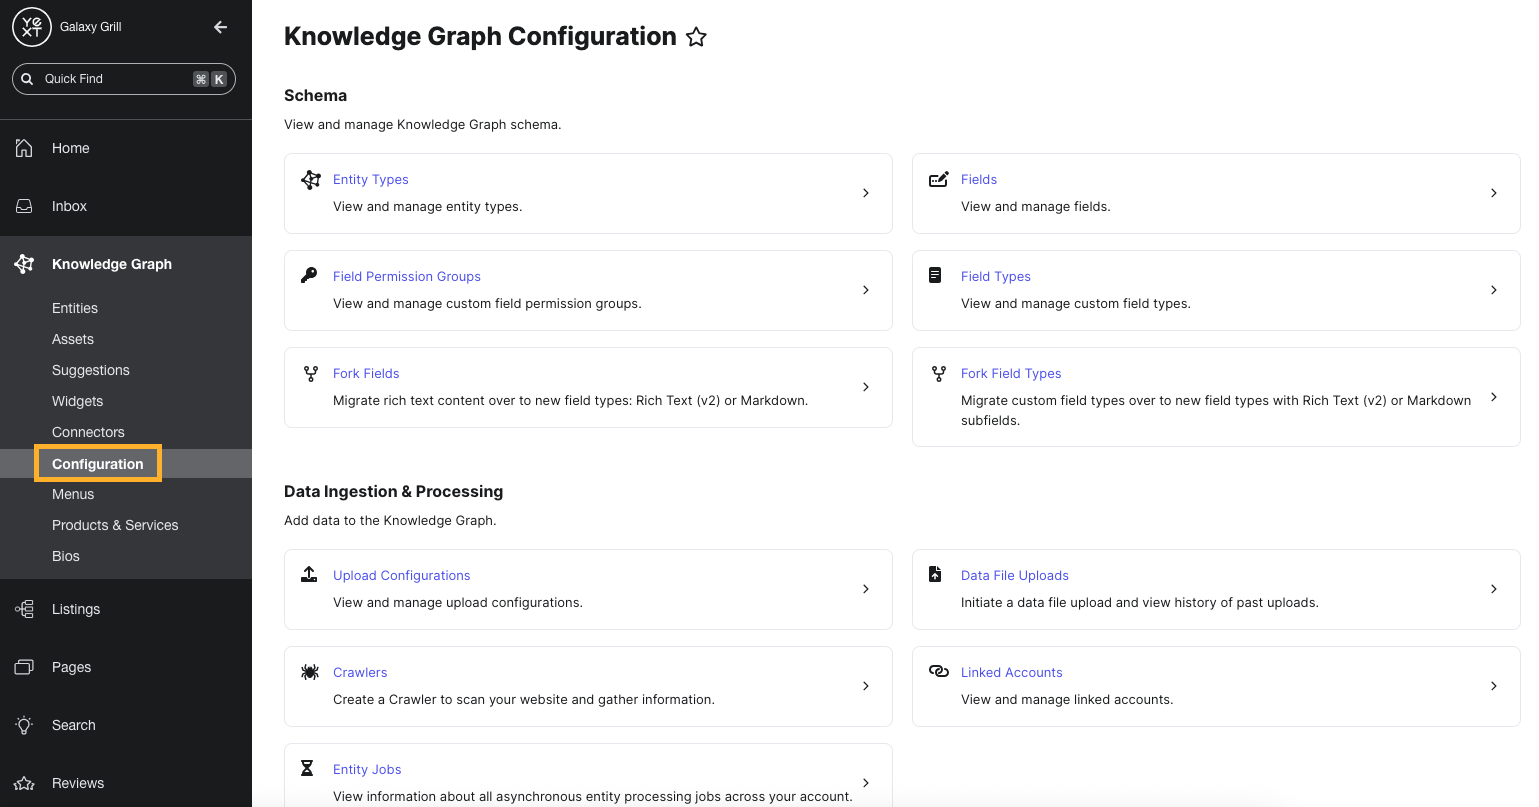
Configuration
Manage all of your Knowledge Graph settings, such as adding new entity types, fields, data connectors, and more that we’ll cover throughout the rest of this track.
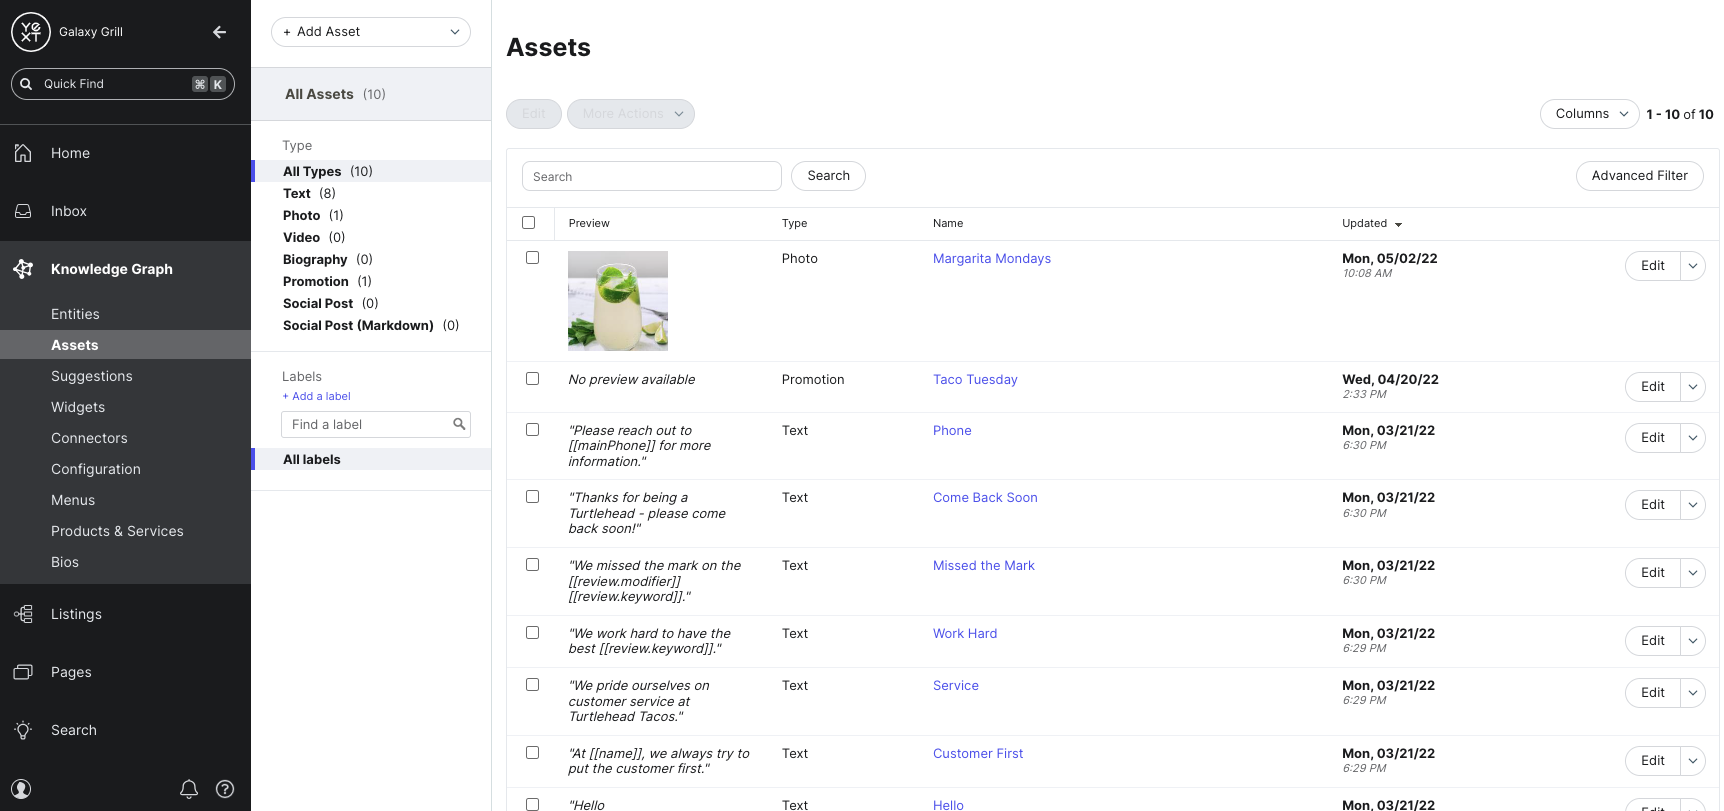
Assets and Suggestions
Assets are a way to store a library of shared, pre-approved content in Yext. You can store assets for photos, text, videos, or any custom field types.
Once in the library, the asset can be used in a variety of places, including on entities, in entity templates, in review responses, in social posts, and more. You’ll learn more about this in the Content Management and Authoring in Yext module.
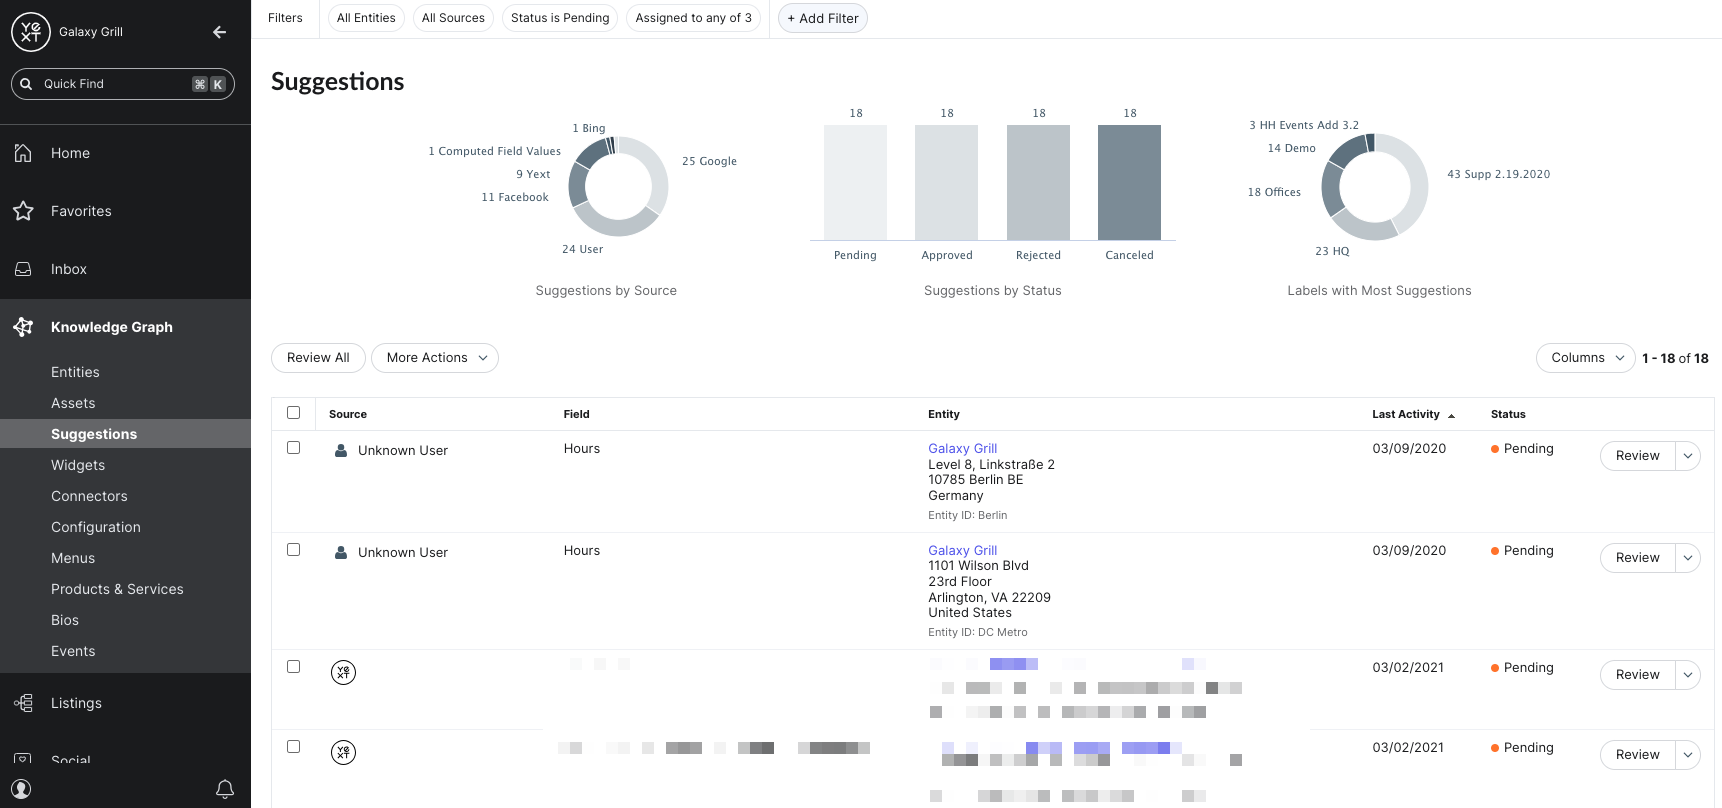
Suggestions
Suggestions allow you to manage the content stored in entities by surfacing suggested edits from external sources like Google and Facebook (if you use Yext Listings), as well as your teammates in Yext. You’ll learn more about this in the Content Management and Authoring in Yext module.
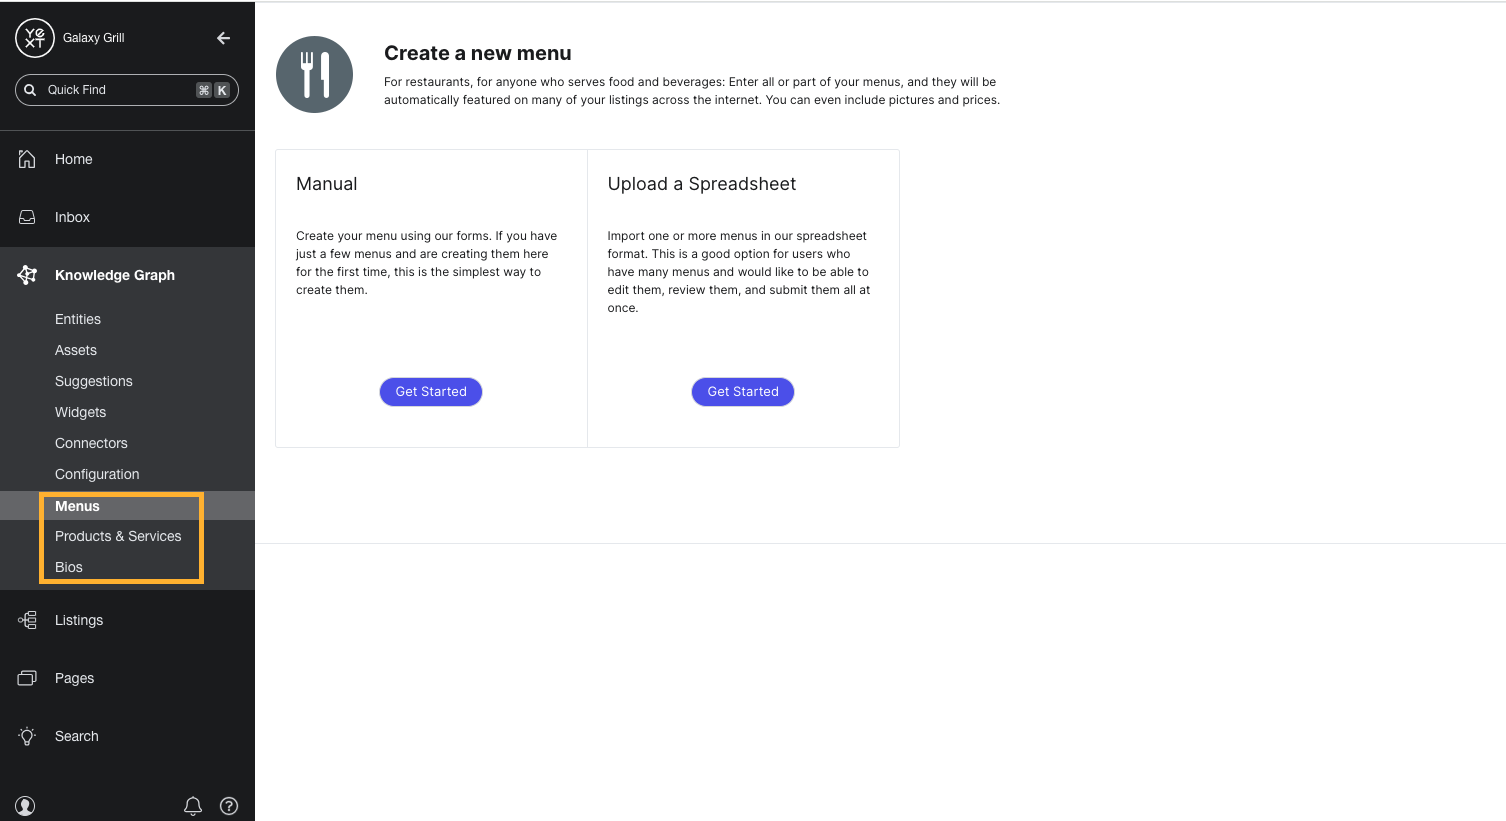
Enhanced Content Lists
The Menus, Products & Services, and Bios options under the Knowledge Graph navigation are for creating Enhanced Content Lists (ECLs). If you use Yext Listings, you can store this type of data in the Yext Knowledge Graph and use Enhanced Content Lists to sync them to your listings.
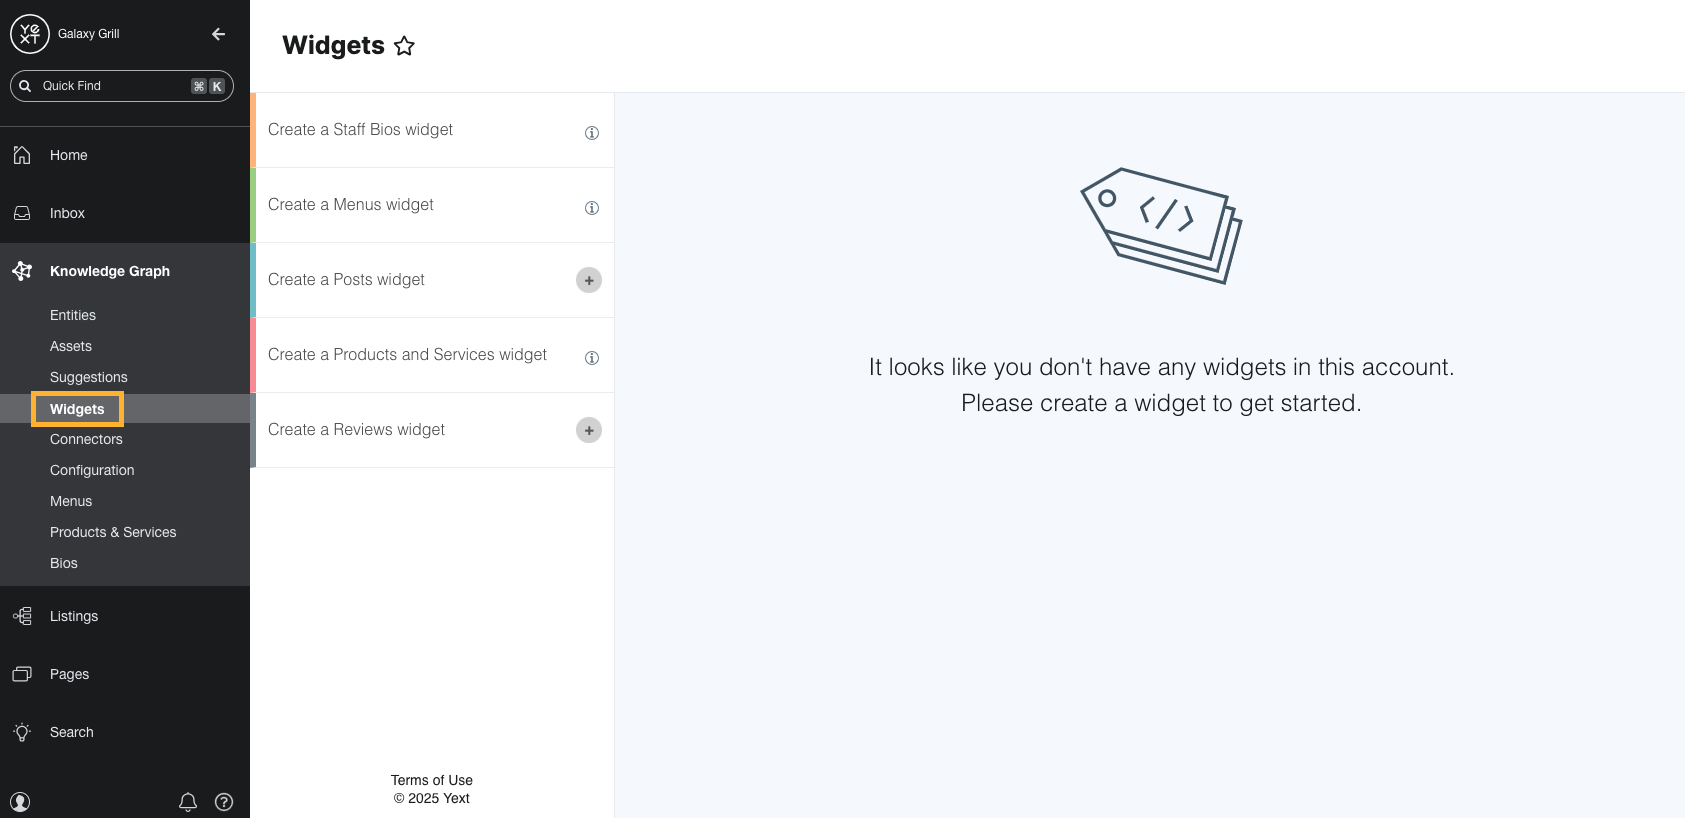
Widgets
If you create ECLs in Yext, you can also create widgets to feature them on your website pages.
Keep Learning
See these resources for more on what you can do from Entity Search:
- Saved Filters unit
- Folders and Labels unit
- Add a Single Entity help article
- Edit Entities in Bulk help article
- Upload Entities to Yext help article
See these resources for more on the other tools you can access from Entity Edit:
- Linking Entities unit
- Scheduled Updates unit
- Multi-Language Entity Profiles module in the Multi-Language Experiences track
- Knowledge Tags Overview help article for Pages and Live API customers
- Assign Licenses to Entities help article
- Entity History reference
For more on creating enhanced content lists, see the Create an Enhanced Content List help article.
For more on creating widgets for enhanced content lists, see the Create an Enhanced Content List Widget help article.
