Custom Field Types | Yext Hitchhikers Platform
What You’ll Learn
In this section, you will learn:
- What a custom field type is
- Example use cases of custom field types
- How to create custom field types
What is a Custom Field Type?
As covered in the last unit, Yext has built-in custom field types that a user can select, like photo, single-line text, number, and many more. But what if you wanted to combine these together to build a new type?
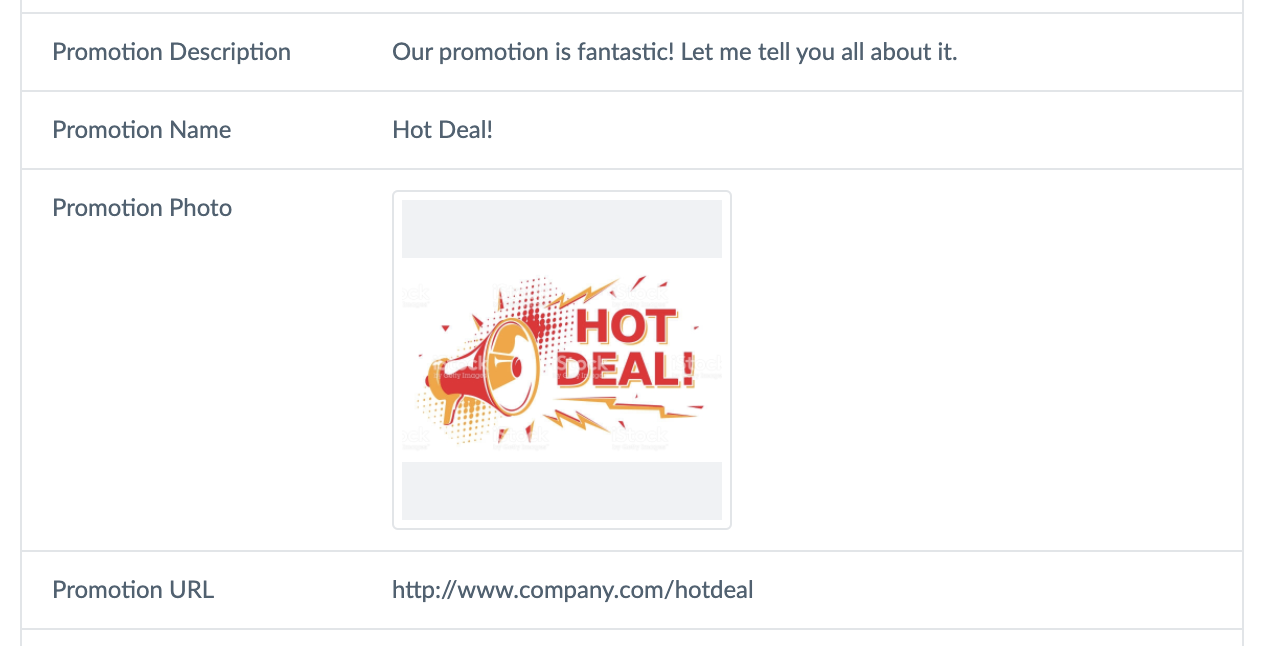
Let’s say you wanted to create a “Promotion” object on your Location entity so that you could feature the promotion in Search and on your Pages. You want your promotion to include a name, a photo, a description, and a URL. Well, you could create 4 separate custom fields, and it could look like something like this on your Location entity:

Sure, that works fine enough if you just have one promotion, but what if you want to add a second promotion?
Custom Field Types let you define a new complex field type using the standard field types as sub-fields. In the end, you have a custom type that you can select when you create a custom field.
For the example above, you would build the promotion by defining a Type called “Promotion” (or whatever you’d like to name it) with sub-fields like:
- “Name” of type single-line text
- “Photo” of type Photo
- “Description” of type multi-line text
- “URL” of type URL

The actual subfields would depend on your brand and how you think about Promotions. Most brands define these differently, like some have availability dates while others don’t, or some have videos instead of photos, and so on. This is why you have the flexibility to define your own objects.
Once you define a new Custom Field Type, the type becomes selectable when you are creating a new Custom Field along with the Standard Types.
Common Examples of Custom Field Types
Here are some examples of custom field types that we’ve seen:
- Size/Dimensions, e.g., Height, Length, Width subfields
- Promotions, e.g., Photo, description, text, expiration date subfields
- Product Availability, e.g., Location (linked entity), inventory, price subfields
How to Create a Custom Field Type
Navigate to Content > Configuration > Field Types. Here’s where you can see any Custom Field Types you’ve already defined. Click “Add Custom Field Type” button to get started.
Fill in the Name of the type. This will appear in the Add Custom Field page in the Type dropdown, as well as in the Custom Field table.
Optionally, add a description so other users in the platform understand what it is or what you’re using it for.
Click to add your subfields. For each subfield, you will need to define:
Subfield Type: You can select from any Standard or Custom Field Type defined in the account. You can also choose to create a “Struct” which allows you to define a nested object in-line (without having to save it as a type first).
Subfield Label: This is the subfield name users will see in Entity Edit.
Validation: Optionally, you can set subfield validation just like you can on a field. For example, if you have a CTA type, you might want to limit the CTA text character length depending on the button size on the page. You can only change type validation before the field is being used so make sure to think about this carefully.
Required Setting: If you check this box, this subfield will be required when users fill out the field. For example, if you have a Promotion custom type, you might make the Name and Description subfields required, but might leave the Photo optional depending on your brand’s preferences.
Make it a List: If you check this box, it will add this subfield as a list within the object. For example, you could have a list of URLs or photos.
Once you’ve added and defined all of your subfields, click “Save”.
Go to Content > Configuration > Fields to add a Custom Field instance of this type.
Custom Field Types allow you to: (Select all that apply)
True or False: When setting your subfield type, you can select from any Standard or Custom Field Type defined in the account.
Climbing that leaderboard! 📈

