Facebook Setup | Yext Hitchhikers Platform
What You’ll Learn
In this section, you will learn:
- How to link your Facebook account in the Launch Listings flow
- Where to enter your Brand Page ID
- How to specify your settings for syncing individual entity fields to Facebook
Facebook Setup
This unit will go through the steps in the Launch Listings flow under Facebook Setup.
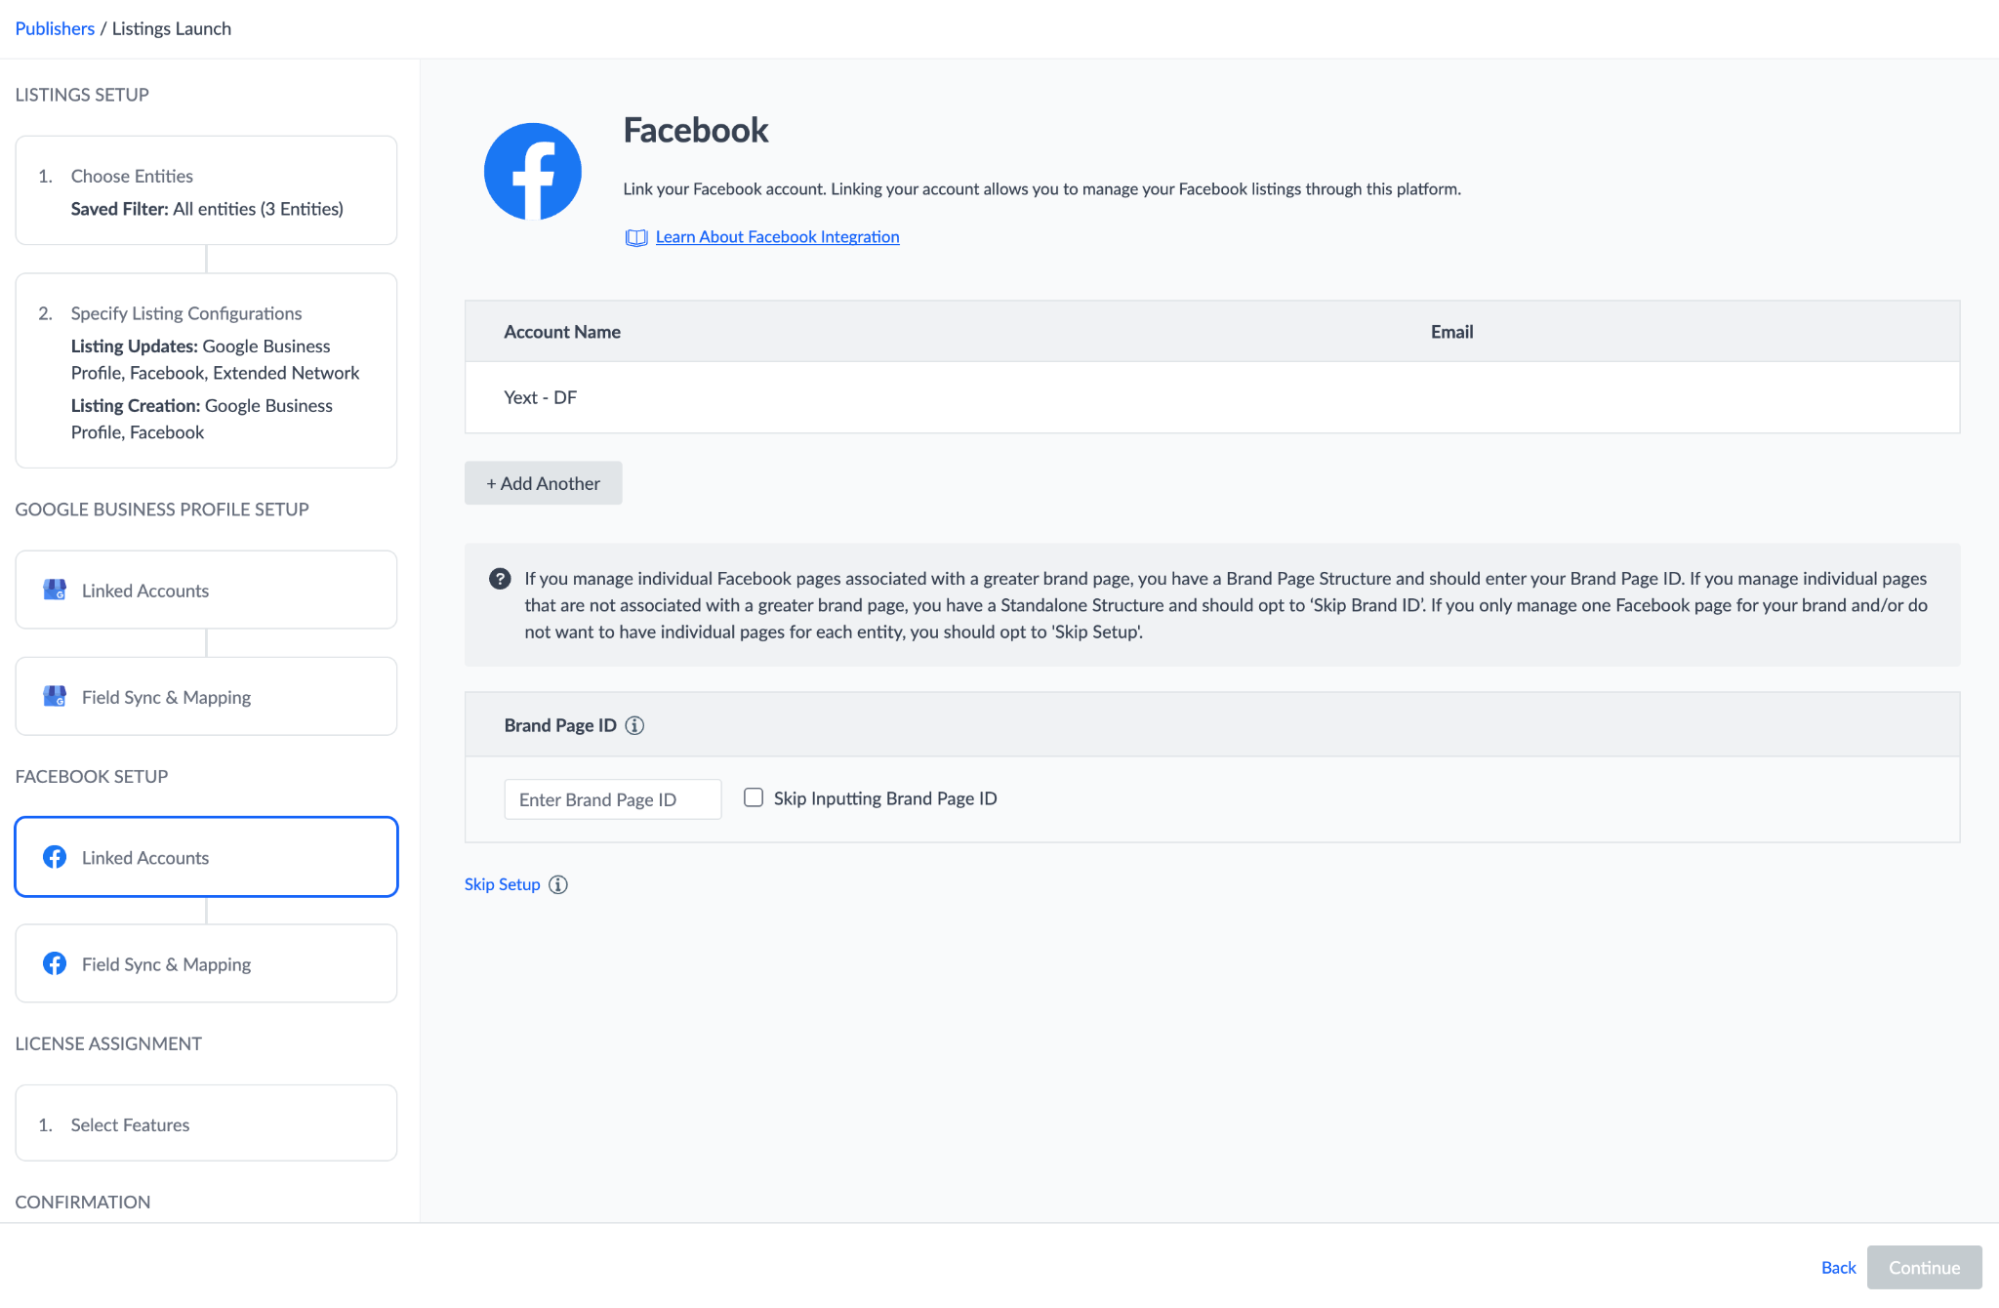
Linked Accounts
The steps to link your Facebook account are the same as the steps you took for Google in the last unit.
Click + Link Account and follow the prompts to grant Listings access to your Facebook account, or select your Facebook account if you have already linked it.
Make sure to grant Yext full access to all relevant pages when prompted. This will ensure that Yext can effectively manage your listings, and that Yext Support will be able to effectively help you troubleshoot if needed.

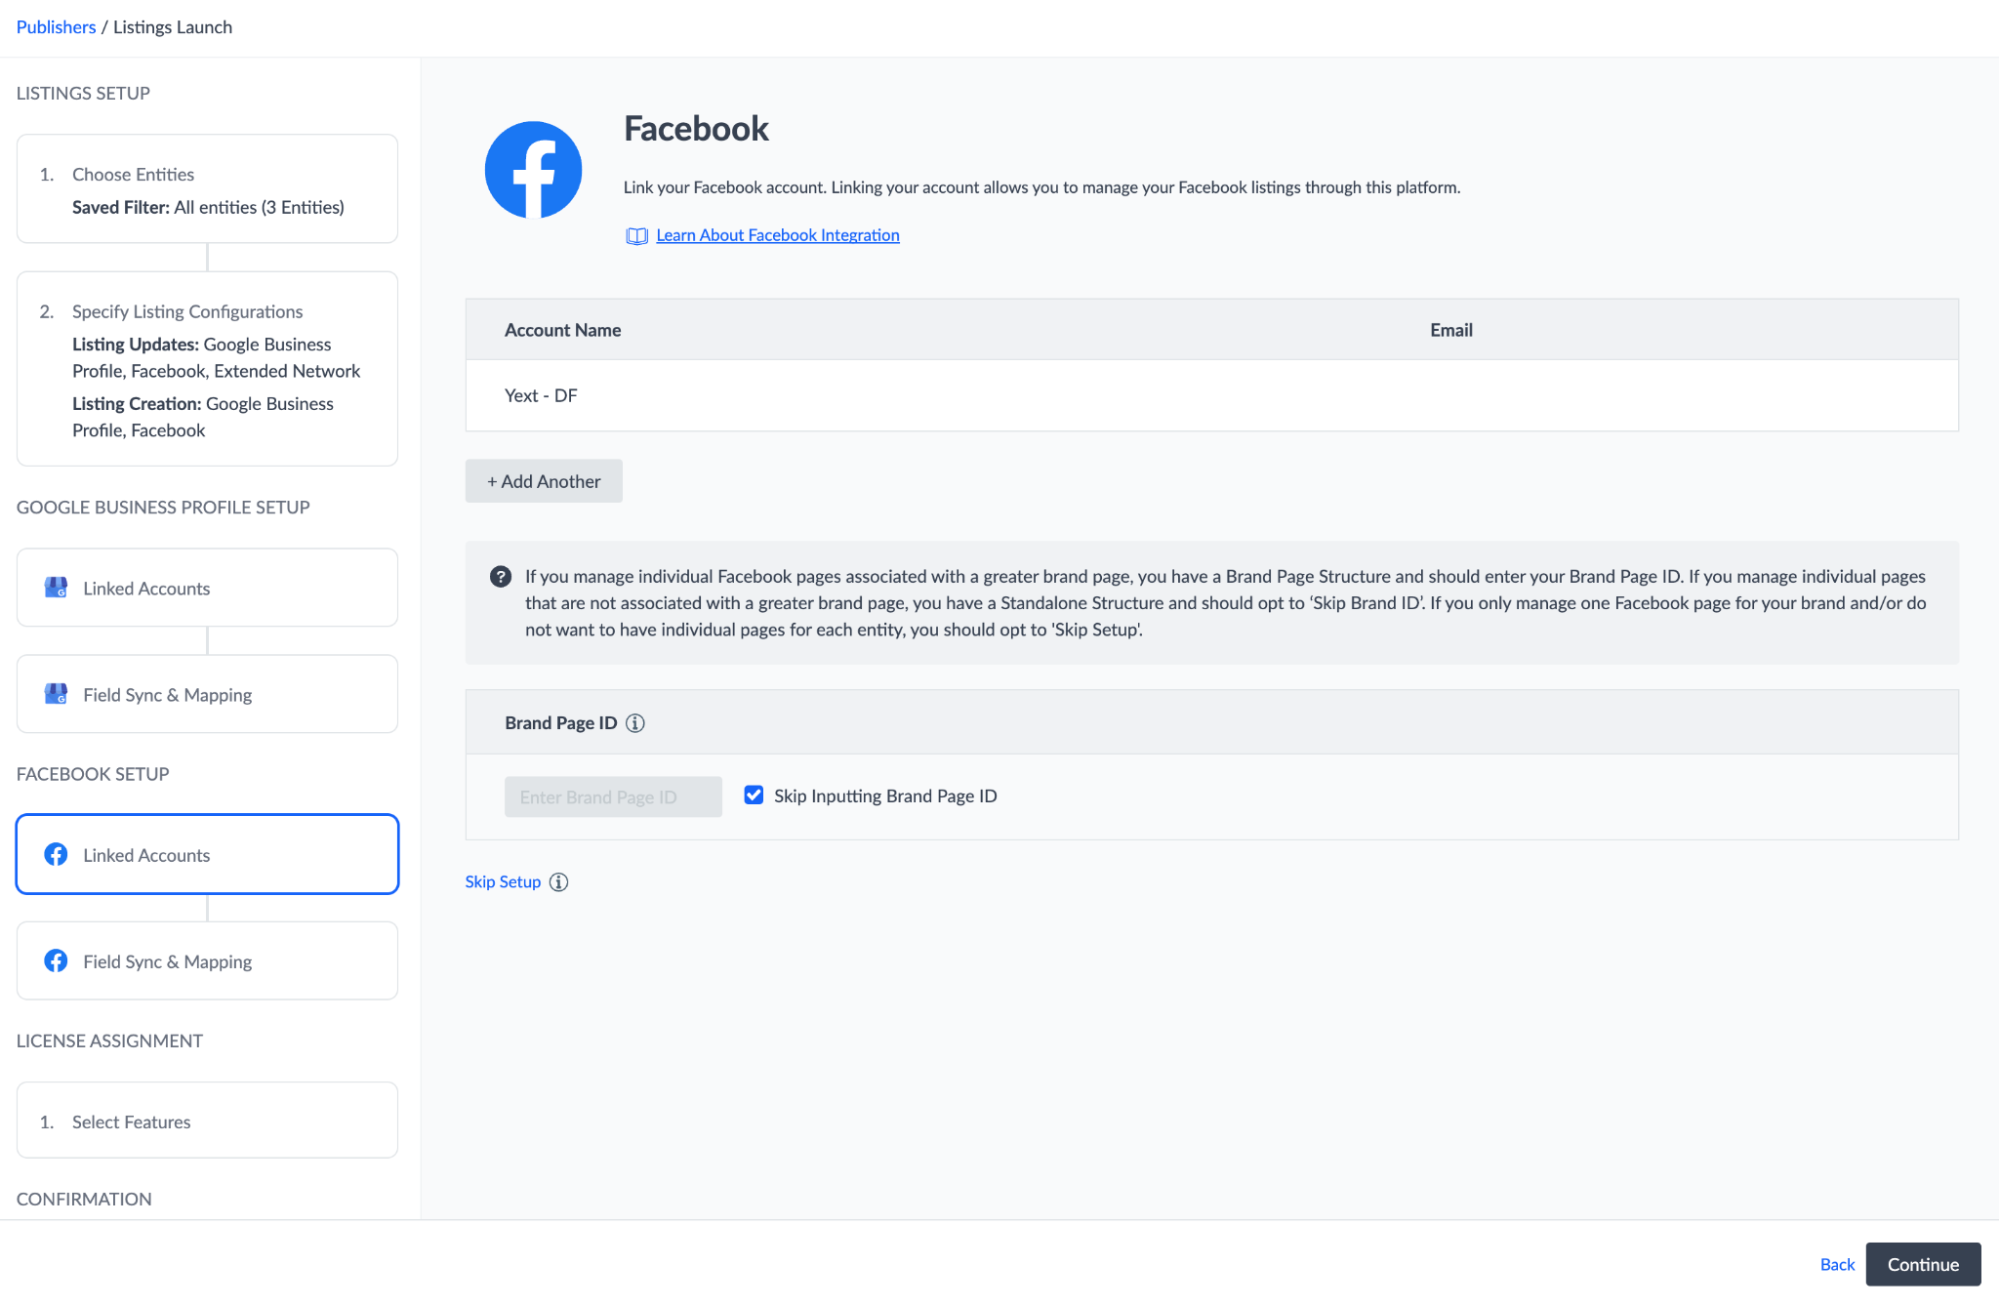
Brand Page ID
If your Facebook account is set up in a location structure (where all of your location pages on Facebook are linked to a brand page), enter your Brand Page ID here.
- If you do not have a location structure, select the checkbox to Skip Inputting Brand ID.
- If you do not know your Brand Page ID, select the checkbox to skip and come back to it later.
- If you have multiple brand pages, you will need to go through the launch flow for each one individually.

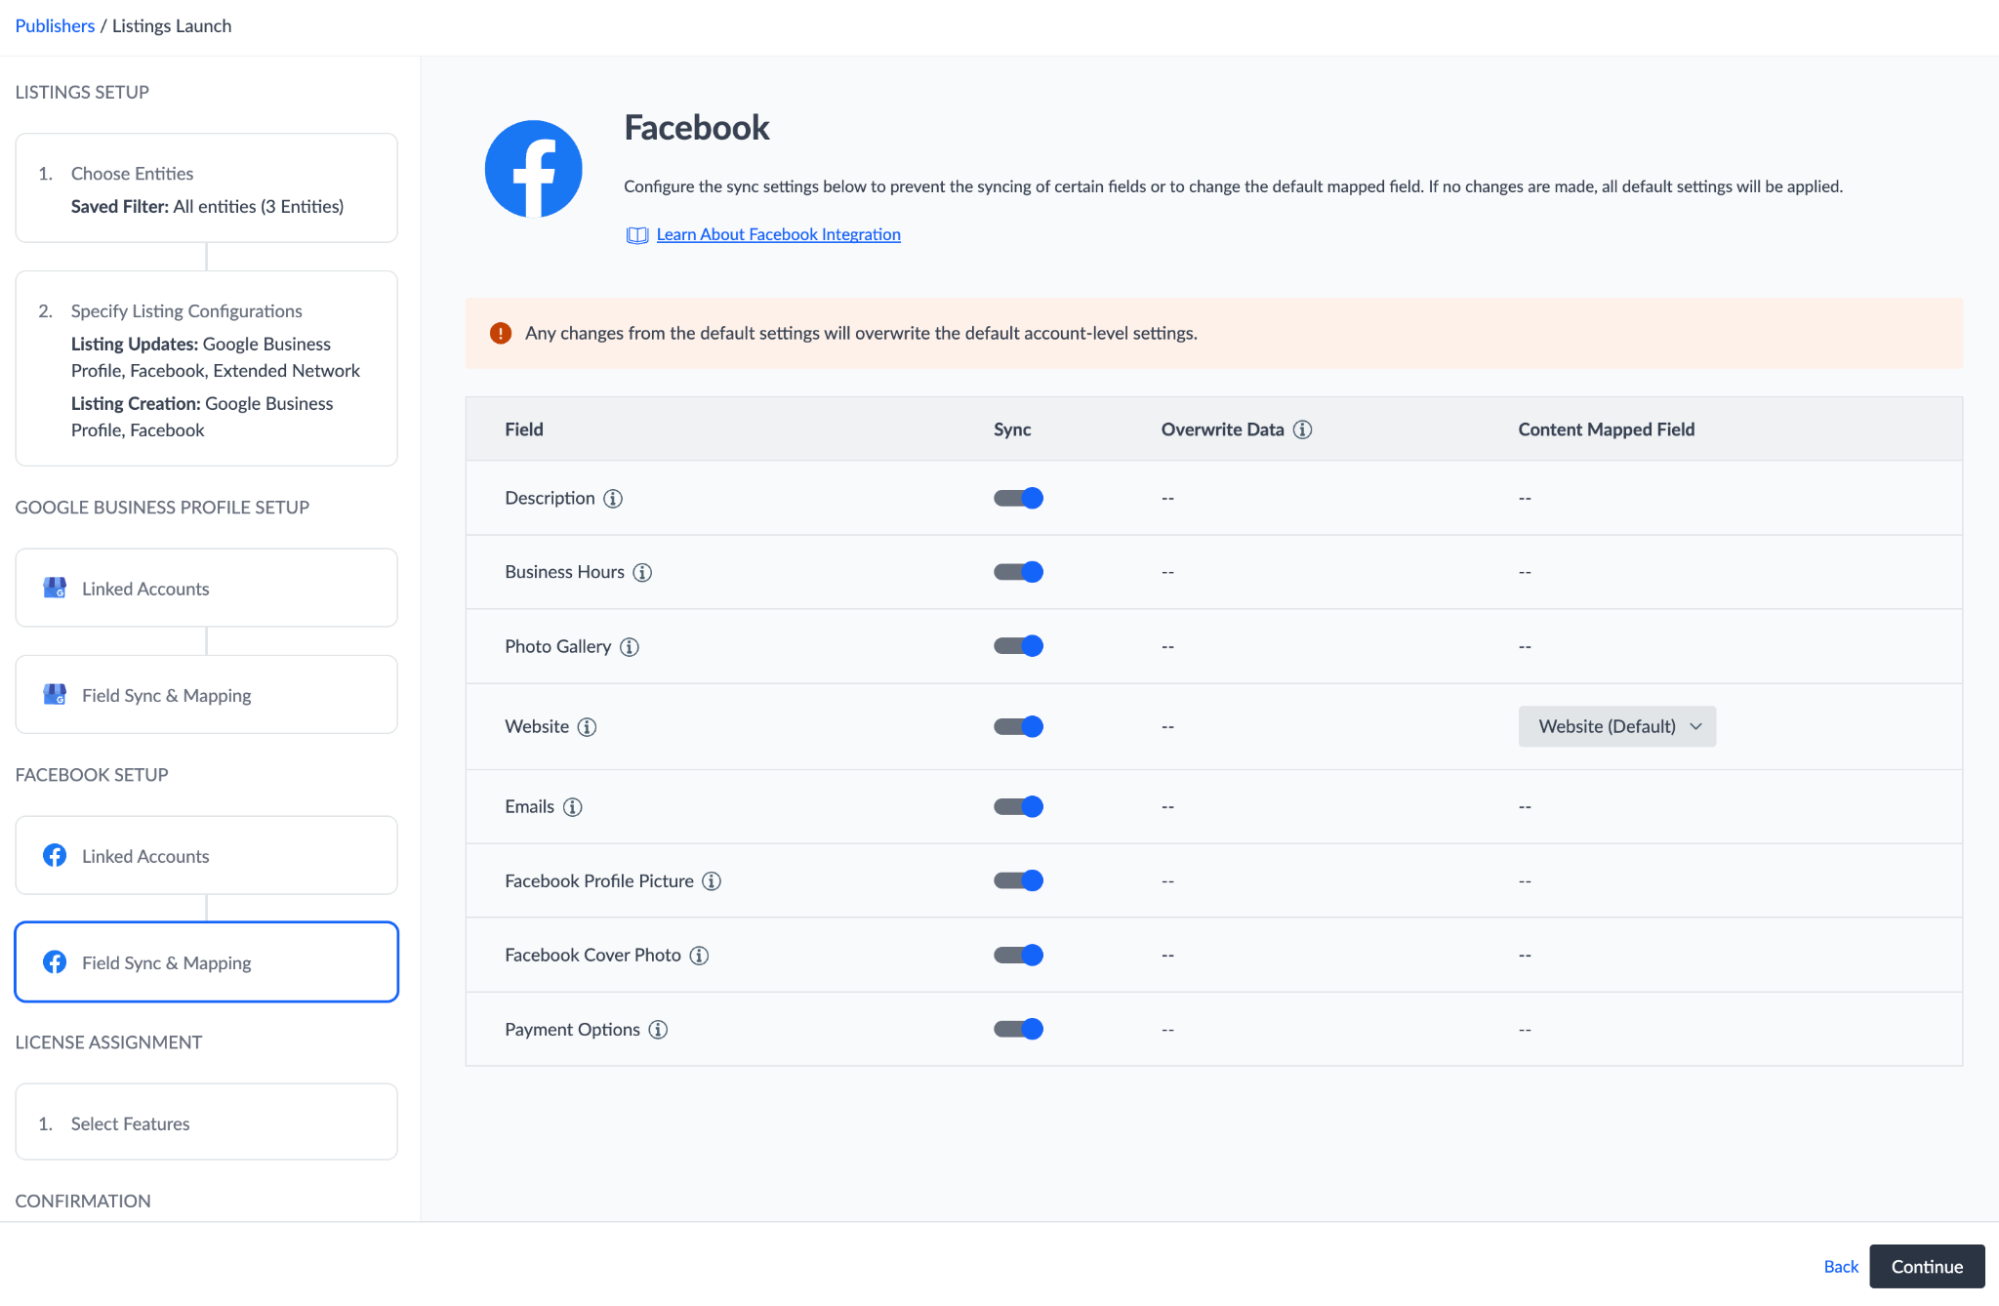
Field Sync & Mapping
This step also functions the same as the field sync settings for Google.
- All fields are selected by default, and we recommend leaving all fields selected.
- As a reminder, use caution if you choose to override any fields and use a custom field, since these settings will apply to your whole account.

Click Continue in the lower right to continue to Apple setup.
When you link your Facebook account, what are the reasons that you should grant Yext access to all relevant pages? (Select two options)
You're out of this world! 🌎

