

Step 5: Update Page Settings
We are no longer implementing new Page Builder sites. This guide is for existing Page Builder clients to maintain their existing Page Builder sites.
We’ve launched a new Pages in-platform experience for marketers. To learn more, check out the guide here.
For current Pages customers interested in accessing these new capabilities in addition to the current experience, talk to your account team to learn more about how to rebuild your pages on this new experience.
In this step, we’ll configure additional global settings for our page template. Click into the Settings tab to see a full list of options:
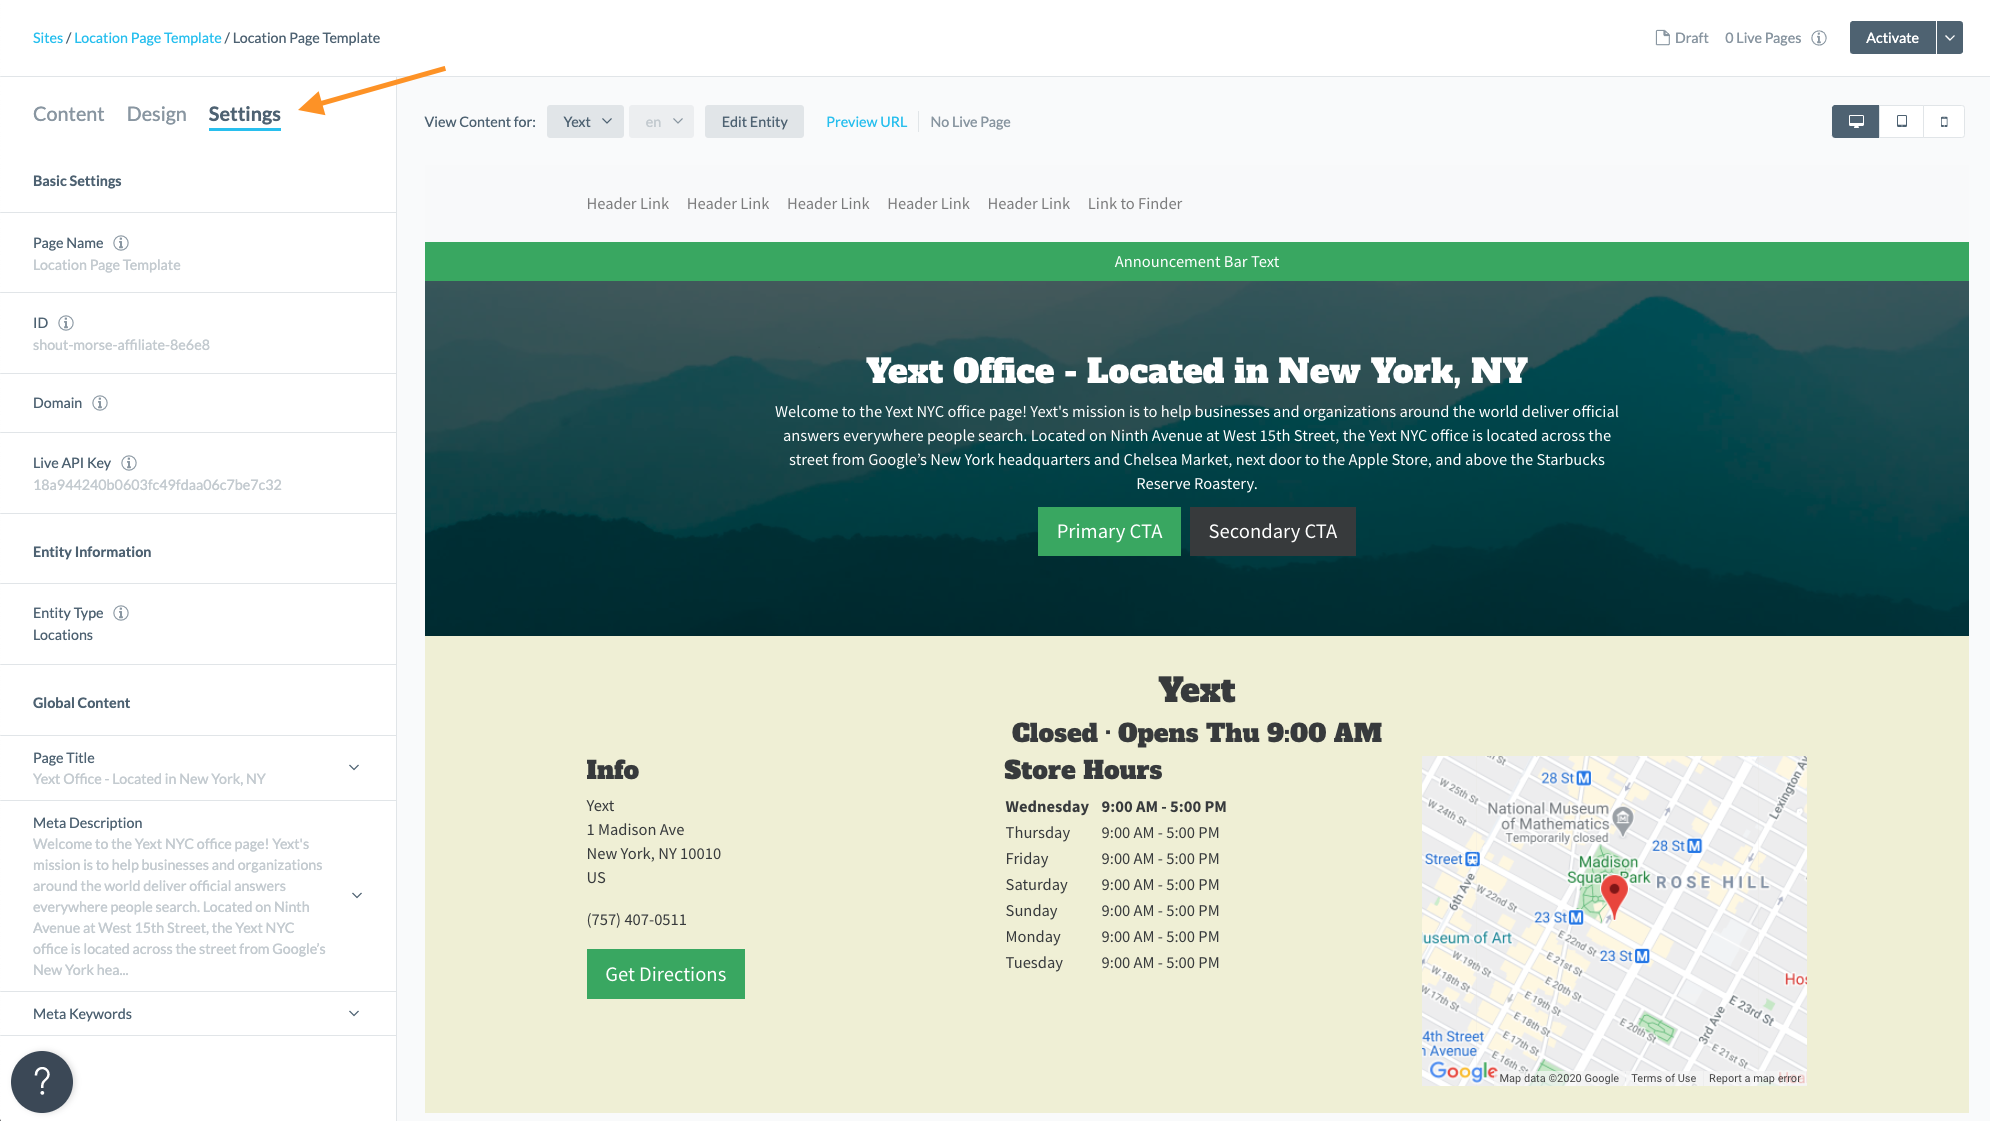
Set the Page Settings & Meta Data
You will see various global settings for the template, such as the template name, associated domain, and entity types, which are populated automatically through the Pages system.
Within the Global Content section, we recommend paying specific attention to the Page Title and Meta Description, as these two properties are important from an SEO perspective.
Page Title
Page titles are critical to giving users a quick insight into the content of a page and why it’s relevant to them. It’s often the primary piece of information used to decide which result to click on in a search results page, so it’s important to use high-quality titles on your web pages. As an SEO best practice, avoid having multiple pages with the same title.
Meta Description
The description attribute within the <meta> tag is a good way to provide a concise, human-readable summary of each page’s content. Google will sometimes use the meta description of a page in search results snippets, if they think it gives users a more accurate description than would be possible purely from the on-page content. Accurate meta descriptions can help improve click-through-rates for local pages.
By default, the meta description is mapped to the Description field in the Knowledge Graph. You can update the content in the Knowledge Graph or map the meta description to another field.
Vanity URL
As a default, our system automatically uses the Entity ID field to construct Page Builder URLs (e.g. - domain.com/[entity ID]).
You also have the ability to use a field of your choice from the Knowledge Graph. This gives you more control and flexibility over how your URL is generated instead of needing to use an auto-generated URL. Having a custom URL structure allows you to better align your website and your brand.
You can set a custom URL path in the Path property in the Basic Settings section. The field you choose to use must be unique across entities (e.g. - domain.com/[c_customField]).
Custom Schema
By default, Pages created for built-in entity types will already have Schema.org markup based on the entity type to help ensure that your pages are optimized to appear in search. For example, your location template uses the built-in location entity type, so you do not have to manually set up custom schema for your page.
However, because custom entities don’t have a set of predefined fields, you will need to manually configure the Schema.org markup on these pages to ensure that your pages are eligible for rich search results. You may also need to customize the schema of built-in entity types if you add a custom field.
See the Add Custom Schema.org Markup to Your Page Builder Templates help article for instructions.
Reference the resources from Schema.org and Google Data Reference to determine which fields to map to which properties.
- When determining your Type, we recommend following the instructions in Google’s Structured Data Reference to identify the best Type for your page.
- For a Product page, we can refer to the Schema.org definition of a product and Google’s structured data reference for a product to determine which fields we want to map to the Schema.org properties.
For more information on our SEO best practices, check out our Intro to SEO module .
Third-Party Analytics
Page Builder collects pages analytics by default, but you also have the ability to Integrate Page Builder with a Third-Party Analytics Provider . You can add a script to the Header HTML section in the settings.