
How to Create User Groups | Yext Hitchhikers Platform
What You’ll Learn
In this section, you will learn:
- The different types of user groups
- How to create a user groups manually
- How to create user groups in bulk
User Groups Overview
User groups allow you to organize your users for things like Suggestions approvals or identifying types of Users in your account. User Groups are a way to designate or organize types of users in your account independent of permissioning.
To access User Groups:
- Click on the Account Details icon in the navigation bar and click Account Settings.
- Click User Groups.
On this screen you will see all of the user groups that are currently in your account.
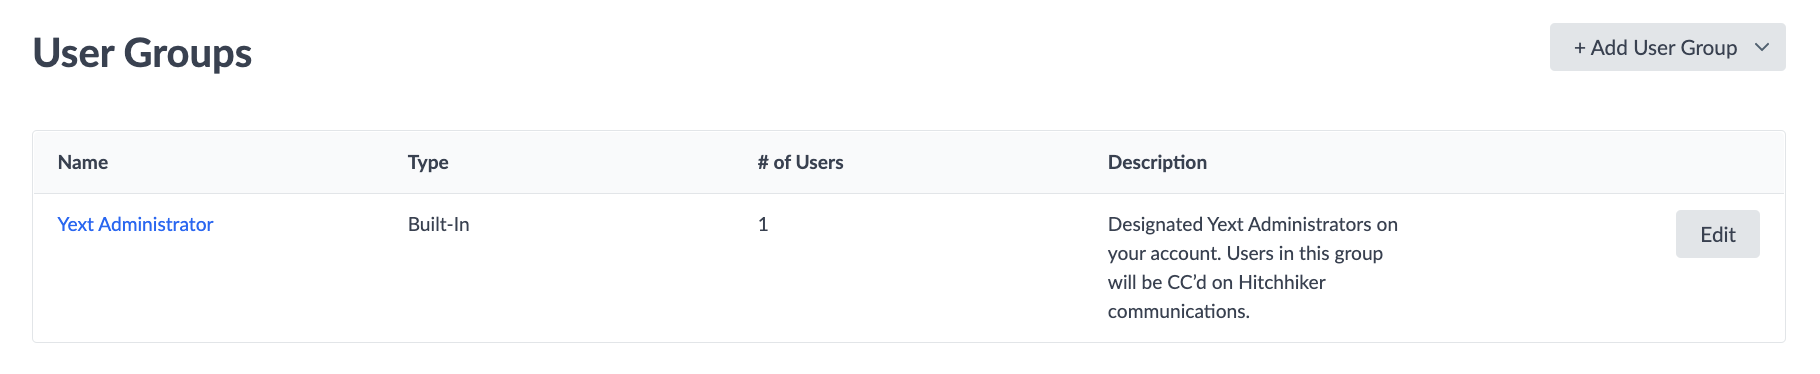
There are two types of users groups:
- Built-in User Groups
- Custom User Groups
Built-in User Groups
Built-in User Groups are defined by Yext, and you have the ability to manage who is in the user groups. Accounts will have built-in user groups that are defined by Yext, like Yext Administrator. Each built-in user group serves a specific purpose and is usually referenced to designate who Yext should reach out to for certain communications.
Custom User Groups
You also have the option to create Custom User Groups. These user groups are used primarily for approvals. So, you can easily designate which users in the account should be responsible for approving Content Suggestions.
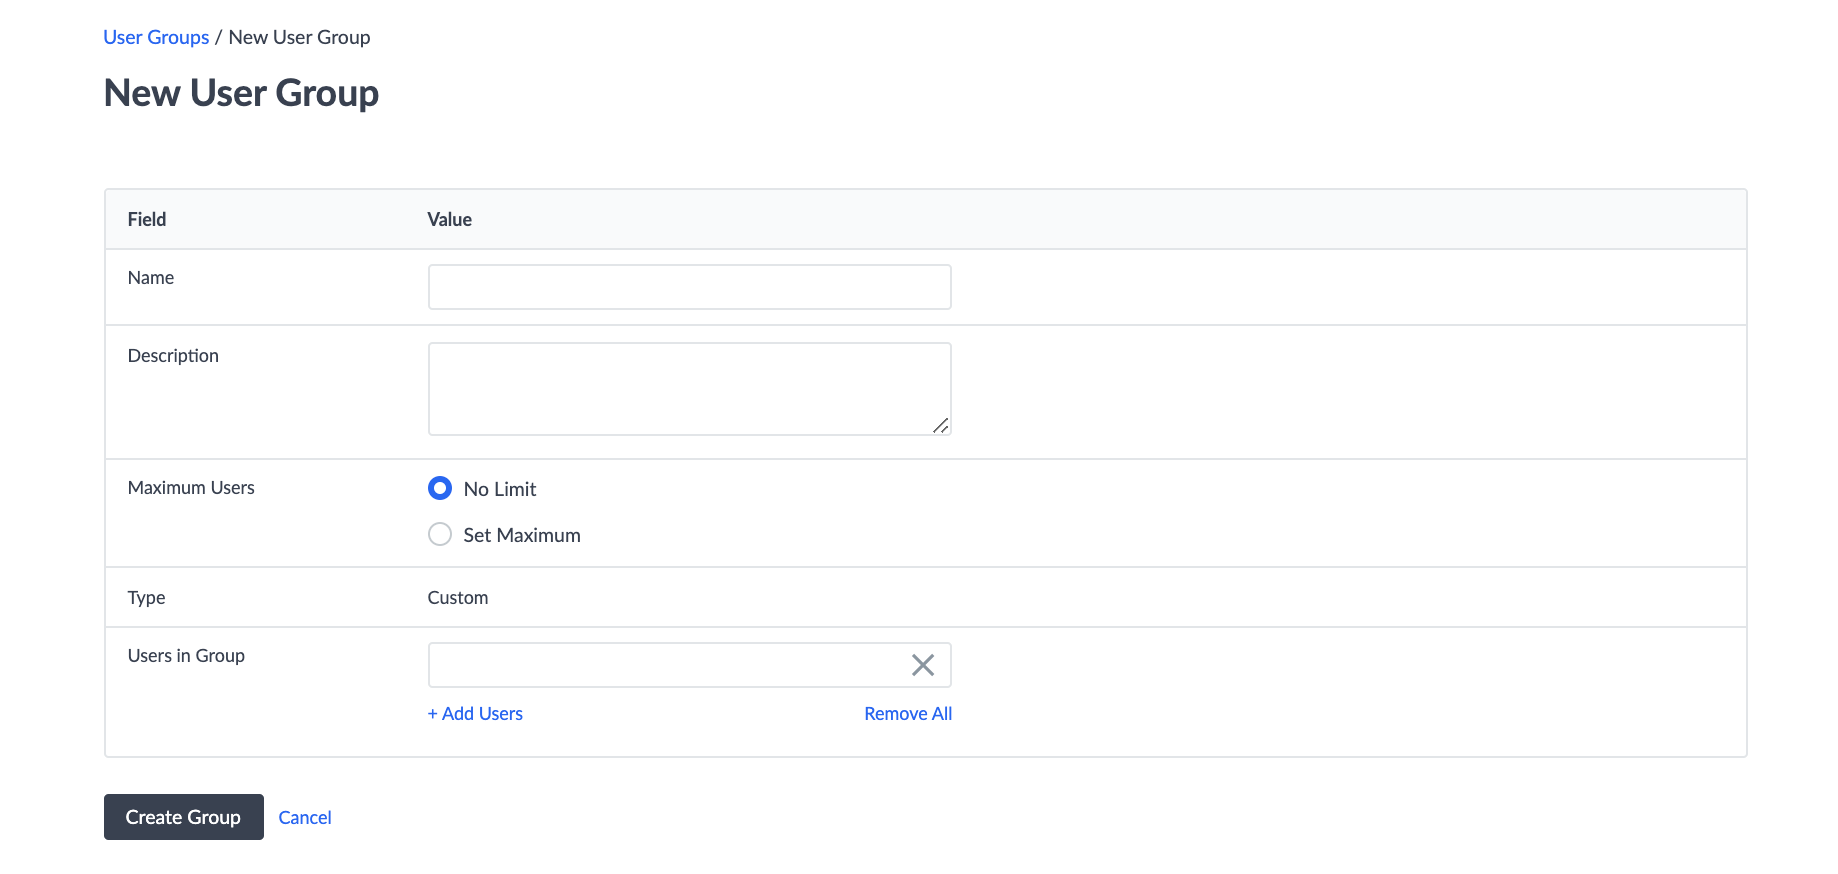
To create a User Group click + Add User Group and select Add Single Group from the drop-down.

Then, you will enter the name of the group, a description, select the maximum number of users that can be added to the group, and add specific users.
User Groups Details
Name: The name of the group. We recommend making this something distinct so you can easily distinguish between groups.
Description: A description that describes the purpose of the group. This will display along with the Group Name on the User Groups screen.
Maximum Users: You have the ability to designate the maximum number of users that can be added to a group.
Users in Group: This is where you can add any relevant users to the group. You will need to create users before you can add them to the group. Once your user group is created, you can also assign someone membership to the group when you are adding them as a user. To add users, simply search for their username in the text box, and click + Add Users to add any additional users.
You can also add users by their assigned role. When you select a role from the user picker, all users assigned that specific role will be added to the user group. For example, if you select the Full Control role, all users with the Full Control role assigned will be added to the group.
If roles change for these users at any point after being added to the user group, they will remain in the user group. If they should be removed, you will need to update the user group.
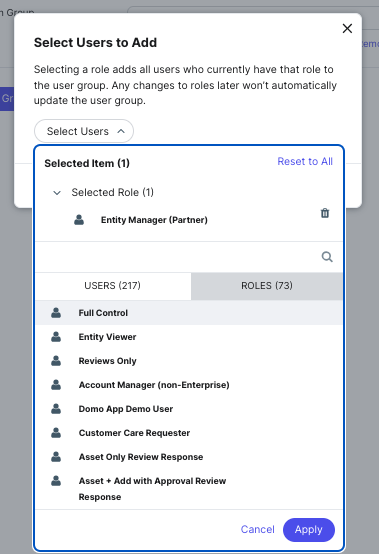
*Note: if a user has had permissions removed and remains in the user group, they may not be able to take certain actions or review certain tasks. Permissions take priority over user group assignment. For example, if a user has their permissions removed to approve social posts, they will not be able to action on social post approval tasks even if they are in a user group assigned to a social post approval task. *
Once you’ve entered your desired group settings, click Create Group and your user group will be added!
Assign a User to a Group
Once you have created your user groups, you can then assign your user to the relevant groups.
In addition to adding users to groups during the upload process, there are two ways to do this directly in the platform:
- From the User Groups screen
- From the Users screen when you’re editing an existing user
From User Group Management:
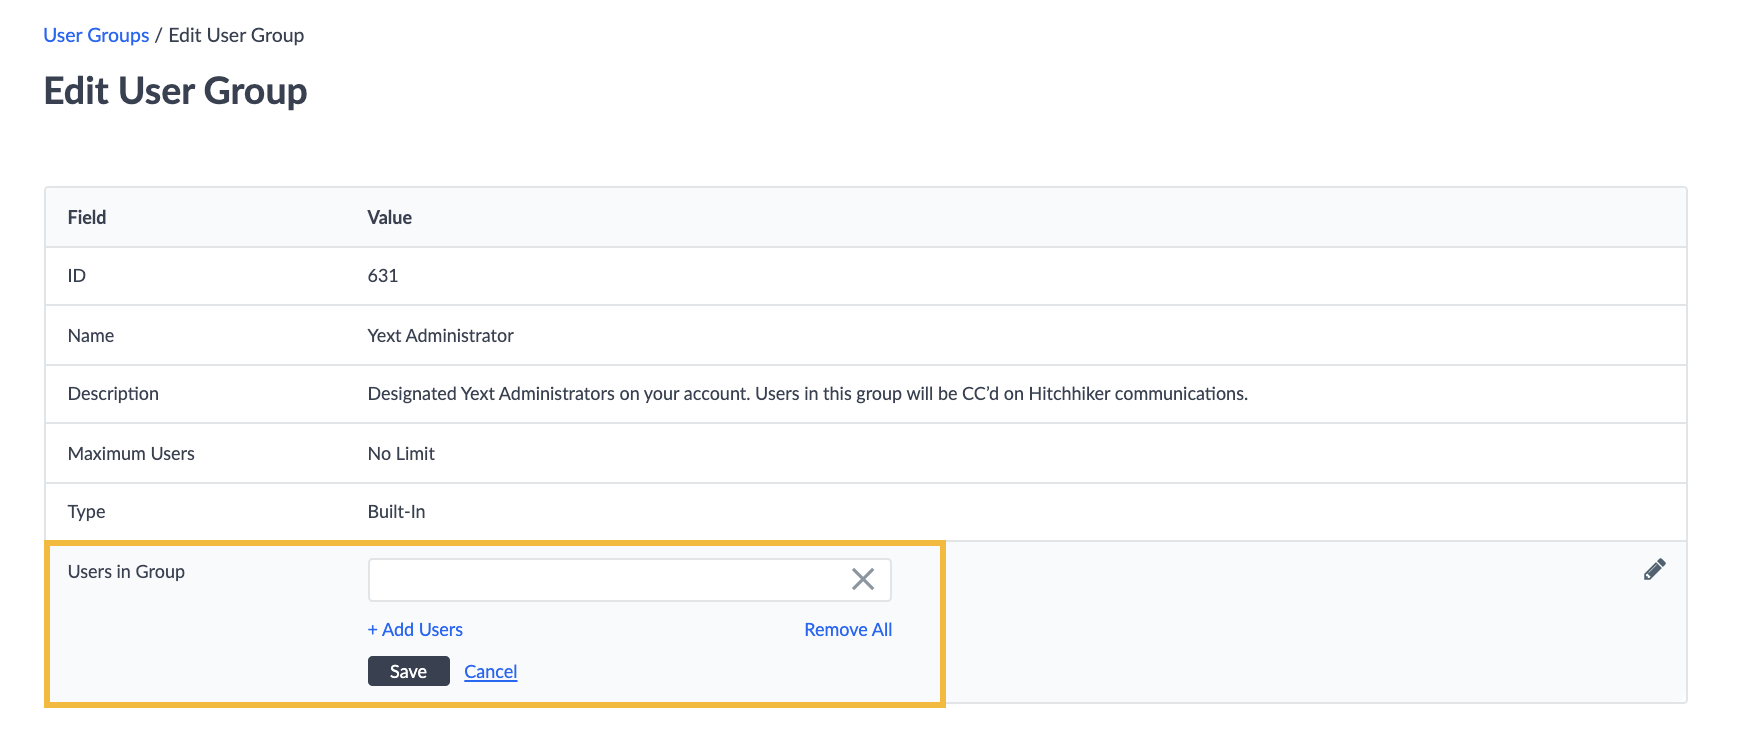
- Navigate to the User Groups screen in Account Settings.
- Click Edit next to the relevant User Group.
- Click on the Users in Group field and click + Add Users and select the users you would like to add to the group.
- Click Save.
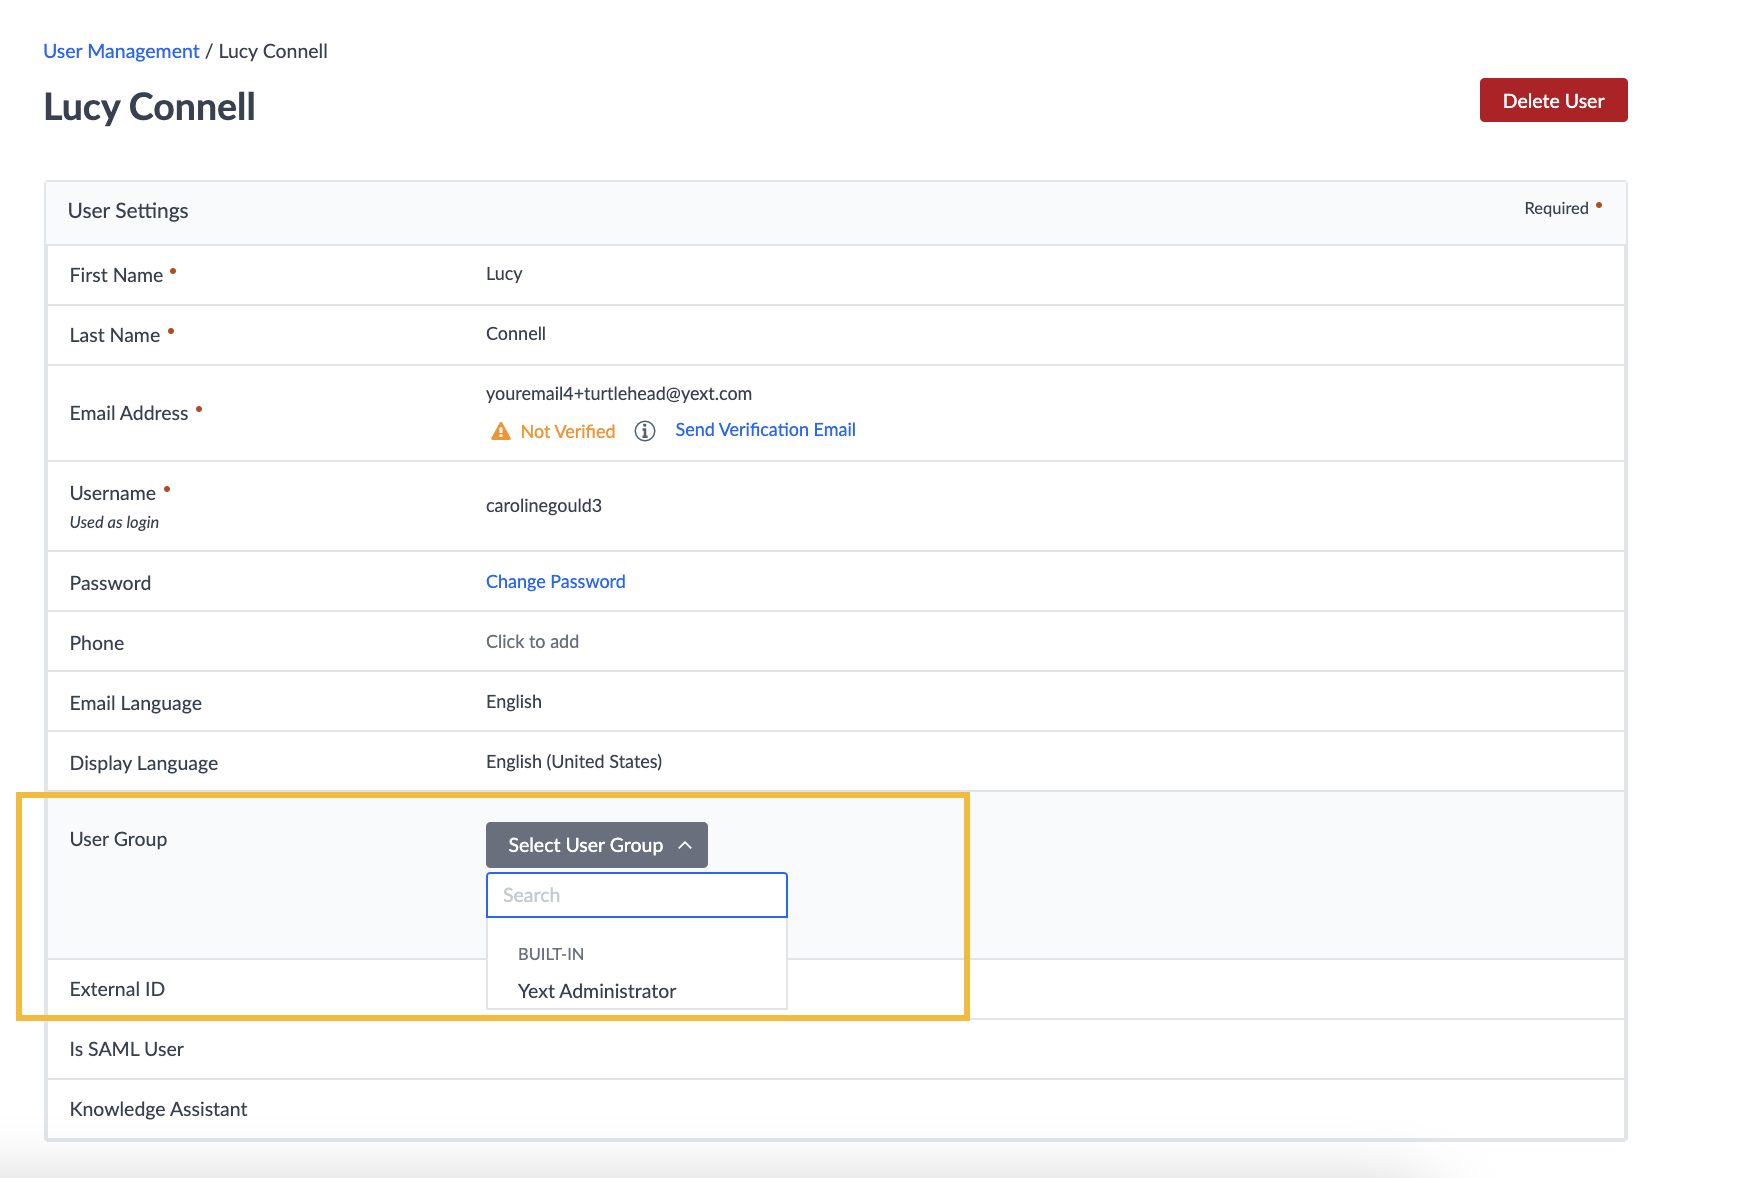
From User Management:
- Navigate to the Users screen in Account Settings.
- Click to edit the user you would like to add to the group.
- Click on the User Group field and click on the + Add Another link. Then select the user group from the drop-down.
- Once you click Save that user will now be part of the corresponding user group.
How can you add users to a user group? (Select all that apply)
Can you upload a spreadsheet to add additional users to a user group?
Which of the following are settings you can configure on Custom User Groups? (Select all that apply)
A Hitchhiker in the making! 🔥
