Entity Previews | Yext Hitchhikers Platform
What You’ll Learn
In this section, you will learn:
- What entity previews are
- How to manage entity previews
- Best practices for entity previews
Overview
Entity previews are the fields that are displayed when viewing a list of entities. You can customize your entity previews to display the most important information about your entities and manage entities more efficiently.
Entity previews can be configured for each entity type, and they can be customized for Row view and Card view in your entity search results.
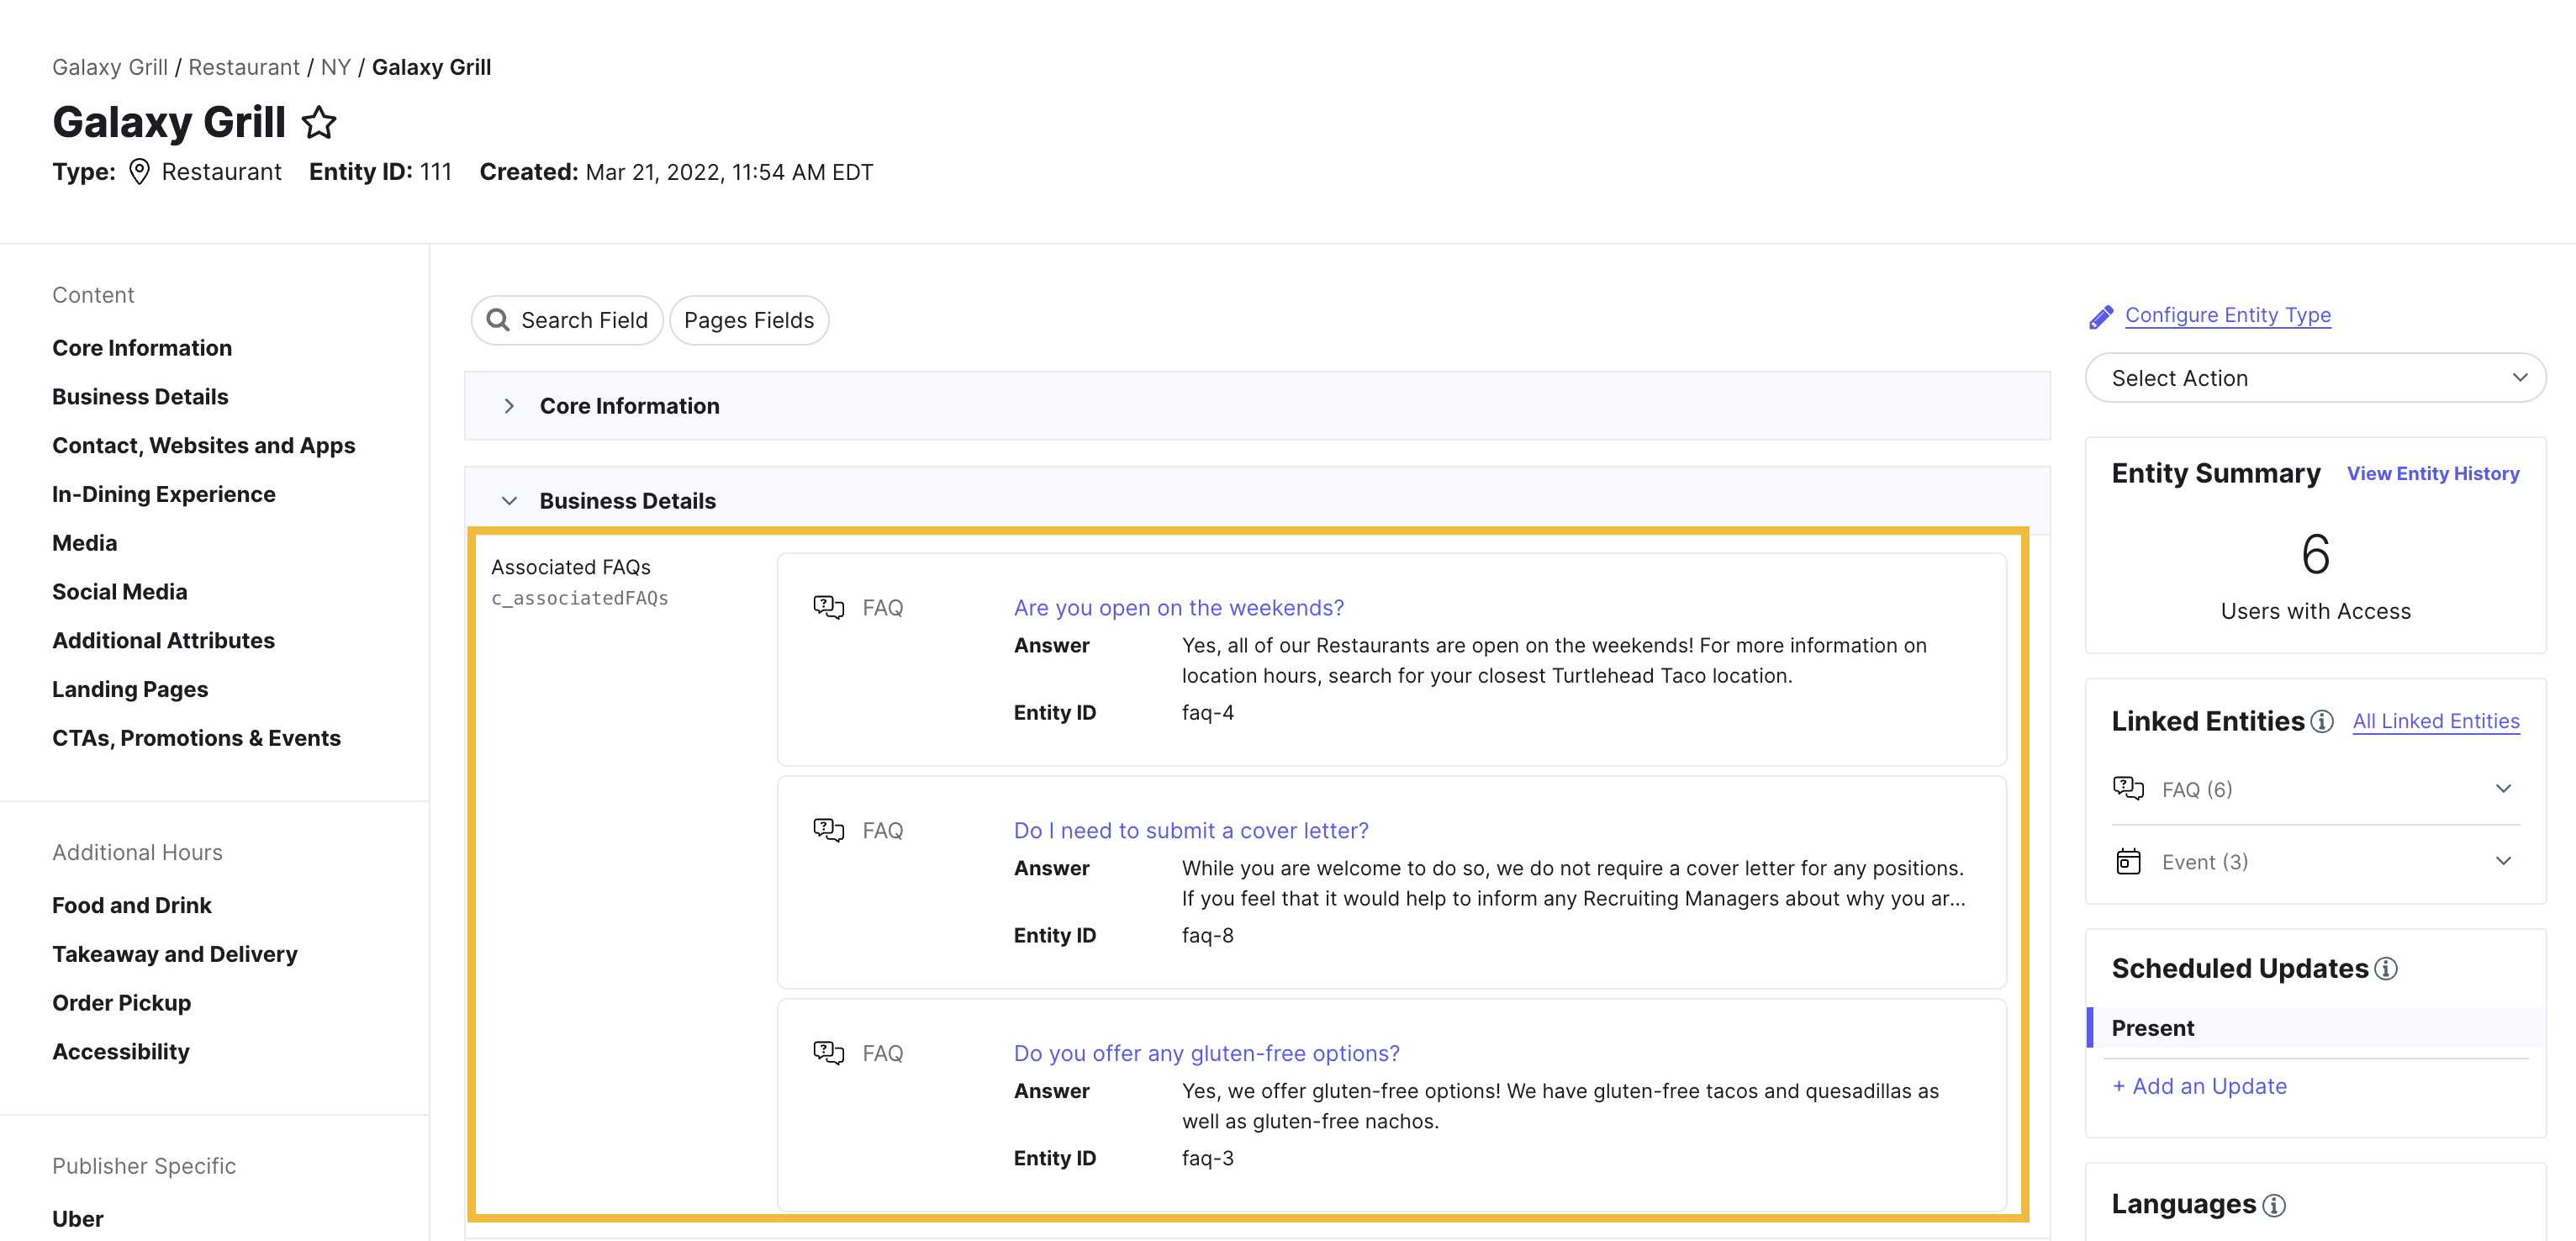
Entity previews are also used for linked entities — this is what will show on the Entity Edit page if there are any Entity Relationship fields displayed.

Customize Entity Previews
There are two main steps to customizing an entity preview:
- Selecting the fields you would like to display in the preview
- Adjusting the display settings for each field
To start to customize your entity previews:
- Click Knowledge Graph in the navigation bar, then click Configuration.
- Click View Details next to the entity type you’d like to customize a preview for.
- Click on the Preview tab.
On the Preview tab, you will see the current preview for the selected entity type.
Selecting Fields
In the left sidebar, you can select and deselect fields to add or remove them from the entity preview. The sidebar includes all fields that are associated with the chosen entity type. You can add up to seven fields to an entity preview.
Once you add the desired fields, you can drag and drop them into your preferred order.
You can also customize how your preview appears in Row view and Card view in entity search results. Choose the view you’d like to customize under Select View.
Some important notes while you’re adding fields:
- Changes are not saved when switching between Row view and Card view. Remember to save any changes by clicking Save in the lower right.
- Subfields of struct-like fields are treated as separate fields within entity previews. Each subfield counts as one of the seven total fields that can be added. The only exceptions are Address, Hours, and Daily Times type subfields, which will be rendered together as one field.
- You can only include one photo or video field in a preview.
Adjusting Display Settings
In addition to emphasizing a field value, there are a variety of settings that you can configure for each field.
For example:
- Show or hide the field name
- Enter an alias for the field name
- Adjust the line height of a field
When you choose to show the field name, you also have the option to enter a field name alias. This can be used to help clarify or label the details of the field when it appears in entity search.
If you decide to enter an alias for a field, you can also add translations by clicking + Add Translation.
Formatting Photo and Video Fields
For all photo and video fields, you can select the image ratio to display in the entity preview:
- Fill will crop the image or video thumbnail to fill the allotted space. This is the recommended setting.
- Fit will not crop the image.
Adding List Fields
There are two options for displaying List fields in an entity preview:
- Show List Value will show all the individual list items.
- Show List Count will show the count of items in the list.
Emphasizing a Field
Emphasizing a field which will feature it at the top of the entity preview. This will also make the field clickable, and will take you to Entity Edit for that entity when clicked. By default, the Name field will be emphasized.
Saving Changes
As you make adjustments to each field in the entity preview, click Apply to save the change.
Once you click Save in the bottom right corner of the page, the entity preview configuration will be applied to that entity type and will begin to display accordingly in the entity search page in the Knowledge Graph.
Note that changes are not saved as you switch between Row view and Card view. Remember to click Save in the lower right before switching between views.
Keep Learning
For more on entity previews, see the Customize Entity Previews help article.
How many fields can you add to entity previews?
Soon you'll be your brand's hero! 🎓

