
How to Create a Custom Role | Yext Hitchhikers Platform
What You’ll Learn
In this section, you will learn:
- What a custom role is
- How to create a custom role
What is a Role?
As we’ve covered, Roles are just a group of permissions. Permissions are things like:
- Edit all Profile Content
- View Description field
- Configure Review Settings
- Manage Knowledge Tags
- Respond to Reviews
And so on.
While we have a number of built-in roles available for you to select, many brands decide to create custom roles that are bespoke to their use case, e.g., if you have a group of users that you want to have more limited access than one of these built-in roles provides.
Roles Screen
Creating a Custom Role is easy! You can manage all roles in your account by navigating to Account Settings > Roles.
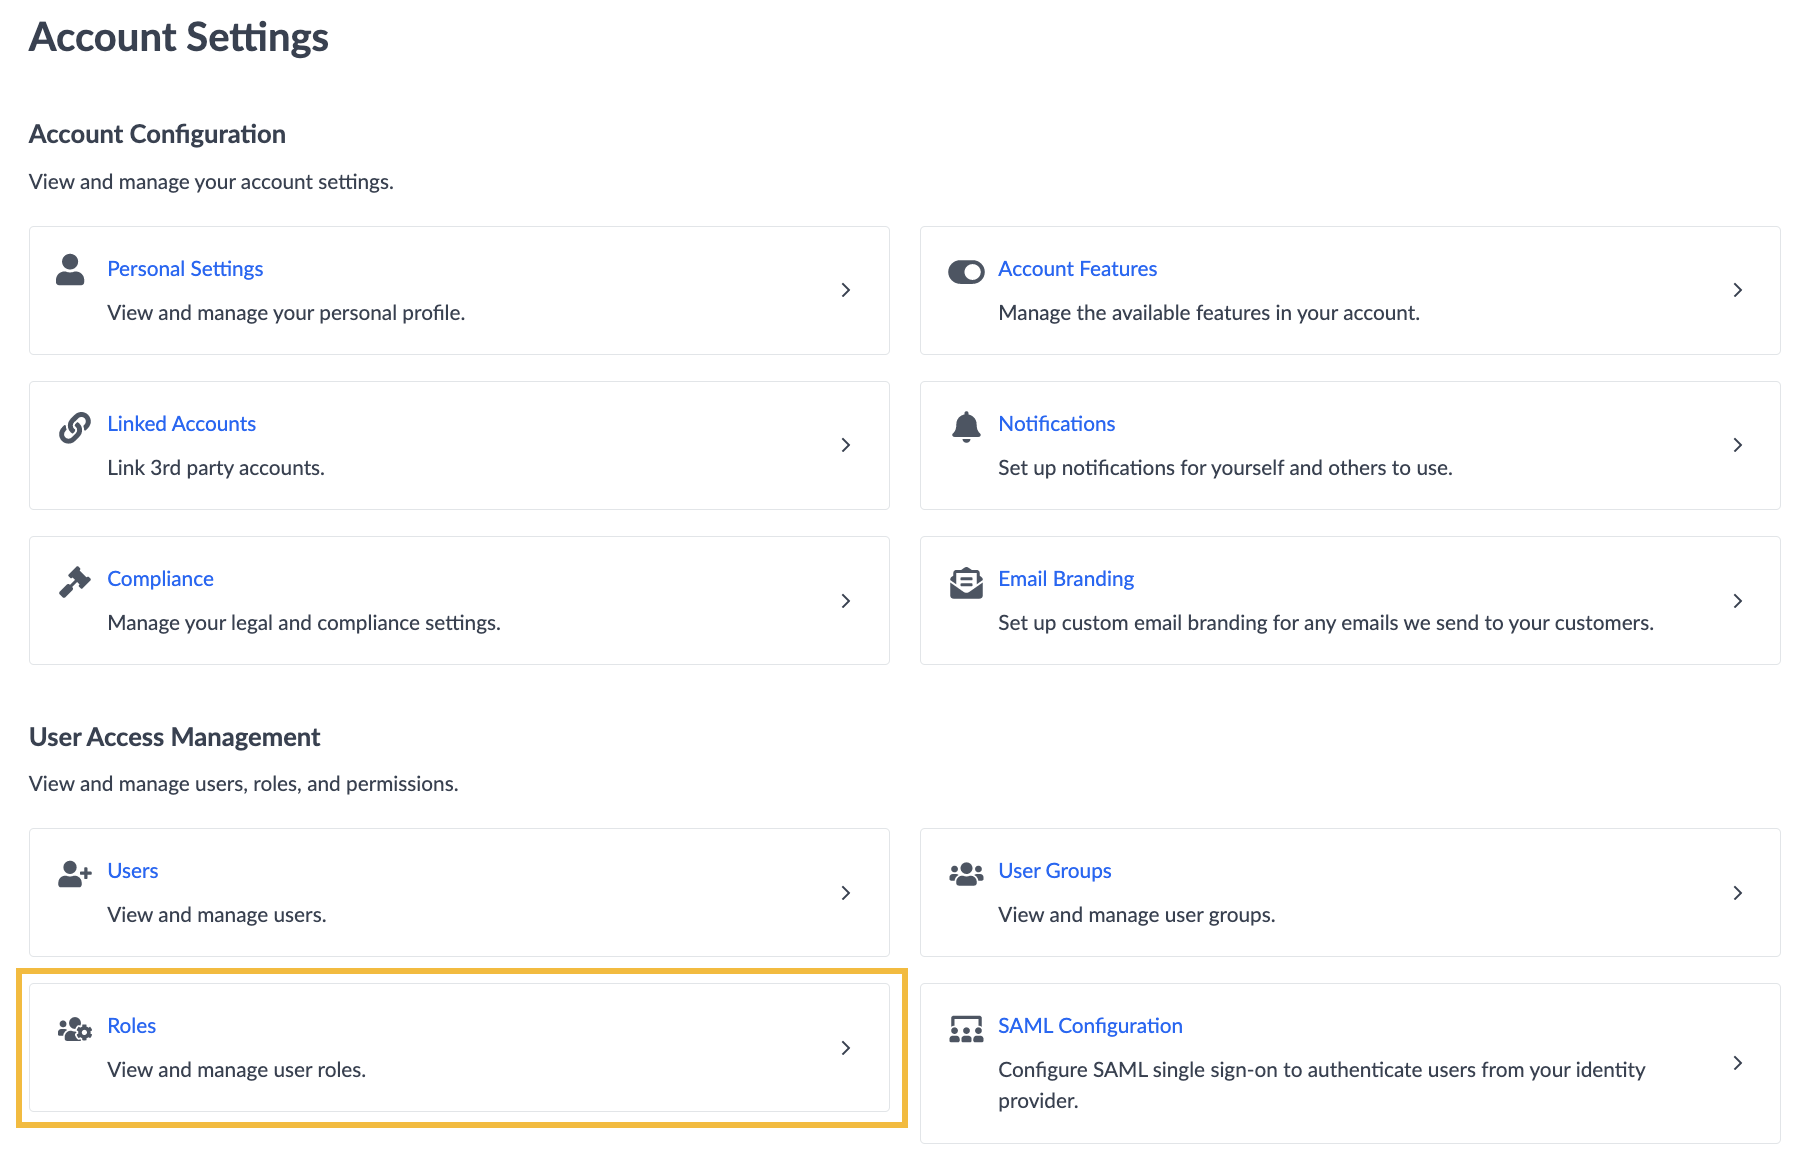
Here you’ll see all roles available to your account, including both the Built In and Custom Roles. If a role is a custom role, you’ll see an option to edit that role.
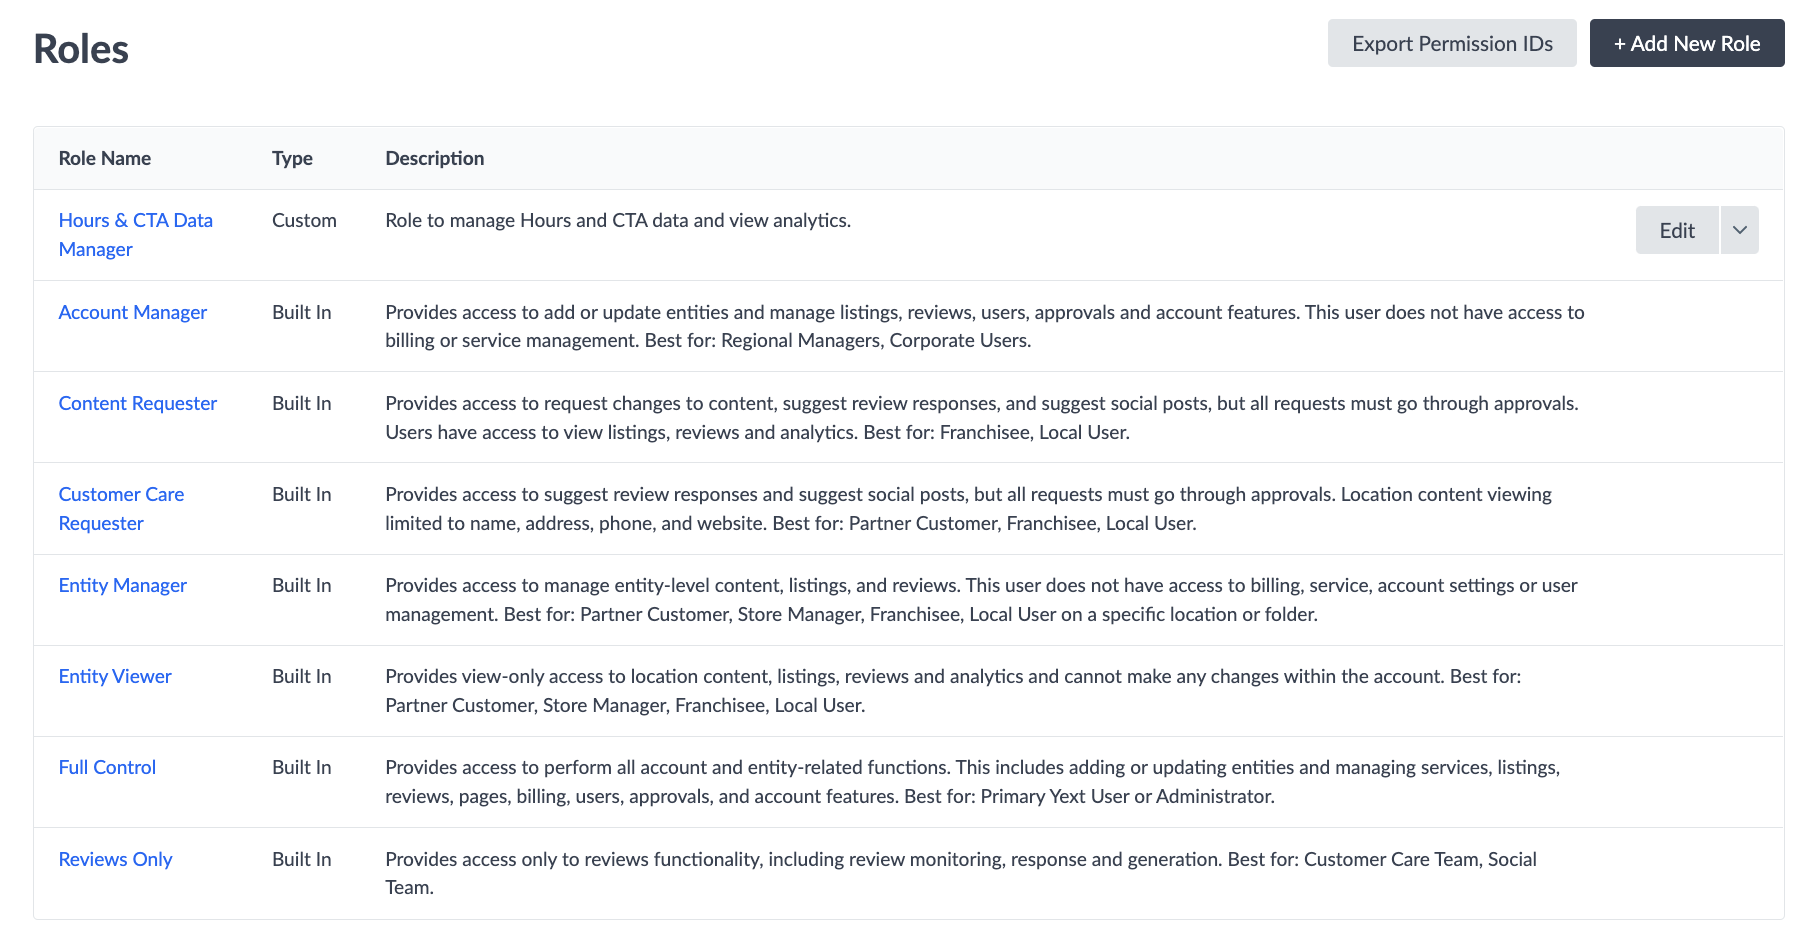
Clicking on the name of a role in the Role Name column will bring you to the details page for that role where you can see all the permissions associated with the role.
How to Create a Custom Role
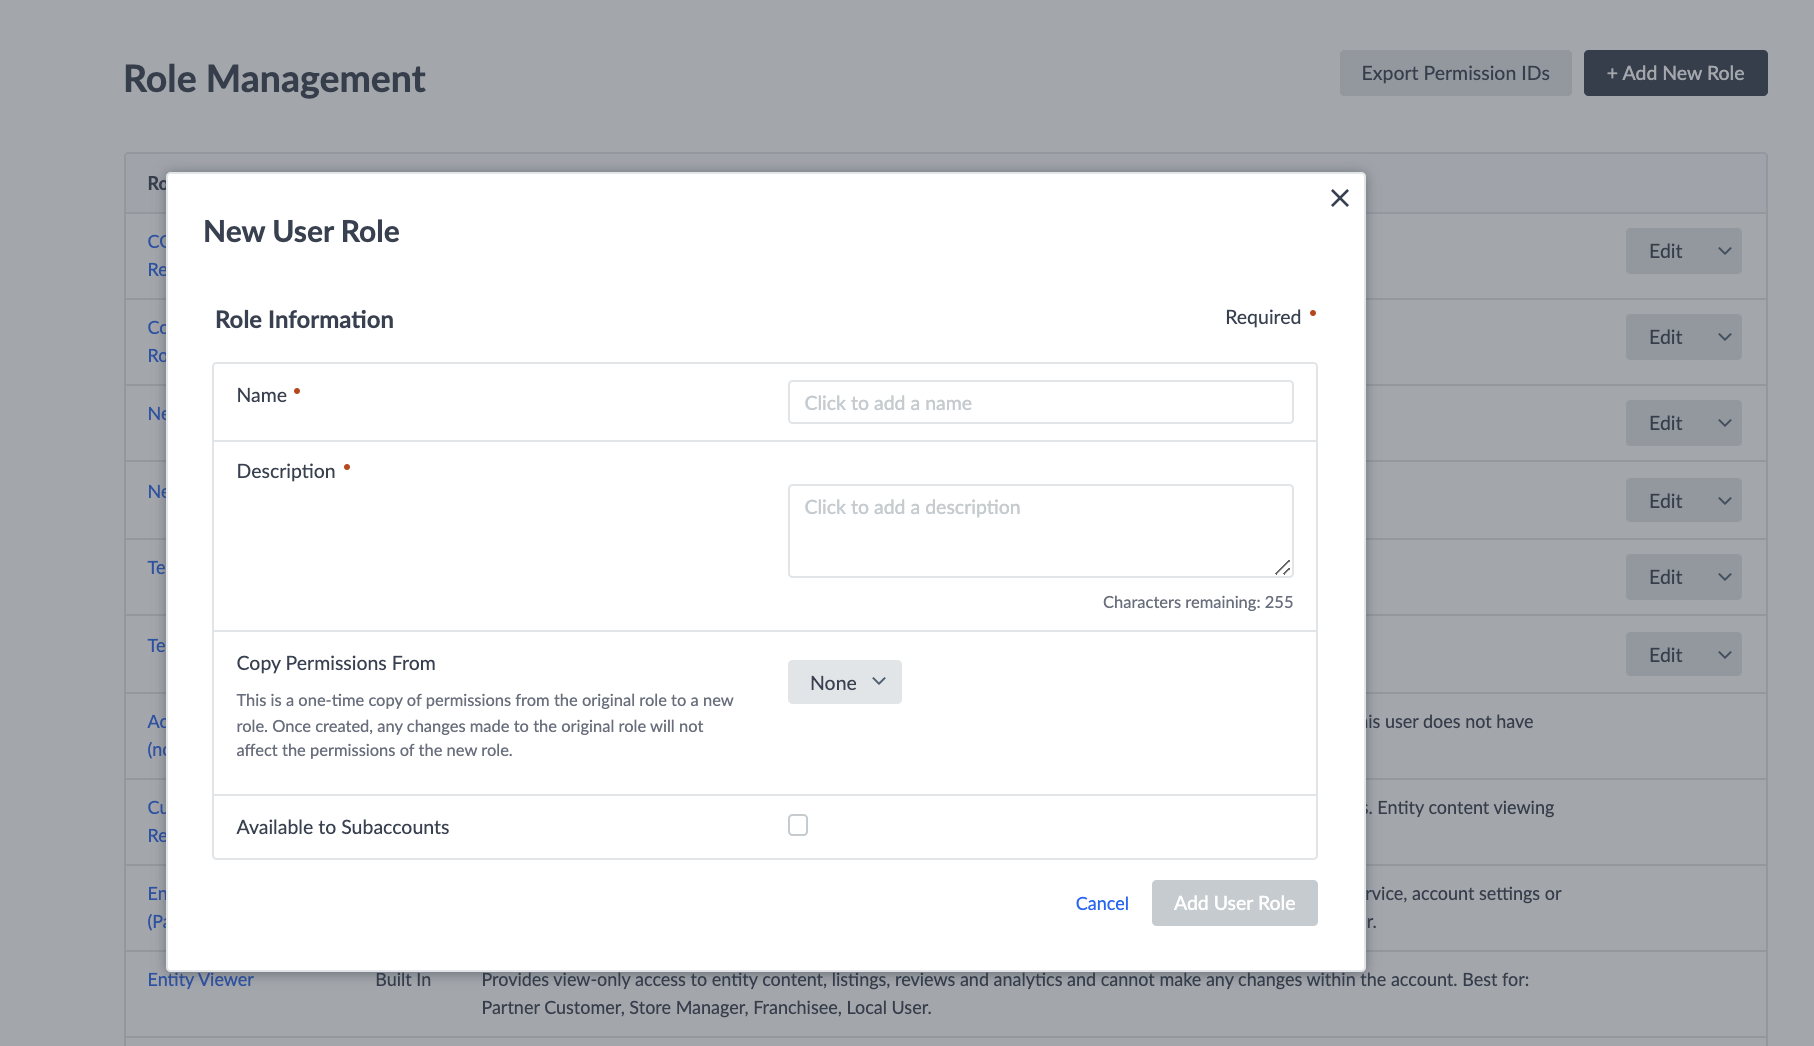
- Click + Add New Role.
- Enter a name and description of your role.
- If you want to create a role that is similar to an existing role, you can leverage the ‘Copy Permissions From’ option and select the role you’d like to copy permissions from in the drop-down. This will copy all the permissions from that role, so you can use that as a starting point and make any necessary adjustments.
- Then click, Add User Role.
- Select the relevant permissions you’d like to add to the role, and click Save.
Managing Role Permissions
While creating the role is easy, navigating the permissions is a bit trickier. This is because our platform is so flexible that there are a lot of permutations of each permission. In most cases a given action in the platform has options like:
- View (see the thing)
- Manage/Edit/Configure (do the thing)
- Manage/Edit/Configure with Approval (do the thing if someone else reviews your work)
To try to make it a bit simpler, we’ve organized all of the permissions by top-level product area (e.g., the Knowledge Graph, Reviews) and then within each product area by the various sub-tabs, screens or field sections. That said, if you’re not sure what a permission means, just ask our Support Team!
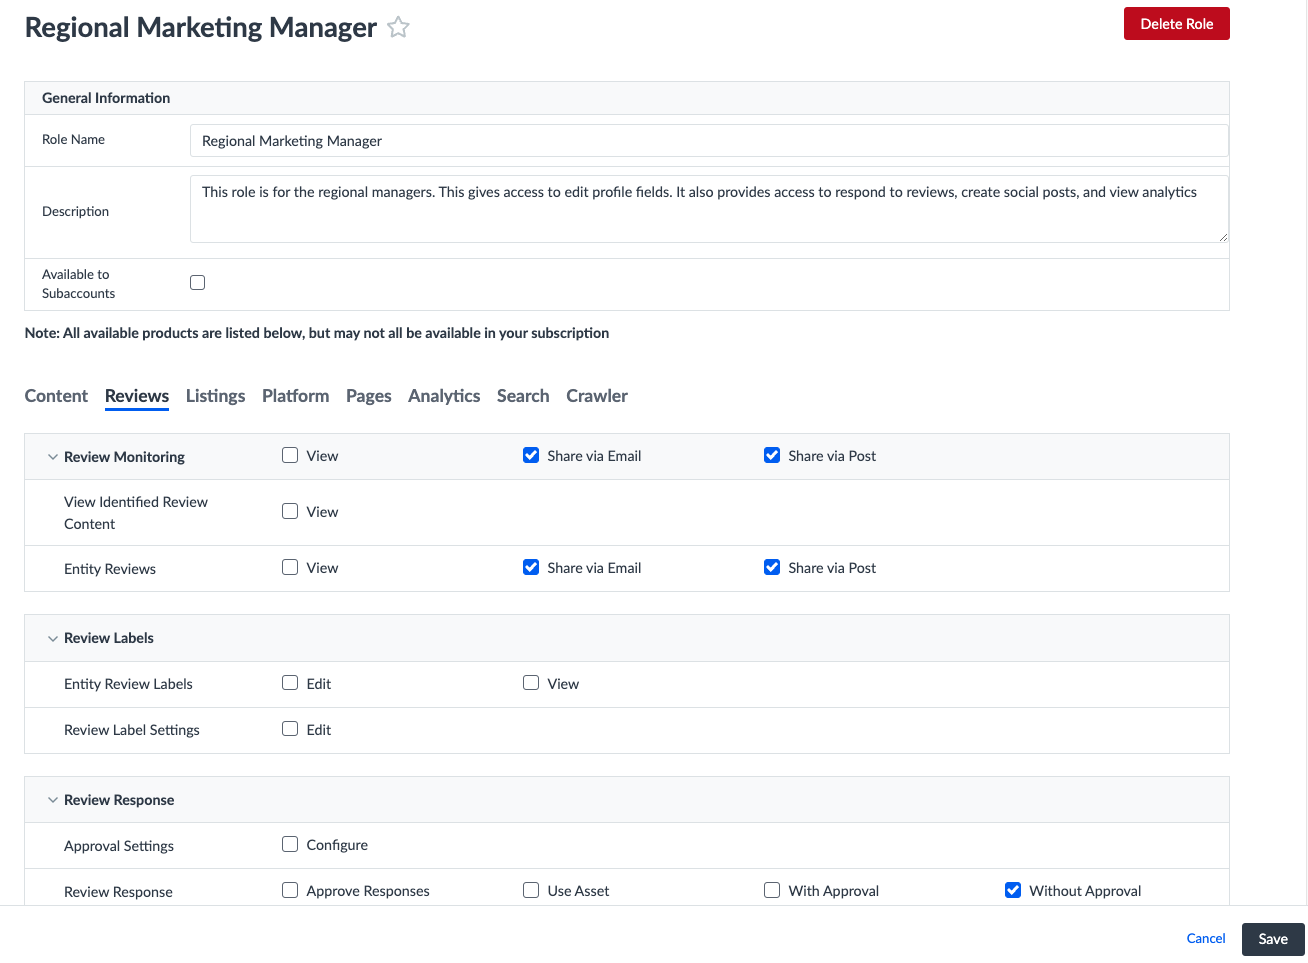
For example, above is the Reviews product section, broken into Review Monitoring, Review Labels, Review Response, and so on. Within Review Monitoring there are actions like View, Share via Post and Share via Email. Within Review Labels, there are options to allow someone to Edit the Review Label Settings, Edit Entity Review Labels or View Entity Review Labels.
To select a permission, simply check it off and click save. Roles can have as many permissions as needed to make the role do what you want it to do – there’s no limit to how many you check off.
How to Give Permissions to Specific Custom Fields
If you want to give users access to a limited number of custom fields, you can create a custom role and assign permissions only on specific field permission groups. Each field can only be a part of one Custom Field Group. As you remember with the “field is a field is a field” principle, this means that the group will be the same across all applicable entity types. You can have up to 30 field groups, so you have lots of flexibility!
You can manage Custom Field Permission Groups in the Knowledge Graph > Configuration > Field Permission Groups where you can create a new one, name it, and then start adding fields to a group from the Custom Field edit screen.

When you’re managing a Custom Role, you’ll be able to add permissions based on each permission group. All custom fields will either be:
- In a Custom Field Permission Group
- Ungrouped
When you’re managing the permissions, you’ll be able to add access to either type of field.
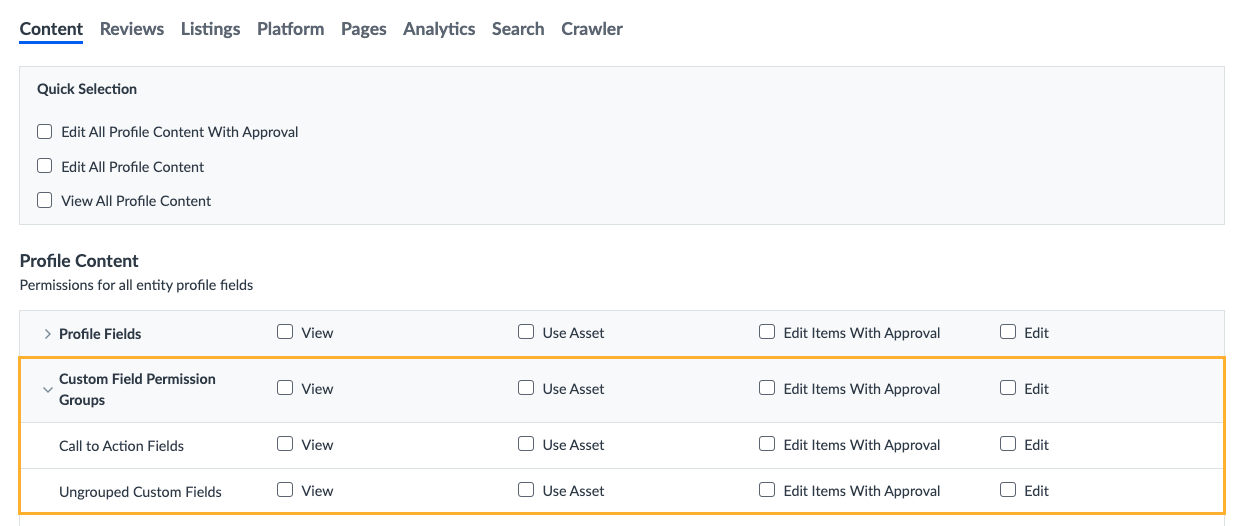
If you want to give access to all custom fields, regardless of whether they’re in a group or not, you can check off the access type in the Custom Field Permission Groups row to easily select all rows. However, if you add a new group after creating the role, the role will not have access by default – you will need to explicitly add access for each custom role.
Decide that you don’t want to use a custom field group anymore? No problem, you can easily delete the group. If you do this, the fields will move back to being set to “Ungrouped” so anyone with access to “Ungrouped” will have access to the fields.
What is the maximum number of permissions allowed in a given Custom Role?
If you're trying to find a permission, what should you do?
True or False: Fields can be in multiple Custom Field Permission Groups
You're out of this world! 🌎
