Introduction | Yext Hitchhikers Platform
Website Deployment Overview
Website fleet management is especially useful for and relevant to customers with reseller accounts. For an overview, check out the Website Fleet Management reference doc.
Websites can be deployed entirely within a single account, or deployed programmatically to different sub-accounts that you manage using our APIs. To learn more about reseller account types, check out the Reseller Accounts reference doc.
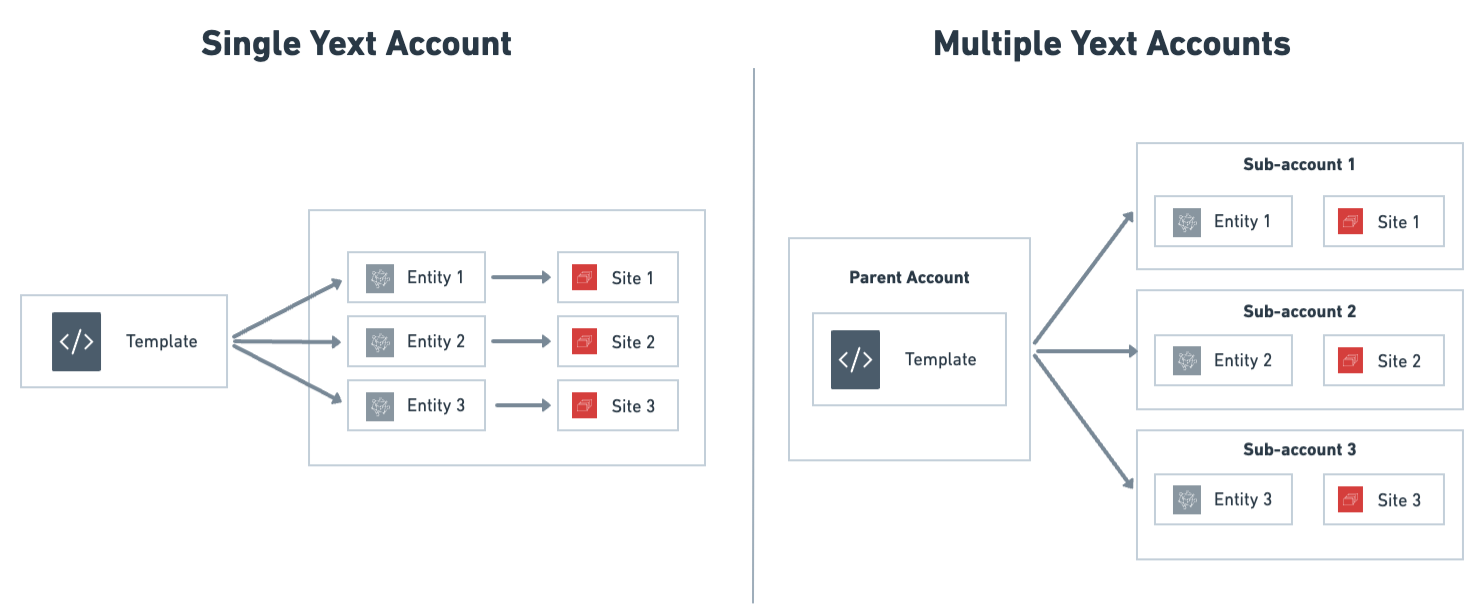
Each website in your fleet can be parametrized based on inputs from the Knowledge Graph, allowing you to deploy unique websites for each customer based on distinct entities. This can be achieved via “ environment variables ”, which are variables that are made available to your template code during the build process.
Refer to the code snippet below, which uses an environment variable (
YEXT_PUBLIC_ENTITY_ID) in order to specify which entity data to fetch and make available to the template code:// location.tsx export const config: TemplateConfig = { stream: { $id: "location-template", filter: { entityIds: [YEXT_PUBLIC_ENTITY_ID], }, fields: [ "id", "name", "address", "mainPhone" ], localization: { locales: ["en"], primary: false, } }, };Each time this template is used to create a site, a different entity ID can be supplied to the
YEXT_PUBLIC_ENTITY_IDenvironment variable as part of your site’s settings (e.g.customer1,customer2,customer3, etc.).
Website Development Tutorial
This guide will walk you through the fleet management approach for resellers using a partner portal parent/sub-account structure.
This tutorial will walk you through the following:
- Parent Account Setup
- First, you will familiarize yourself with your parent account.
- From there, you will use the Yext CLI and Pages to populate your account with entity test data, clone a starter repository, develop a website locally, and deploy that website to your parent account
- Sub-Account Setup
- Next, using Yext’s APIs, you will create a few sub-accounts for some test customer data.
- From there, you will connect your GitHub repository and deploy a website to each sub-account. Each website you deploy will be unique based on the data stored in the Knowledge Graph.
Prerequisites
- Install the following development dependencies (if you will be developing on your machine).
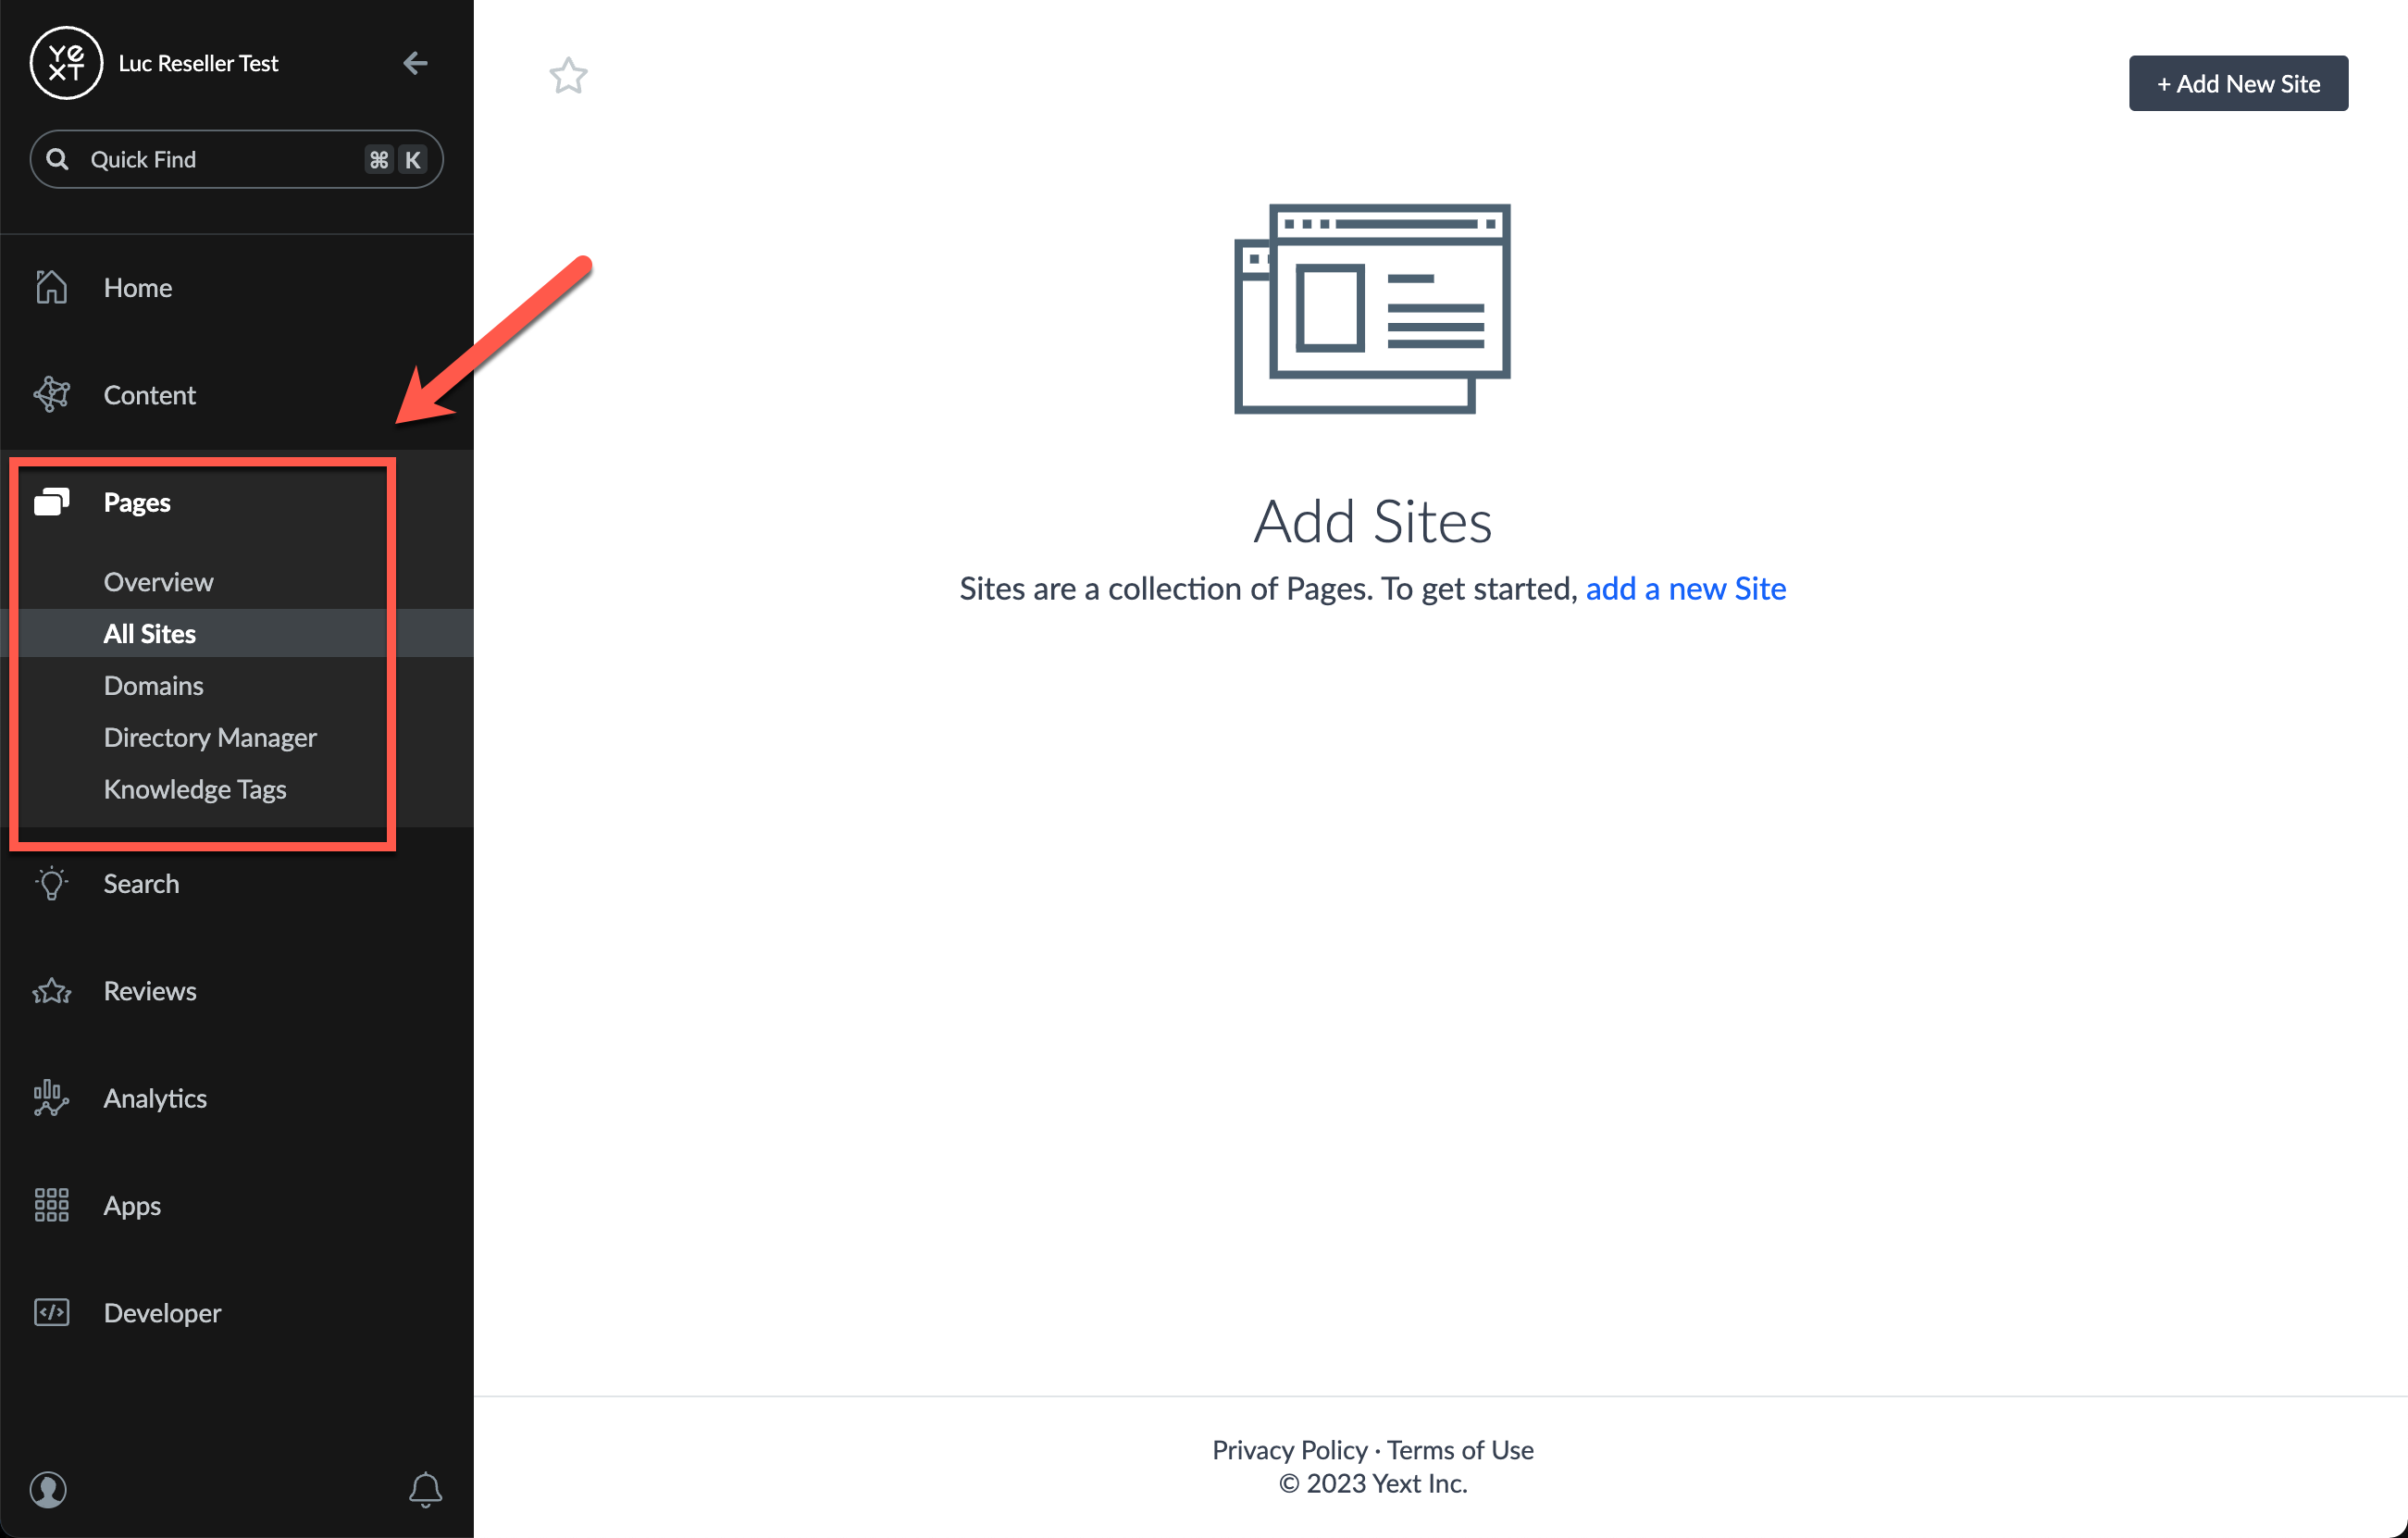
Ensure the Pages tab is visible at both the parent and sub-account level (refer to screenshot below). If not, please reach out to your account team.