

Step 3: Choose the Query for your Solution
Depending on the Yext solution you have you will want to pull in different metrics. We have packaged code (see the
Query Samples
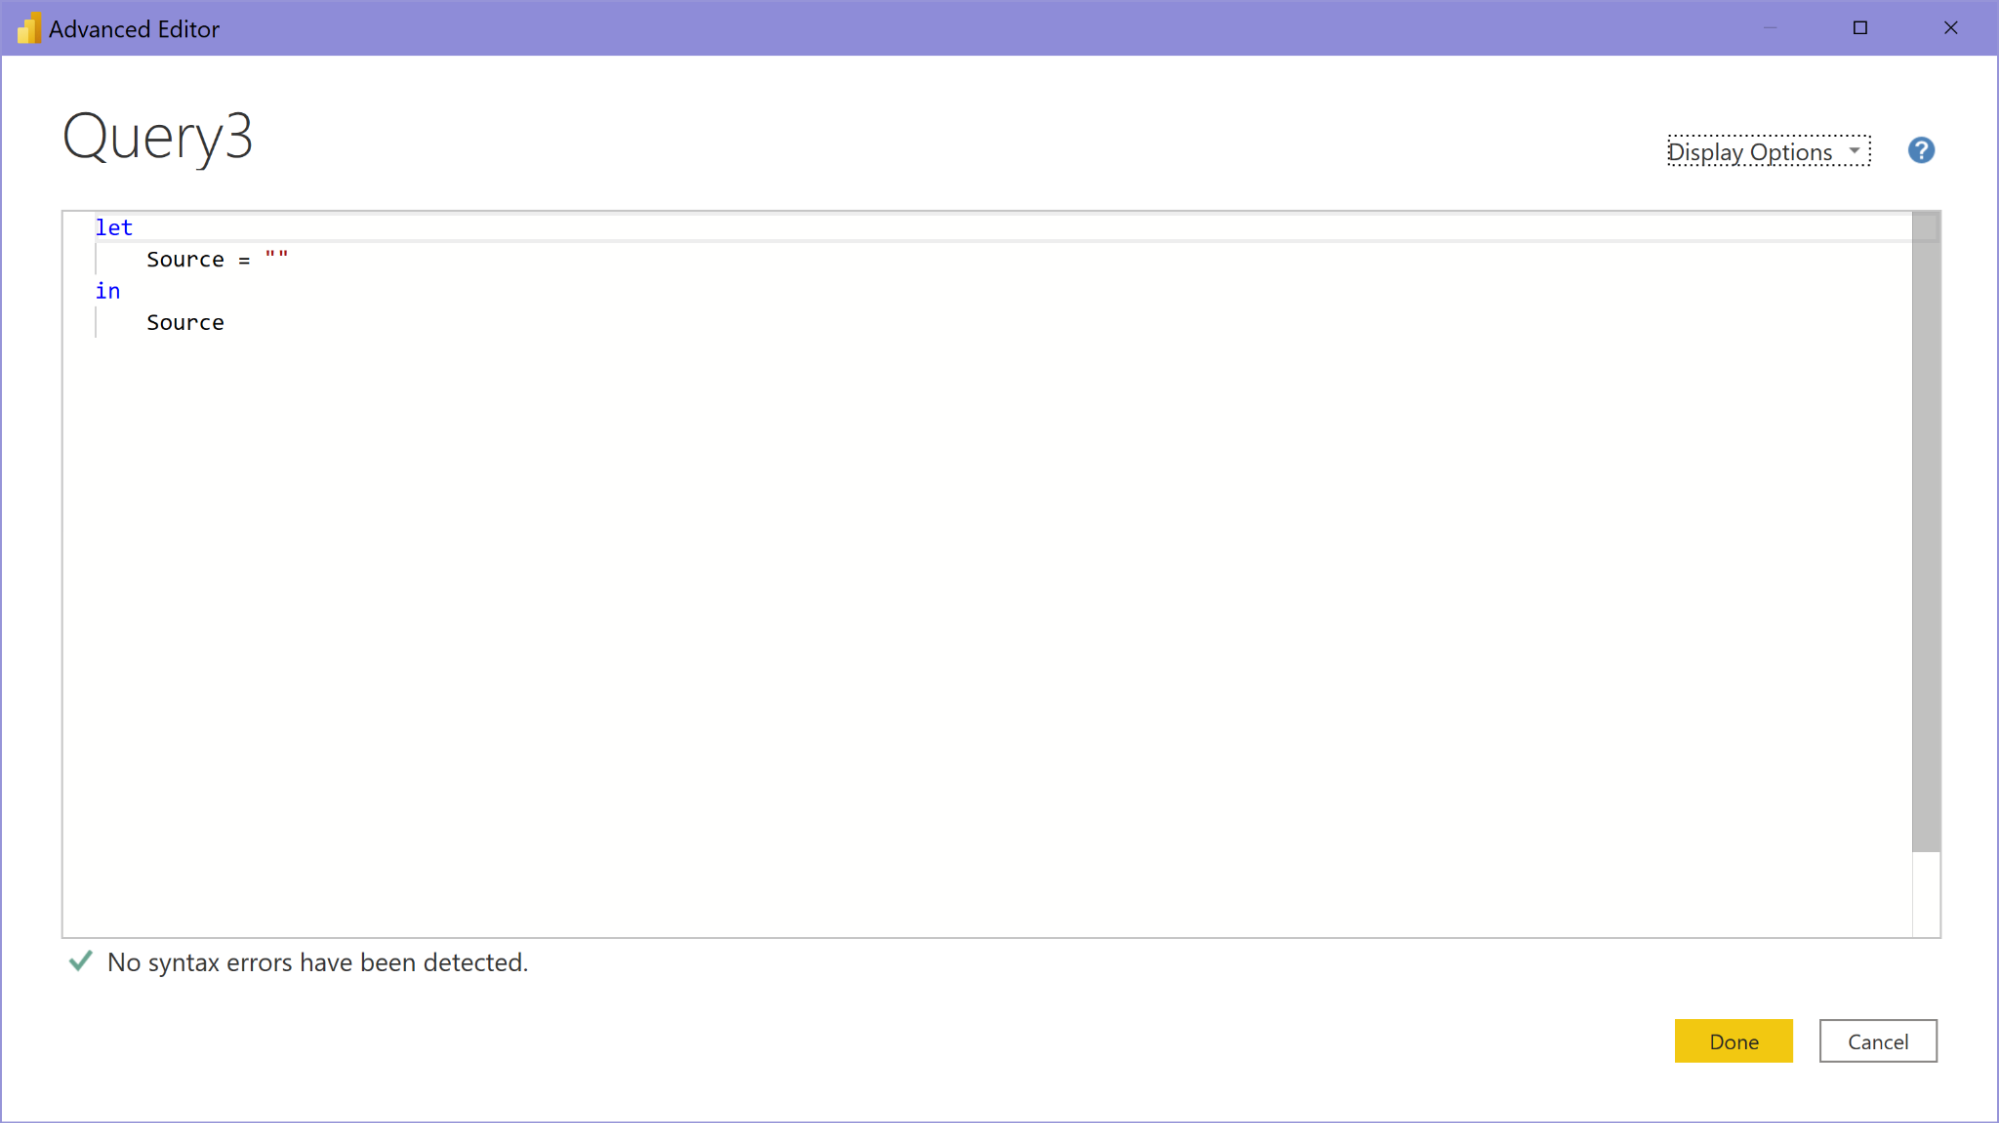
reference step) for your use and inspiration! The queries include the request URL, API key, headers, and metrics and dimensions in the body content for the request. Skip to the section for the solution that best fits how you are using Yext and copy & paste the corresponding code. Remember to replace [YOUR API KEY] with the key you just generated. You should remove the default code in the Editor.
 The codes provided are very basic and give you the ability to create your own table with our Yext Analytics metrics in the Power Query Editor. You can customize the dataset however you need, this is just a starting point! Feel free to delete or reorder columns and rows as you see fit!
If you want to customize your API call even further with dimensions and filters, read through our Yext Analytics API Documentation .
Once you have pasted your query and customized it, you will need to finish authorizing the API in Power BI.
A warning window will pop up that says “Please specify how to connect”. From there:
- Click Edit Credentials and select Anonymous. You will only have to do this the very first time you access the Yext Analytics API, your credentials will be stored for any time you refresh the data.
- Next, choose which level to apply the credentials to from the dropdown box. You should set it to
https://api.yextapis.com/v2/accounts/me/analytics/reports.
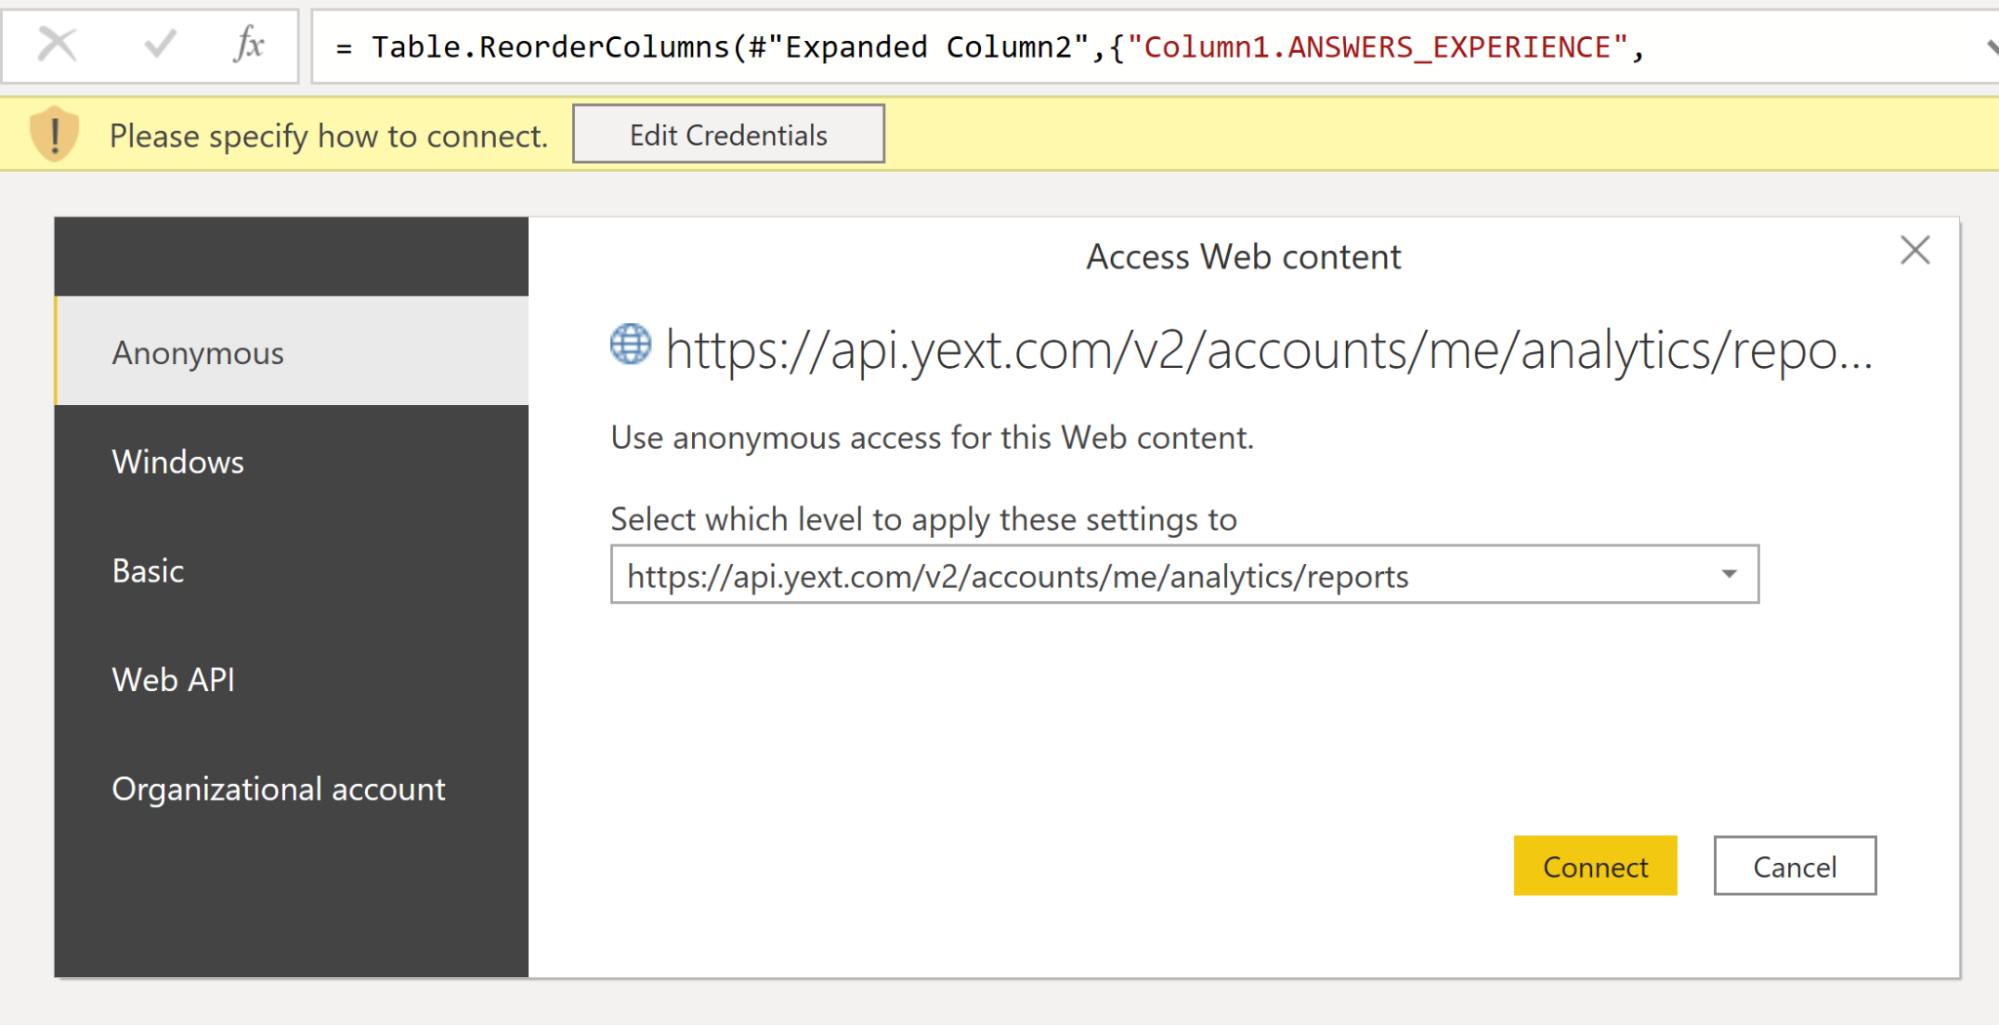 3. Click Connect.
This will automatically run your query and create a preview of the data returned. Create, customize, and manage your data however you see fit, just don’t forget to save your work!
To save your work:
- Select Close & Apply in the top left corner of the Editor. Once the changes load are applied, you can save your file by selecting File > Save as. You should save it as a .pbix file.
And just like that, your Yext data is flowing into Power BI! Read more on How to Refresh your Data.