
Customize Result Cards | Yext Hitchhikers Platform
What You’ll Learn
By the end of this unit, you will be able to:
- Add a new card using Jambo commands
- Explain when you should fork and customize a card
- Properly format data mappings to pull entity field data
Overview
When you add a new card using Jambo commands, you are forking (or duplicating) whichever card template you select. You can then customize it as desired. If one of the built-in cards satisfies your requirements, you should definitely use it – no need to create a new card for no reason. That said, common reasons for needing to create a new card are:
- Overriding data mappings
- Adjusting the CTAs
- Customizing the event types for clicks in analytics
- Changing the card layout
Remember that you never want to edit the Theme files directly. This is why we duplicate cards instead if we want to make changes.
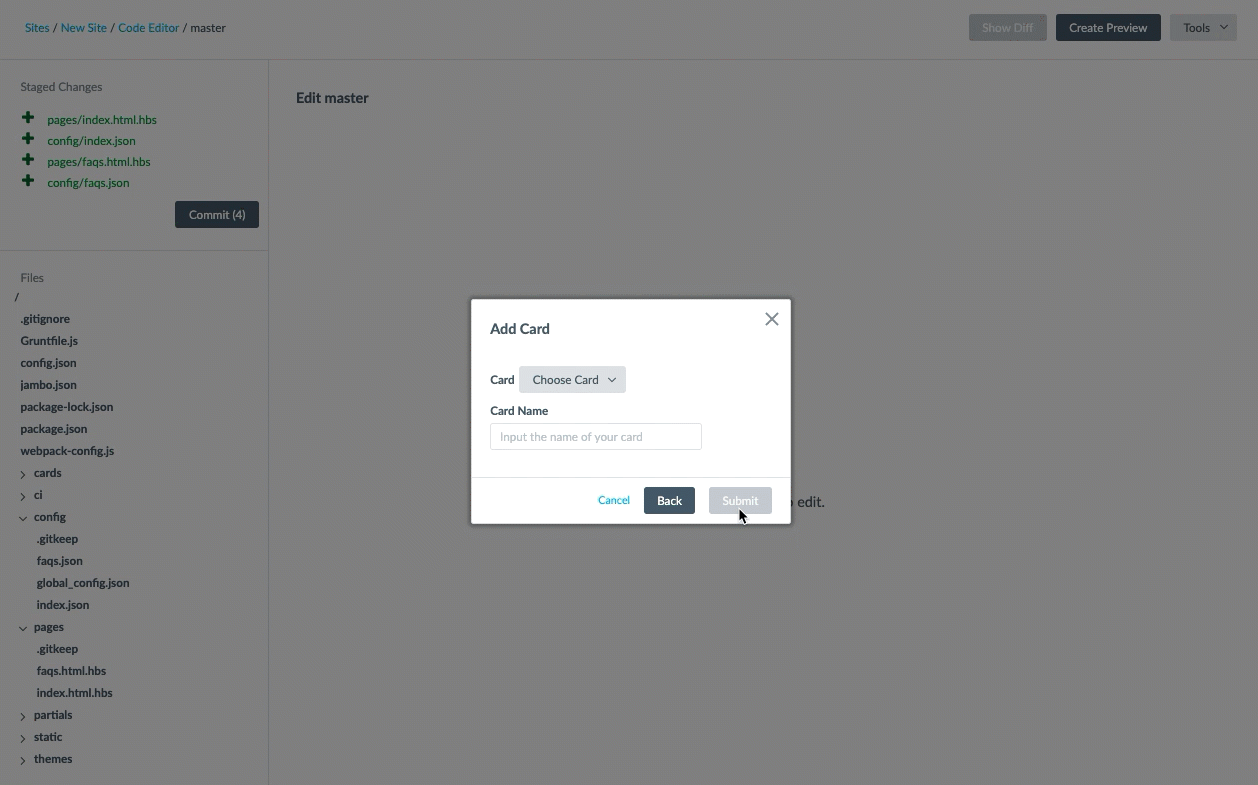
Adding a New Card
To add a new card, you can fork a card from the Theme by using the Jambo command Add a Card. You can see step-by-step details on how to do this in the Add a Custom Card to Search Frontend Theme help article.
If you want to add and customize a
direct answer card
, you will use the Jambo Command, Add a Direct Answer Card. Then you will select either the allfields-standard or documentsearch-standard card type. Remember that you will need to make sure that
Direct Answers
are set up in the backend as it will dictate the type of direct answer cards that will be used.
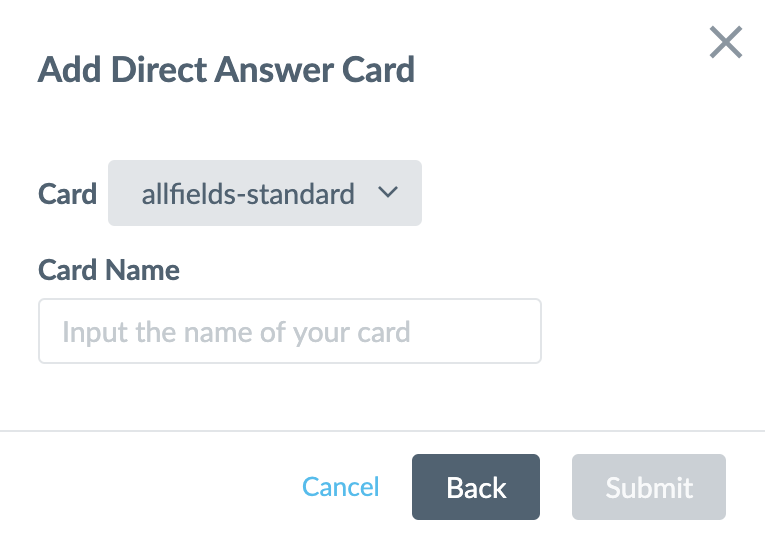
cardType property of your pages JSON file!
Data Mappings
At a high level, the dataForRender function accepts an object parameter profile, which is all the data associated with an individual entity. For each of the card sections (ex. ‘title’, ‘subtitle’, and ‘details’), we are defining the data from the profile object to pass the right information from an entity profile to the card.
In a statement like subtitle: profile.c_author, we are setting the value of the subtitle property to the contents of the c_author field on an entity profile.
So, what does this actually mean for you? A few things:
- Because we’re defining an object, you’ll have to ensure there is a comma separating every property. In our previous example, we have a comma after the subtitle.
- To define the content, you’ll just need to refer to the right property of the profile. Typically, this will be as simple as
profile.[[field API name]]. - If you want to access the subfield of an entity field that is of type
struct, you can access that subfield by appending it to the end, separated by a period -profile.[[field API name]].[[subfield API name]]. - The
c_prefix here denotes this is a custom field. Built-in fields do not usec_in the API name.
Nullchecking
We don’t want our data mappings to fail if a field is empty. Instead, we’ll check if the field has content (or if it’s empty, aka null) before doing any actions with that field. Constructing a null check is simple - just follow this pattern:
[[condition]] ? [[action if true]] : [[action if false]]To check if a field has data, you simply refer to the field itself. If it has data, it will return true; if it doesn’t, it will return false.
For example, say we want to return a fallback description for the details property on location cards if the description field isn’t filled out. We could construct the details like so:
details: profile.description ? profile.description : "This is my fallback description for my locations.",You’ll see this pattern frequently in the built-in cards, so you’ll be able to easily repurpose in your custom cards to pull the fields you’d like.
Entity Relationships
As you learned in the Searchable and Display Fields unit, entity relationships allow Search to surface or display data that may exist across multiple entities that are related to each other.
In that unit, you learned how to configure the backend to ensure the data is returned in the API response. To then display that information on the frontend, you can update the data mappings to reference relationship fields on a forked card as you would with any other field with a subfield. It should look something like this:
subtitle: profile.c_customRelationshipField.c_customFieldAdd a New Card Walkthrough
Let’s put together what we learned about cards and walk through adding a new one. In this example, you want to create a clickable product card where the image takes up most of the card. The “product prominent image clickable” card looks good, but you store your data in the Knowledge Graph slightly differently, so you need to change the data mappings.
At a high level we will add a custom card and update the data mappings to match our Knowledge Graph. To do so:
- Add a custom card.
- In the Code Editor, click on Tools > Jambo Commands and select Add Card.
- Give it a descriptive custom name like “product-custom”.
- For the Template Card Folder, select “cards/product-prominentimage”.
Update the card
component.jsfile to pass through all of the fields you want to use on the card. This step will depend on your data and what you want to display on the card. Here’s what thedataForRenderobject looks like in the built-in card:dataForRender(profile) { let imageUrl = ''; let alternateText = ''; if (profile.photoGallery && profile.photoGallery[0]) { imageUrl = Formatter.image(profile.photoGallery[0]).url; alternateText = Formatter.image(profile.photoGallery[0]).alternateText; } const linkTarget = AnswersExperience.runtimeConfig.get('linkTarget') || '_top'; return { title: profile.name, // The header text of the card url: profile.landingPageUrl, // If the card title is a clickable link, set URL here target: linkTarget, // If the title's URL should open in a new tab, etc. titleEventOptions: this.addDefaultEventOptions(), subtitle: Formatter.price(profile.price), // The sub-header text of the card image: imageUrl, // The URL of the image to display on the card altText: alternateText, // The alternate text for the image details: profile.richTextDescription ? ANSWERS.formatRichText(profile.richTextDescription, 'richTextDescription', linkTarget) : null, // The text in the body of the card CTA1: {...}, CTA2: {...}, feedback: false, // Shows thumbs up/down buttons to provide feedback on the result card feedbackTextOnSubmission: 'Thanks!', // Text to display after a thumbs up/down is clicked positiveFeedbackSrText: 'This answered my question', // Screen reader only text for thumbs-up negativeFeedbackSrText: 'This did not answer my question' // Screen reader only text for thumbs-down }; }In this case, there are two data mappings that don’t line up with our data that we want to change.
- Edit the
urlproperty to pull from the website field by changing it toprofile.website. We use a custom photo field (
c_photo) instead of the photo gallery field for our product image, so let’s change the top of thedataForRenderobject to:let imageUrl = ''; let alternateText = ''; if (profile.c_photo) { imageUrl = Formatter.image(profile.c_photo).url; alternateText = Formatter.image(profile.c_photo).alternateText; }
- Edit the
We will also comment out the description property as we only want the title and price to be visible on the card.
With that, we have successfully added a custom card and updated the data mappings to match our Knowledge Graph.
True or False: You can use cards directly from the theme, without ever needing to add a card.
Which of the following are reasons to add a card? (Select all that apply)
You want to map a card title url property to a custom URL field with the API name c_customUrl. What does your mapping look like?
High five! ✋
