
Add Search to Your Site | Yext Hitchhikers Platform
What You’ll Learn
By the end of this unit, you will be able to:
- List the high level steps for adding a search bar to a web page
- Navigate to and utilize the snippet generator to add a search bar
- Collect the four inputs required to add an overlay module to a web page
Overview
After you stand up the results page, you are ready to have users interact with Search from the home page (or any other page) of your site! There are two ways that users can access your search results page:
- Search Bar - Users input a query into a search bar on your web page which redirects them to your Search results page.
- Overlay Module - Users view and utilize the components of search like the search results, search bar, and prompts within an expandable module on the corner of your webpage.
You will learn more about each throughout this unit!
Search Bar
If you choose to add a search bar to your page, your user will conduct a query and be redirected to a standalone search results page.
This step is typically handled by a developer. The developer guidance for creating and styling a search bar can be found in the Adding a Search Bar guide. There are three steps needed to add and style a search bar on your page:
- Initialize the library
- Place the search bar
- Style the search bar
Integrations Embed Code
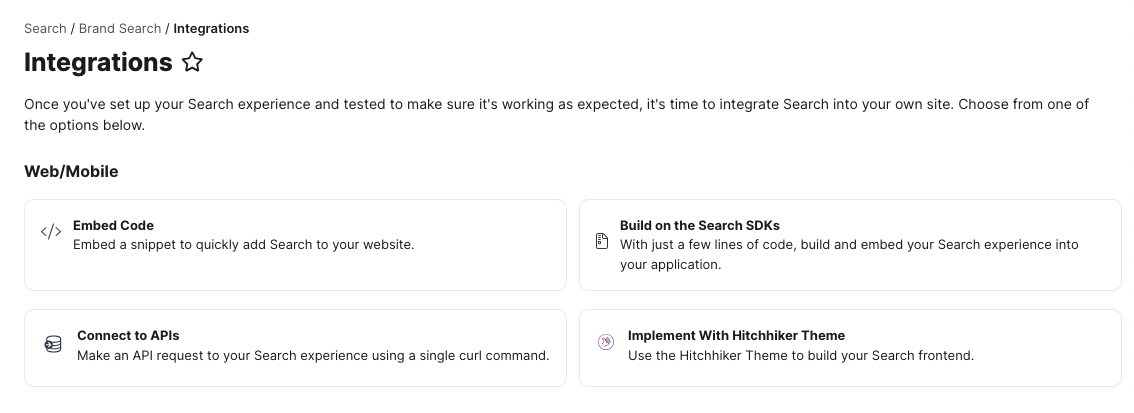
As mentioned in the previous unit, to make the process quick and seamless for creating your search results page, you’ll find an Integrations screen that provides code snippets for the various ways you may want to integrate Search onto your site.
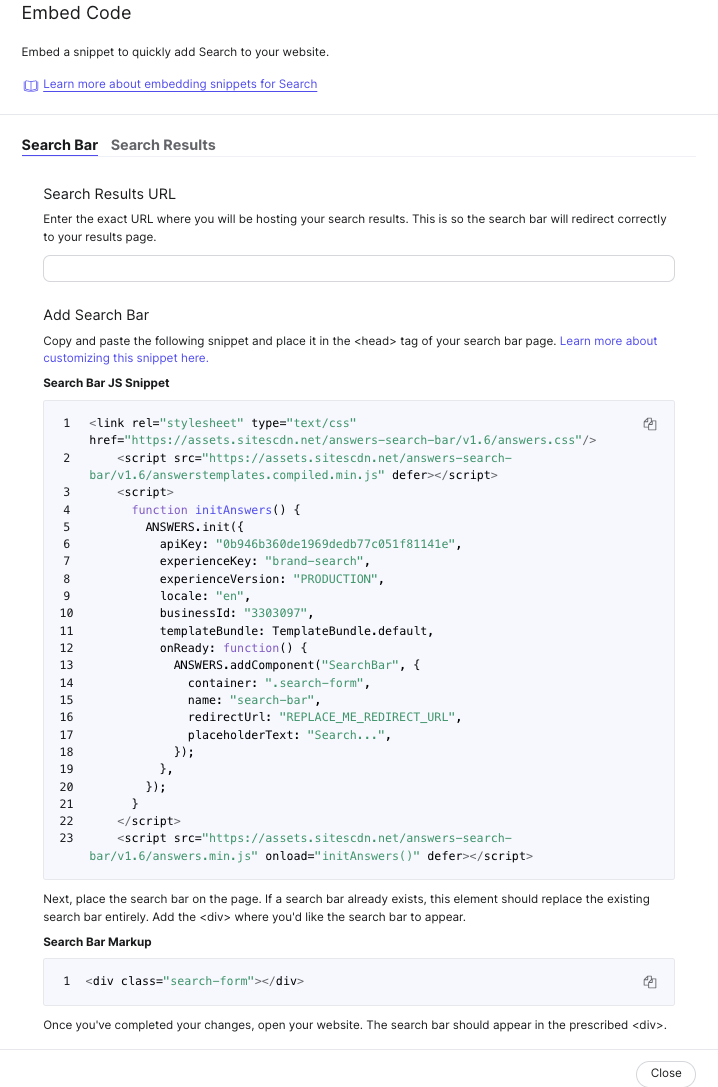
Navigate to Search > [[Your Experience]] > Integrations and select “Embed Code”.
This code snippet automatically populates the required variables from your account. Fill in the search results URL to fill in the last variable. The snippet provided in the Yext platform will also include all three steps of initializing the library, placing, and styling the search bar. This is currently only available for the static search bar, and not the overlay option which you will read more about later on in this unit.
Search Bar on Page Builder
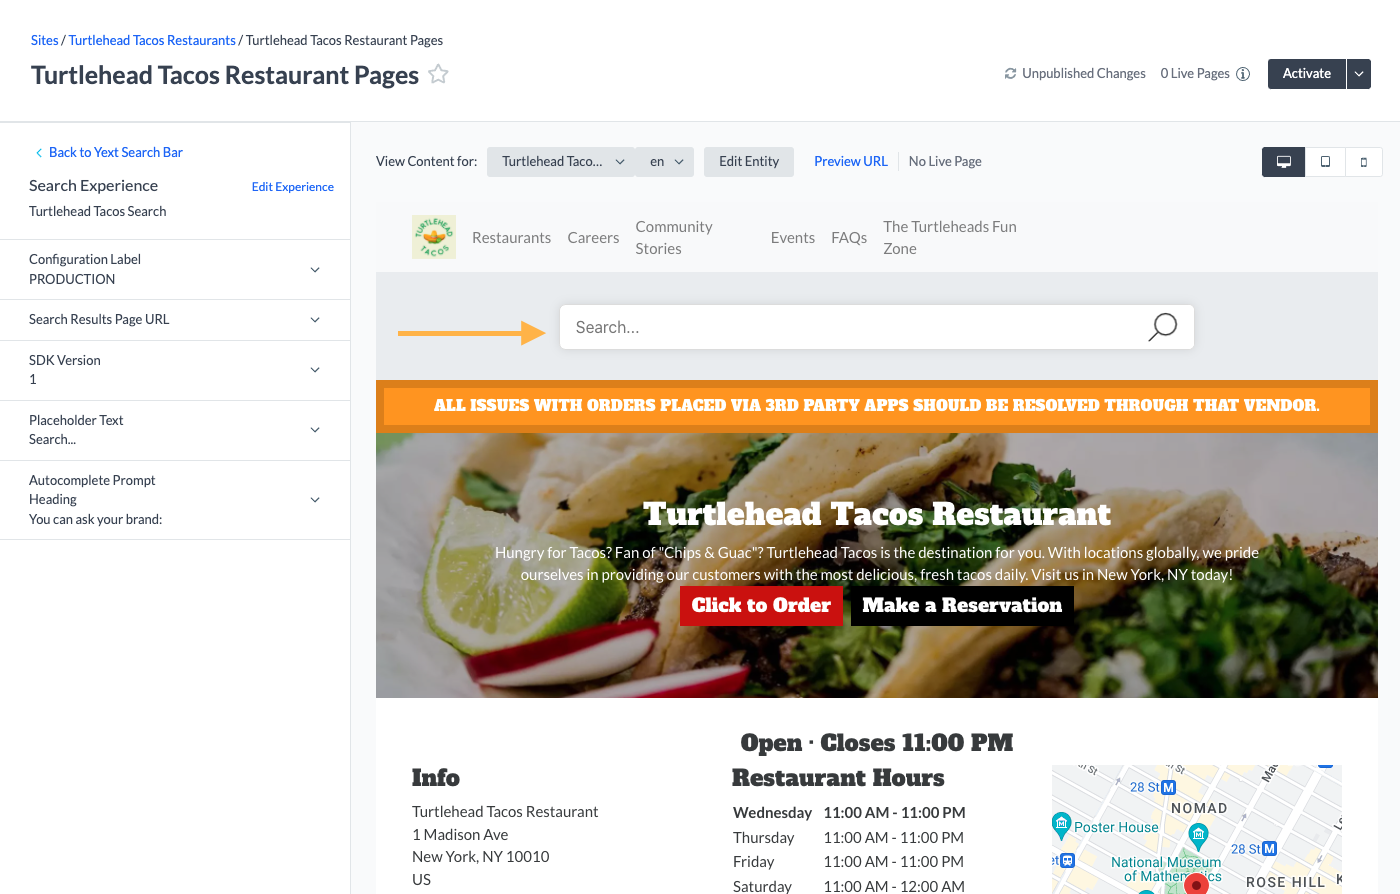
There is also the option to add a search bar to your Page Builder template through the Yext Pages product. There are two modules within Page Builder that will directly integrate with your Search configuration. The only pre-requisite to using the built-in search bar modules is that you’ve created and established your Search configuration.
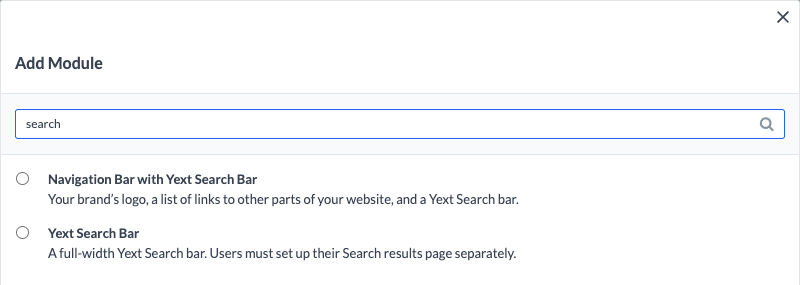
There are currently two module options for integrating a search bar into Page Builder:
- Yext Search Bar - This module inserts a full width search bar into your template. We recommend placing the search bar at the top of the page below your header.
- Navigation Bar with Yext Search Bar - This module inserts a search bar within the nav.
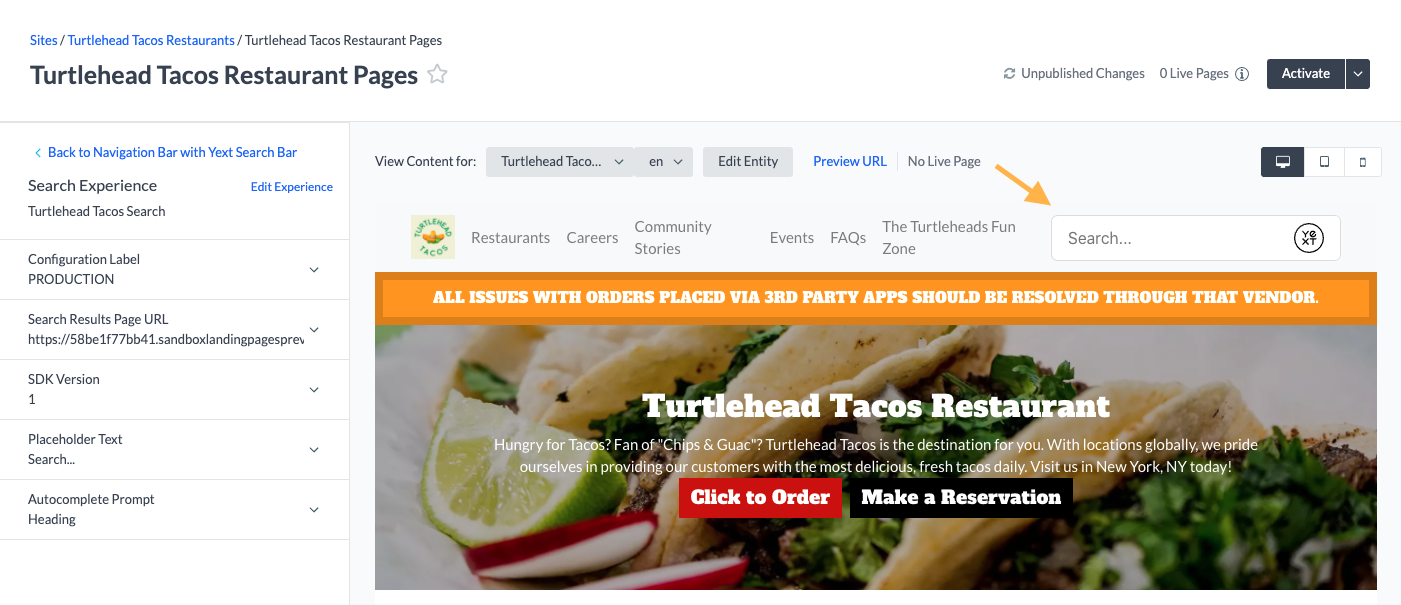
In order to set up either of these options, all you’ll need to do is add the module, select your Experience, and insert a redirectUrl into the “Search Results Page URL” field.
Overlay Module
So far, we’ve discussed standing up a separate results page to display your Search experience. But what if you want the search experience to be easily accessible on all pages across your site? You can add the search bar and search results experience within a single, simple overlay module.

With the Search overlay, you’ll be able to add a module to any page of your choosing that allows users to search and view results from within the module itself. This means a user can still view and interact with your web page (may it be a product details page or an outline of service offerings) while still utilizing Search with any questions they have about your brand.
You can read the full overlay integration documentation in the Adding an Overlay Module guide.
Components of Overlay Module
To establish common terminology, we’ll define the components of the overlay as follows:
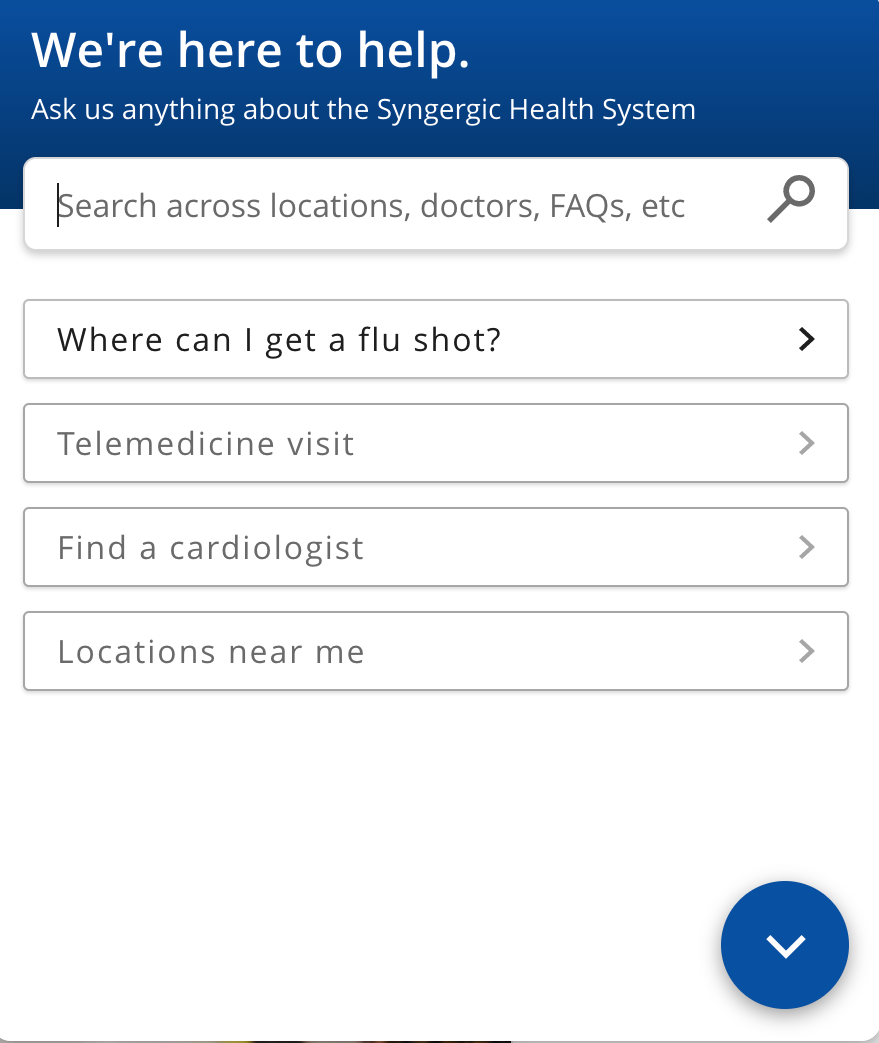
- Overlay Button: The button that triggers the launch of the overlay. You can either use our built-in button, or create your own.

- Overlay Panel: The initial panel that has query suggestions displaying.
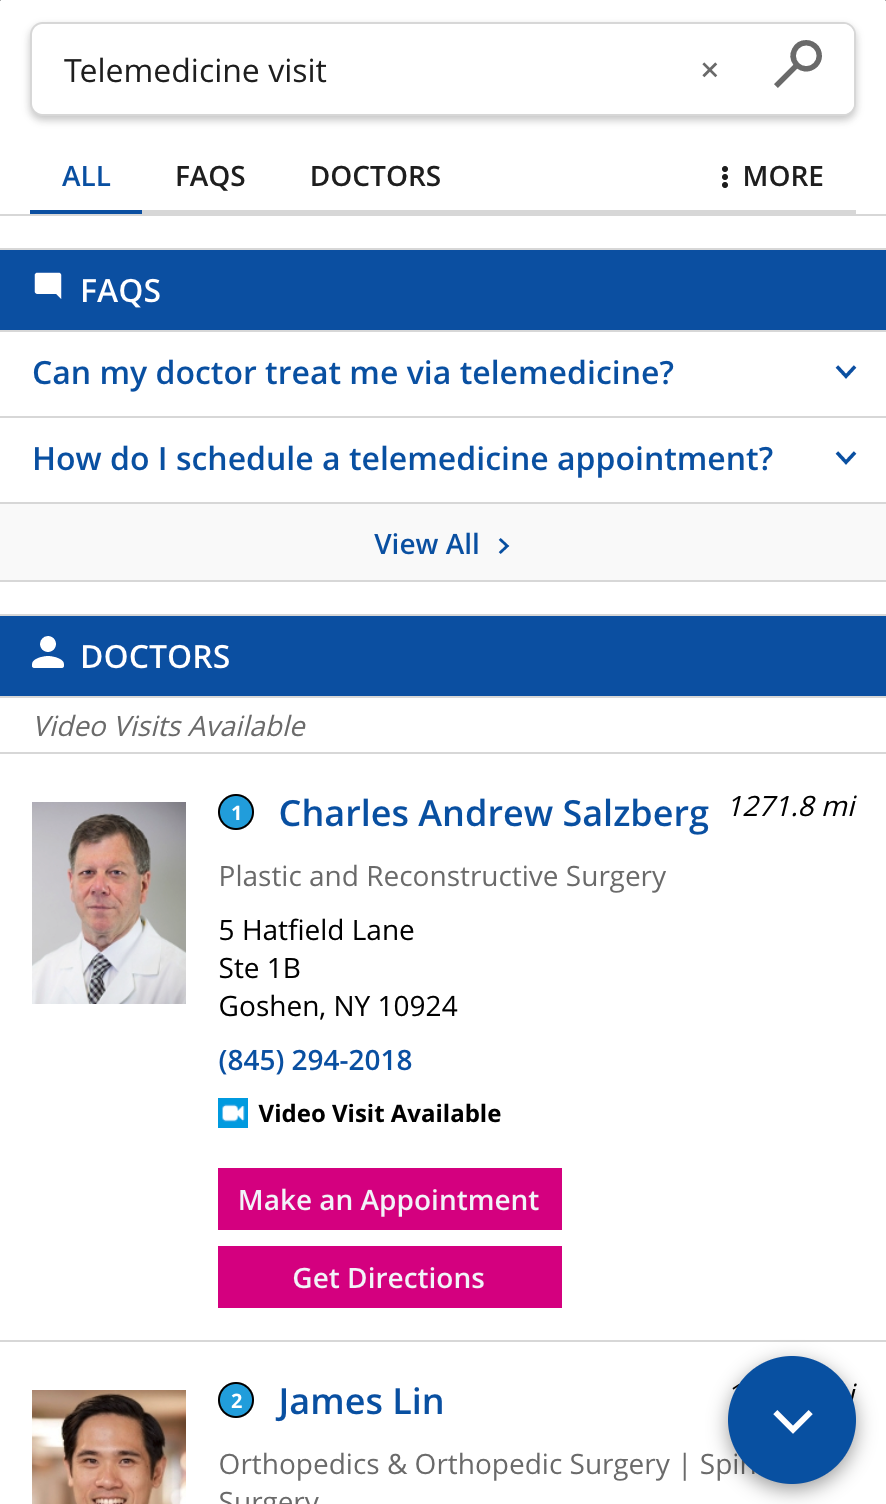
- Search Results - No Page: When results display in-line. Exposed when someone conducts a search within the overlay.
True or False: A search bar is already fully styled and can't be customized.
What tool can you utilize to help add a search bar to your site?
What is the Search overlay?
What do you need in order to add the overlay that redirects to a standalone results page?
A Hitchhiker in the making! 🔥
