Add Search Bar - Overlay Option | Yext Hitchhikers Platform

What You’ll Learn

In this section, you will learn:

  • Learn how to add a Search Overlay module to any webpage you own
  • Learn customizations you can make to your Search Overlay
  • Learn how to set up advanced configuration options

About the Overlay Module

So far, we’ve discussed standing up a separate results page to display your Search experience. But what if you want the search experience to be easily accessible on all pages across your site? You can add the search bar and search results experience within a single, simple overlay module.
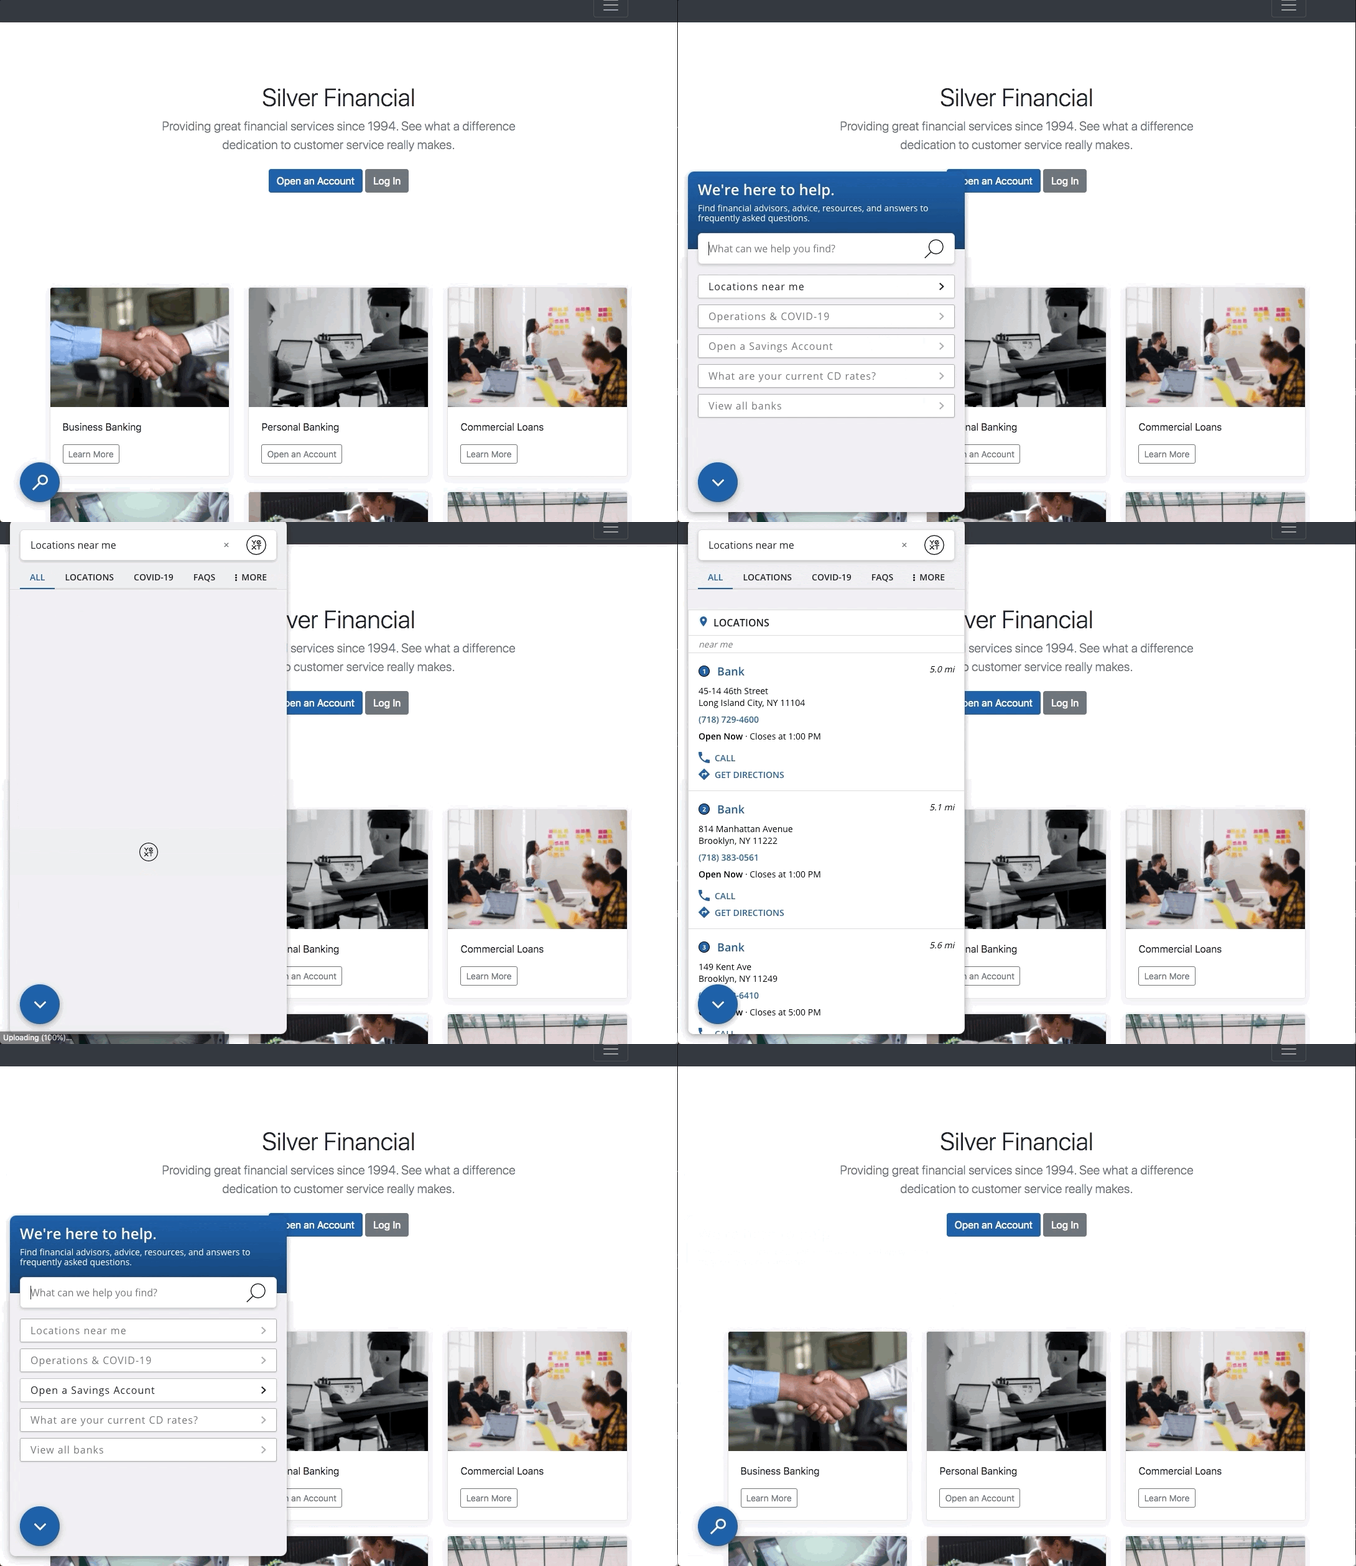
With the Search Overlay, you’ll be able to add a module to any page of your choosing that allows users to search & view results from within the module itself. Overlay GIF

Search Bar & Search Results

If you choose to add the overlay module to your page, then a user can search, get results, and interact with the full Search experience within the module. It does not require a separate, standalone results page.

However, you may choose to maintain and link out to a full search results page within the Search overlay module. This is possible and is discussed later in this unit within the “Redirecting to a Standalone Search Results Page” section.

Components of the Overlay Module

To establish common terminology, we’ll define the components of the overlay as follows:

Overlay Button

The button that triggers the launch of the overlay. You can either use our built in button, or create your own.

Overlay Button

Overlay Panel

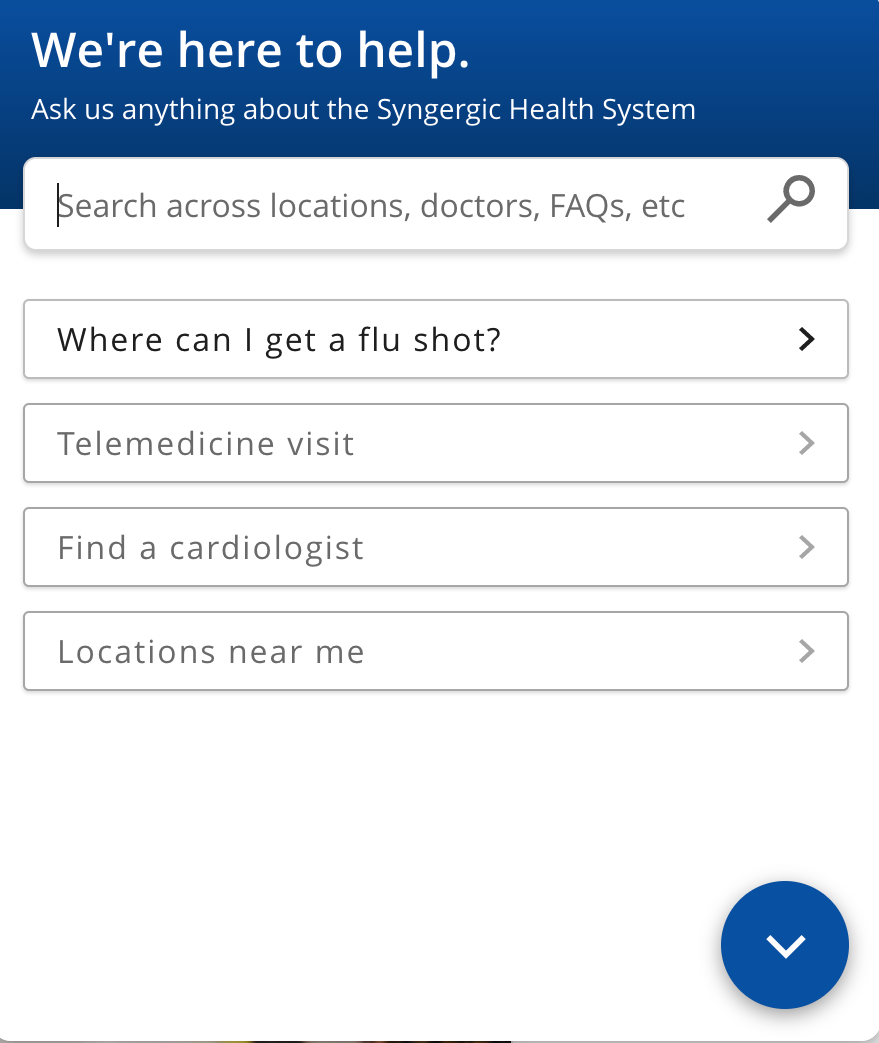
The initial panel that has hardcoded prompts displaying.

Overlay Panel Image

Search Results - No Page

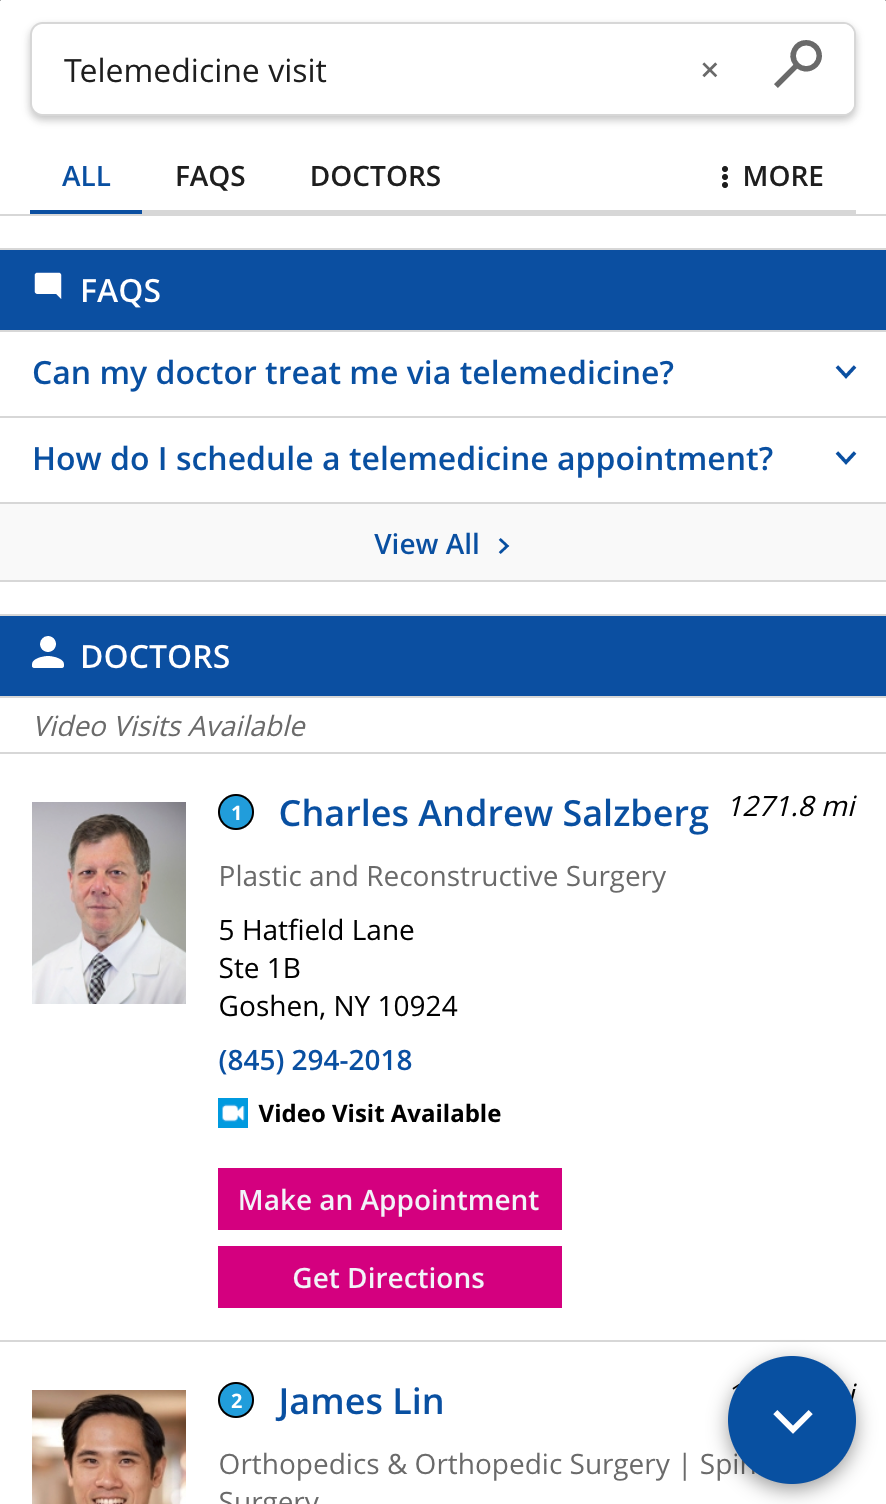
When results display in-line. Exposed when someone conducts a search within the Overlay.

Overlay Results Image

Adding the Overlay Module

The two scripts below inject the overlay into an HTML page of your choosing. Place the scripts in the <body> of your page - the snippet below shows the scripts in context of the other components on your page, but the relevant content is contained within the <script> tags. We’ll walk through the inputs you’ll need to modify when adding this to your site. Note that the following scripts require theme version 1.21 or later.

<html>
<head>
   // content 
</head>
<body>
  // content
  <script type="text/javascript" async src="REPLACE_ME_SEARCH_RESULTS_URL/overlay.js"></script>
  <script>
  window.YxtAnswersOverlaySettings = {
      domain: "{{production_url}}",
      // experiencePath: 'path.html'
      // hideDefaultButton: true,
      // customSelector: "#customOverlayButton",      
      offset: {
        horizontal: '50px',
        vertical: '-50px', 
      },
      button: {
        alignment: 'right',
        text: 'Search',
        color: {
          text: '#D01F2F',
          background: '#FFFFFF'
        },
      },
      panel: {
        header: "We're here to help.",
        subtitle: "Find financial advisors, advice, resources.",
        color: {
          text: '#006938',
          background: '#FFFFFF'
        },
      },
      
      // hideDefaultButton: true,
      // customSelector: '#myButton', // Uncomment button on line 5
      prompts: [
        { text: "Locations near me", },
        { text: "Do you have gift cards", },
        { text: "Operations & COVID-19", },
      ]
    };
  </script> 
</body>
</html>

Inputs

Top Level Attributes

  • domain: This is the production domain of your Search Experience, the same as the domain you’d reference for the JS Snippet approach.
  • experiencePath: By default, the snippet will reference what’s at the root of your production domain (typically your index.html page). If you want to reference a vertical page (ex. faqs.html) or a multilanguage page (ex. es/index.html), you can specify it here.
  • hideDefaultButton: Optional attribute to hide the default button and use a custom button. Set to true if desired and make sure to reference the button in your customSelector.
  • customSelector: Optional attribute to reference the custom selector for your button (either class or id).

Offset Attributes

  • horizontal: This allows you to specify a specific pixel offset. To move left, use a positive value. To move right, use a negative value.
  • vertical: This allows you to specify a specific pixel offset. To move down, use a positive value. To move up, use a negative value.

Button Attributes

  • alignment: This can either be right or left. This determines which side of the page the button will appear.
  • color.text: This is the background color of the button. You can input any hex value or color name.
  • color.background: This is the color of the icon and button text. You can input any hex value or color name.
  • text: If you’d like to add text to the right of the icon, you can use this attribute.

Panel Attributes

  • header: This is the title that appears once a user clicks on the overlay button.
  • subtitle: This controls the text that appears underneath the title.
  • icon: The image that appears in the panel, most often the brand logo.
  • color.text and color.background: This allows you to set the color of the background and foreground of the panel, much like the button.

Prompts Attributes

The prompts attribute is an array. The objects in the array can have the following properties:

  • text: The text of the prompt, often the string you’d want to be searched.
  • url: The destination of the prompt. If not filled out, it will default to the search itself, based off the text provided.
  • target: This is the target behavior of the prompt - by default, it will be self so that it opens within the panel.

Requirements for Theme 1.20 and Earlier

If you are on a version of the theme earlier than 1.21, you will have to use the following script <script> tag instead.

<html>
<head>
   // content 
</head>
<body>
  // content
  <script>
  window.YxtAnswersOverlaySettings = {
      domain: "{{production_url}}",
      // experiencePath: 'path.html'
      // hideDefaultButton: true,
      // customSelector: "#customOverlayButton",      
      offset: {
        horizontal: '50px',
        vertical: '-50px', 
      },
      button: {
        alignment: 'right',
        text: 'Search',
        color: {
          text: '#D01F2F',
          background: '#FFFFFF'
        },
      },
      panel: {
        header: "We're here to help.",
        subtitle: "Find financial advisors, advice, resources.",
        color: {
          text: '#006938',
          background: '#FFFFFF'
        },
      },
      
      // hideDefaultButton: true,
      // customSelector: '#myButton', // Uncomment button on line 5
      prompts: [
        { text: "Locations near me", },
        { text: "Do you have gift cards", },
        { text: "Operations & COVID-19", },
      ]
    };
    (function () {
      var w = window;
      var d = document;
      function l() {
        var s = d.createElement("script");
        s.type = "text/javascript";
        s.async = true;
        s.src = w.YxtAnswersOverlaySettings.domain + '/overlay.js';
        var x = d.getElementsByTagName("script")[0];
        x.parentNode.insertBefore(s, x);
      }
      if (w.attachEvent) {
        w.attachEvent("onload", l);
      } else {
        w.addEventListener("load", l, false);
      }
    })();
  </script> 
</body>
</html>

In order for the overlay to work, you also must ensure that the overlay partial is also present on the pages that power the overlay (most typically your universal page).

The partial itself is {{> layouts/overlay-suggestions }}. For any newly created pages on sites with theme version 1.17 or higher, this will automatically be included. For any existing pages, add this partial above the Answers-container div in your page.html.hbs files. An example of a universal hbs file is below.

{{#> layouts/html }}
  <div>
    {{#> script/core }}
    // all scripts here
    {{/script/core }}
    <div class="Answers AnswersUniversalStandard">
      <div class="Answers-navWrapper">
        <div class="Answers-container">
          {{> templates/universal-standard/markup/searchbar }}
          {{> templates/universal-standard/markup/navigation }}
        </div>
      </div>
      {{> layouts/overlay-suggestions }} // add this div
      <div class="Answers-container Answers-resultsWrapper">
        {{> templates/universal-standard/markup/spellcheck }}
        {{> templates/universal-standard/markup/directanswer }}
        <div class="Answers-filtersAndResults">
          {{> templates/universal-standard/markup/universalresults }}
        </div>
      </div>
    </div>
    <div class="Answers-footer">
      {{> layouts/yext-logo }}
      {{> templates/universal-standard/markup/locationbias }}
    </div>
  </div>
{{/layouts/html }}

Advanced Configuration: Redirecting to a Standalone Search Results Page

By default the results will show inline with the overlay module. It is possible to link the user out from the overlay module to a separate, standalone search results page. You will learn how to stand up the search results page in the next unit.

Within the overlay module, there are two steps required (one from the Admin and one from the Client) which are outlined below.

light bulb
Note
When you are testing out your overlay configuration and sending snippets to a client developer, make sure to verify the integration in an HTML editor such as Codepen .

Admin Action

In short, you’ll create a new page where you’ll add the Overlay partial and the necessary configuration options for the search bar. Each step is listed below:

  • Add a new page in your Search repo using the Jambo “Add Page” command. You can name the page whatever you want. We suggest using “panel” or “overlay”. In the next steps, we will assume you named the page “panel”.

  • In the panel.json file, you’ll just need componentSettings with configuration for the search bar. You do not need the other component settings in the file, and you will need to make sure to remove the entire verticalsToConfig object. Additionally, make sure to include a redirectUrlTarget to open in the full window, and the redirectURL, which will be the production URL of your Site:

    "componentSettings": {
    "SearchBar": {
      "placeholderText": "Search", 
      "redirectUrl": "[[Production URL]]",
      "redirectUrlTarget": "_top"
    }       
    }
  • In the panel.html.hbs file, make sure you have the {{> layouts/overlay-suggestions }} partial uncommented. It should be uncommented by default.

Client Action

The client will need to adjust two sections of the overlay module snippet discussed earlier in this unit.

  • Update the experiencePath to panel.html as instructed by the Admin.
  • For any hardcoded prompts, the client will need to populate the url with your experience url and the query, and set the target attribute to “_top“ within the prompts attribute:

       prompts: [
        {
            text: "Locations near me",
            url: "[Production URL]?query='Locations near me'",
            target: "_top",  
        },
        {
            text: "View all banks",
            url: "[Production URL]?query='View all banks'",
            target: "_top"
        },
        //etc
      ]

Advanced Configuration: Overlay with Single Vertical or an International Site

In order for the overlay to be added to an international site or a vertical-only site, the client will need to add the experiencePath attribute.

For example, if the french page is “fr/index.html”, the overlay init should include experiencePath: “fr/index.html”. This will be passed to the JS and pull up the correct page.

  <script>
    function initAnswersOverlay() {
      YextAnswersOverlay.init({
        experiencePath: "fr/index.html",
        //rest of overlay config as normal
      });
    }
  </script>

If you’re using the overlay for soley a vertical, you should not have allowEmptySearch: true on the searchbar. This will make it impossible to get back to the prompts, since clicking the “x” in the search bar is what allows this.

Advanced Configuration: Use a Custom Button

You don’t have to use our out-of-the-box button! To instead have a custom button trigger the overlay, you can create the button and set up two top-level attributes within the overlay snippet:

  • Create the button (within the HTML of your existing website) and give it a custom selector (either class or id): <button id="customOverlayButton"></button>
  • In your overlay init function, specify the custom selector in the customSelectorattribute
  • Hide the out-of-the-box button by enabling hideDefaultButton: true in the top-level properties of the overlay snippet.

Advanced Configuration: Add Non-Query Prompts

While the default prompt will simply conduct a search in the search bar, you also have the option of linking a prompt out to a new page. You may want to link one of the prompts to an individual vertical page (like the Banks vertical page, for example) or you also may want to link the user to an entirely separate page on the website such as a Contact Us page. We will walk through these two examples below. In the objects within the prompts array, make sure to include a url and a target to specify a non-query prompt.

Example 1: “View all banks” prompt with a link to the banks vertical:

      prompts: [
        { text: "Locations near me" },
        {
            text: "View all banks",
            url: "/banks.html",
            target: "_parent",  // needed if you have a redirectUrl to a new page
        },
        { text: "Do you have gift cards" },
        { text: "Operations & COVID-19" },
      ]

If you are linking to a vertical page, make sure to set a defaultInitialSearch within your page.json file of the Search page repo. This will ensure that a user sees results when redirected to the vertical page.

Example 2: “Contact Us” prompt with a link to a separate, non-Search webpage:

      prompts: [
        { text: "Locations near me" },
        {
            text: "Contact Us",
            url: "https://wwww.brand.com/contact-us",
            target: "_parent",  // needed if you have a redirectUrl to a new page
        },
        { text: "Do you have gift cards" },
        { text: "Operations & COVID-19" },
      ]

Advanced Configuration: Add a Button Inside the Overlay

An Admin can add a custom button inside the Overlay, for example, to handle use cases such as chat.

Overlay Button

The steps to set this up are as follows:

  • Override the Jambo theme using Jambo commands and shadow the layouts/overlay-suggestions.html file.
  • Add custom HTML to this partial for a button. For example:

    <div class="Answers-overlaySuggestions js-Answers-overlaySuggestions hidden">
    {{> overlay/markup/prompt-buttons }}
    <button class="chat" onClick="window.open('http://www.mychatpage.com');">chat with an agent</button>
    </div>
  • Add custom CSS to style your button to the answers.scss file. This styling should live outside of the top level .Answers class. Below is an example of some styling (this might change if you’ve updated other elements):

    .chat {
    position: fixed;
    bottom: 0;
    cursor: pointer;
    display: flex;
    align-items: center;
    justify-content: space-between;
    color: var(--yxt-color-text-secondary);
    font-size: var(--yxt-font-size-md-lg);
    font-weight: var(--yxt-font-weight-normal);
    line-height: var(--yxt-line-height-md-sm);
    letter-spacing: 1px;
    text-align: left;
    padding: calc(var(--yxt-base-spacing) / 2) var(--yxt-base-spacing);
    background-color: var(--yxt-color-brand-white);
    border: 1px solid #afafaf;
    border-radius: 3px;
    box-shadow: 0 1px 2px 0 rgba(0,0,0,0.15);
    margin-left: 16px;
    margin-right: 16px;
    margin-bottom: 24px;
    }

Note that at this time we aren’t able to add custom analytics to this button, but third party analytics (like adobe) could be integrated to track clicks.

light bulb
Want to learn more?
For more on the overlay, check out the Adding a Search Bar guide .
unit Quiz
+20 points
Daily Quiz Streak Daily Quiz Streak: 0
Quiz Accuracy Streak Quiz Accuracy Streak: 0
    Error Success Question 1 of 3

    What is the Search Overlay?

    Error Success Question 2 of 3

    What components can you edit with the Search Overlay Snippet? Select all that apply.

    Error Success Question 3 of 3

    True or False: The prompts in the overlay must come from your hardcoded prompts.

    A Hitchhiker in the making! 🔥

    You've already completed this quiz, so you can't earn more points.You completed this quiz in 1 attempt and earned 0 points! Feel free to review your answers and move on when you're ready.
1st attempt
0 incorrect
Feedback