How to Save and Automate Delivery of Exports | Yext Hitchhikers Platform

What You’ll Learn

In this section, you will learn:

  • How to save an export
  • How to automate delivery of an export to an email or SFTP/FTP
  • Common use cases for both

Saved Exports

Saved exports are a versatile tool that can be used to streamline the export process and set up recurring automated delivery of the export. If you find yourself exporting the same data repeatedly or want to automatically share your data with others or set up workflows that send you data, we highly recommend setting these up!

Saved Export Delivery to an email address, FTP, or SFTP

Once you have a saved export, you can easily set up automated delivery of that export to an email address, FTP or SFTP. This is great for sharing the data in Yext with other systems, teams, or vendors.

Not sure what FTP or SFTP mean? FTP stands for “File Transfer Protocol” and SFTP stands for “Secure File Transfer Protocol”. In laymans terms, it’s a way that you can share files from one system to another. You can learn more about what an FTP or SFTP is and which might be best for you with these resources:

How to Save an Export

To get started, you’ll need to move through the export flow above until you’re on the final screen. Once there:

  1. Name your Export.
  2. Click on Save Export.
  3. Once the page refreshes, click on the blue link to your saved export to review.

how to save export

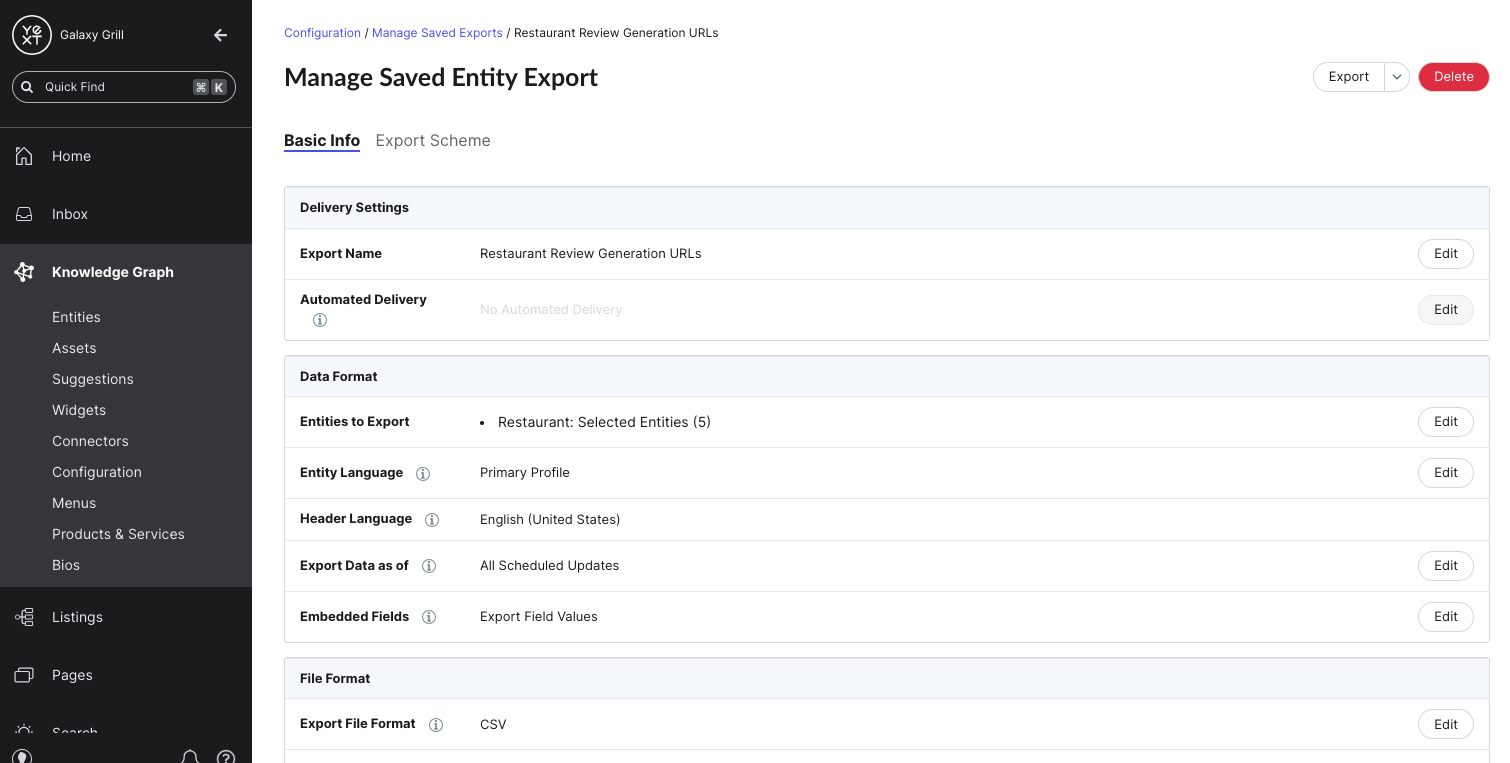
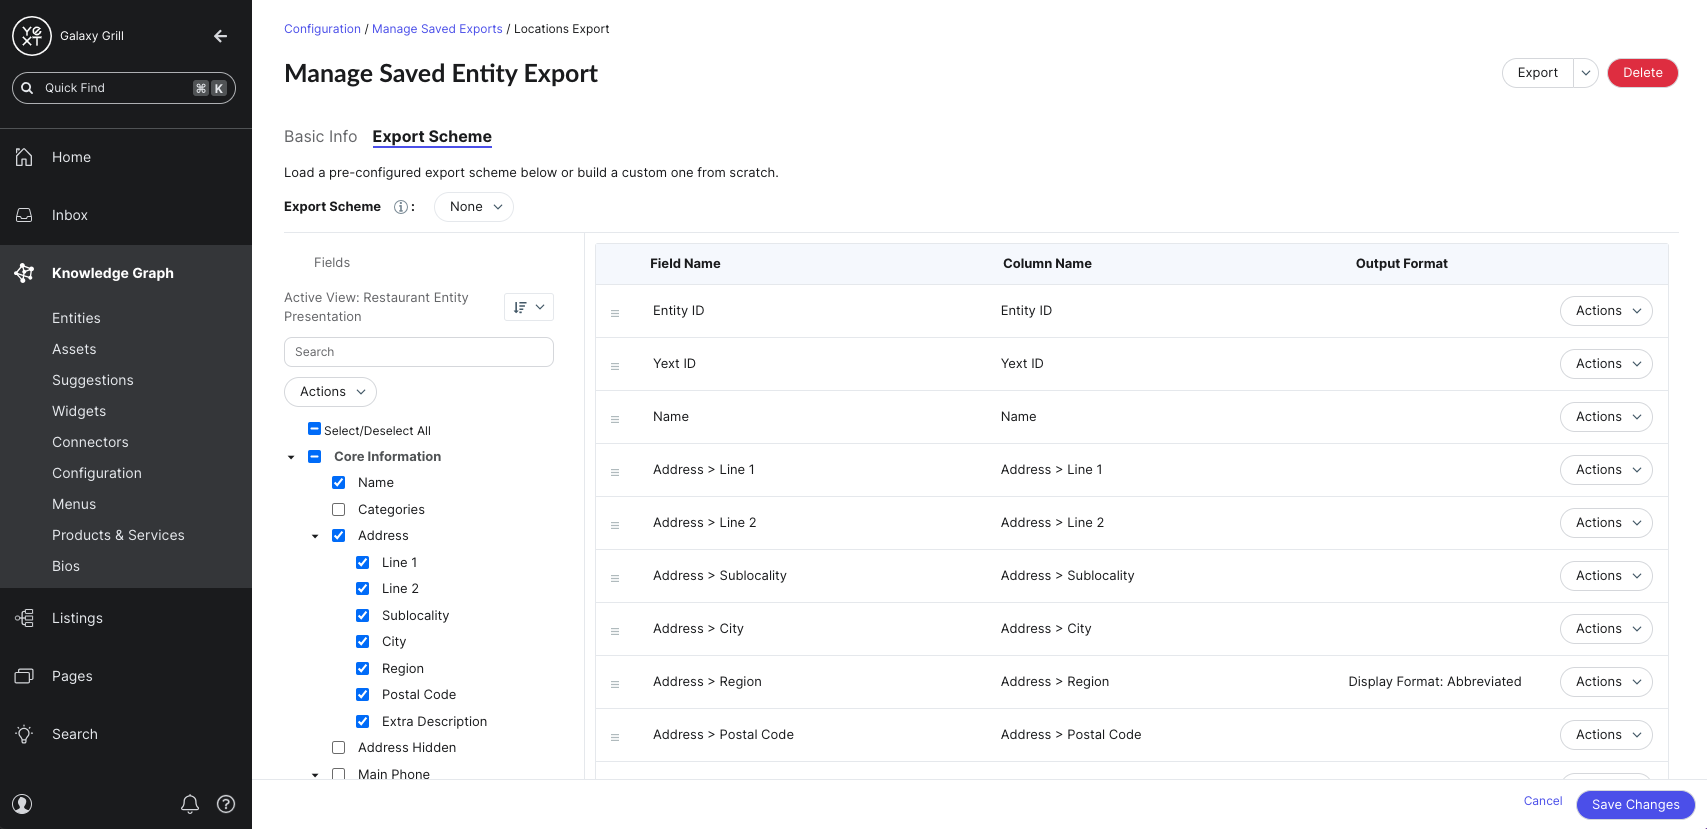
This screen should look familiar to you! You can modify a saved export in a similar UI to how you configure an ad-hoc export. The only additional option is to automate delivery of an export.

How to Automate Delivery of an Export

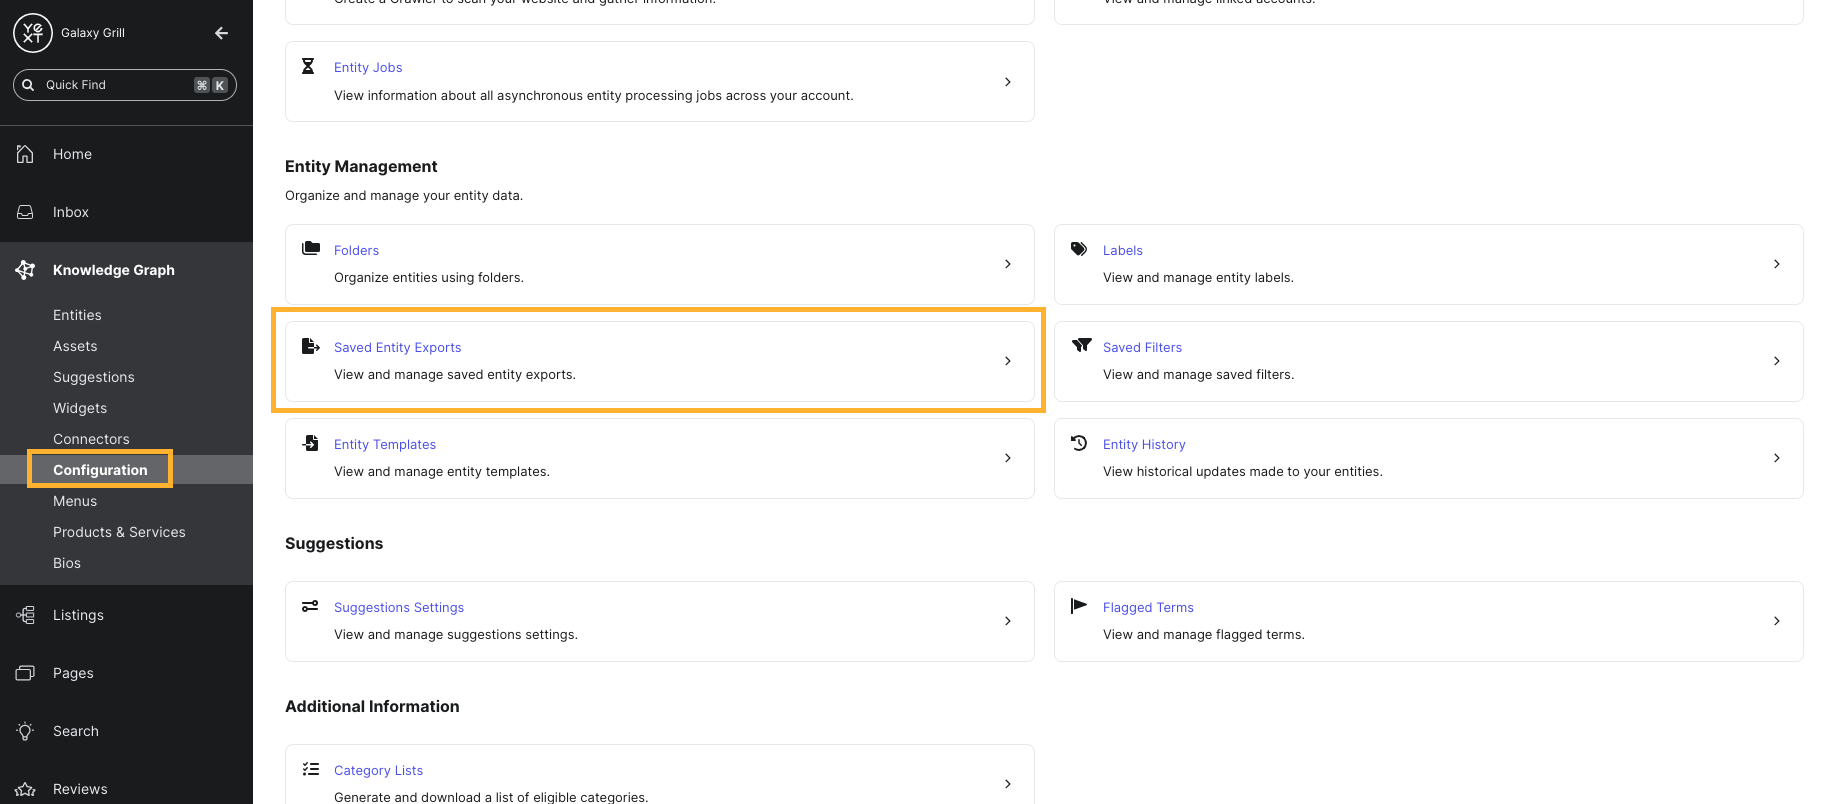
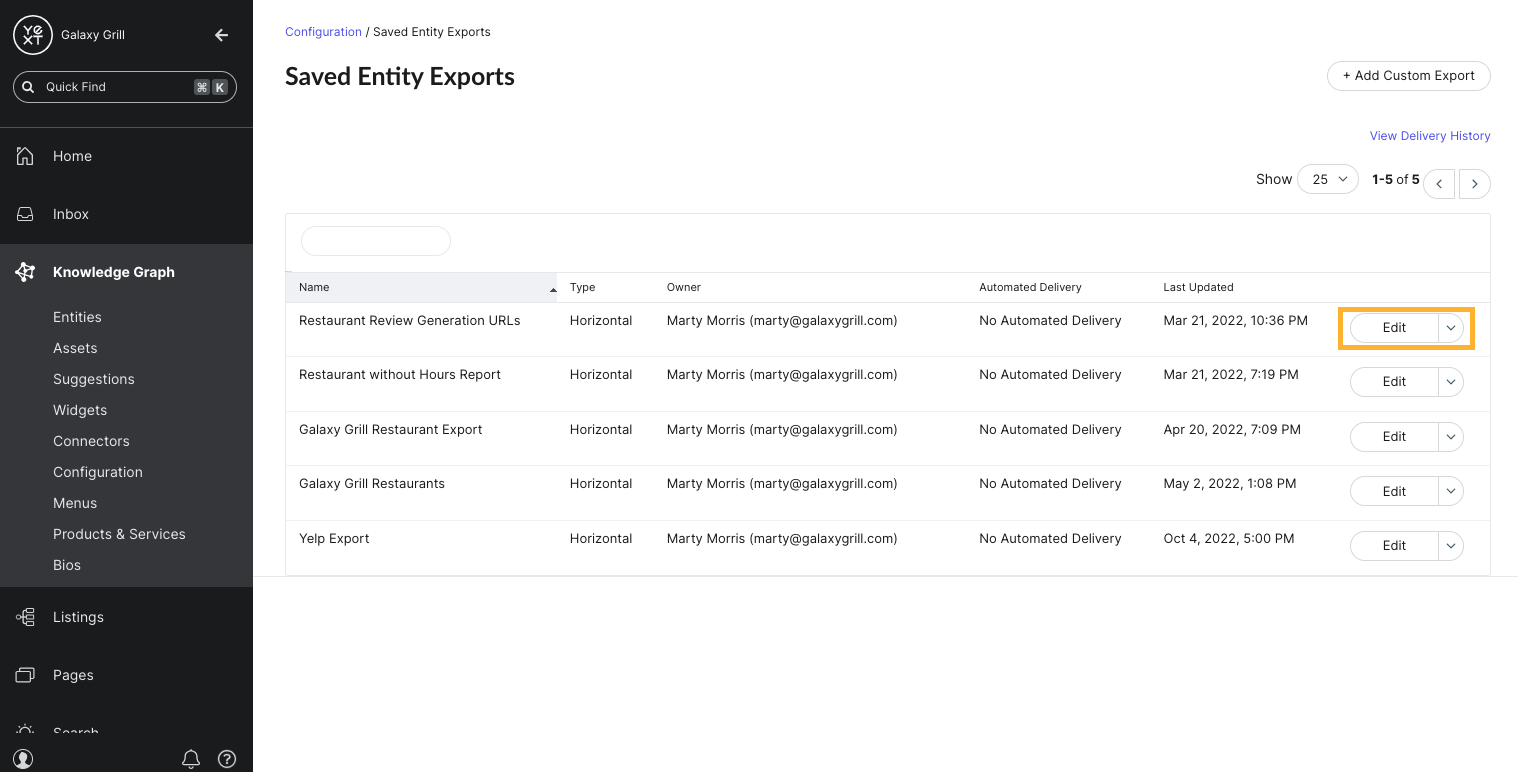
In order to set up an automated delivery, you’ll need to navigate to the saved export details screen. You can get here after you save an export, or by navigating to Content > Configuration > Saved Entity Exports.

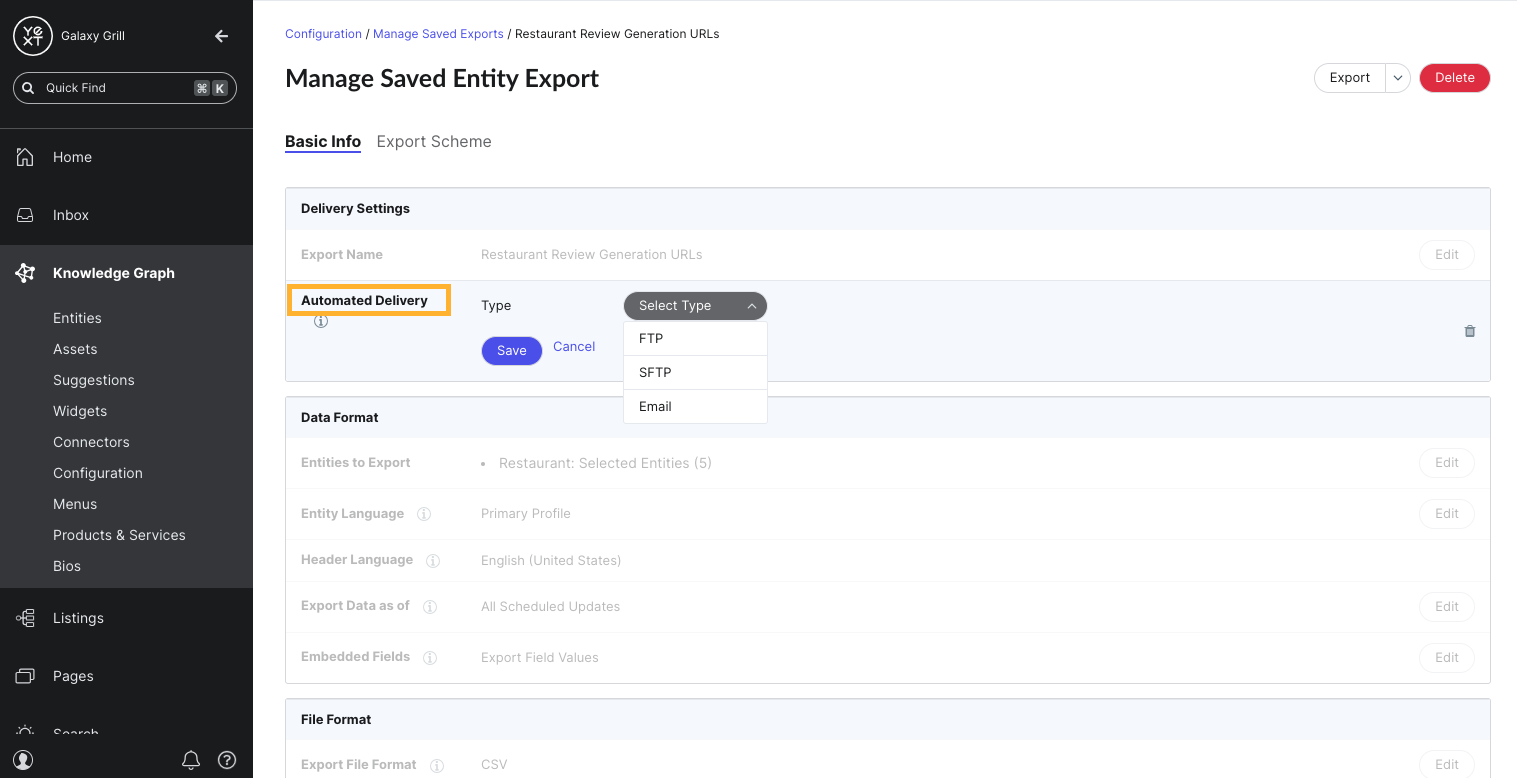
In the saved export details screen, you’ll see an option for Automated Delivery. By default this is empty, but you can click Edit in order to set one up.

Frequency Settings

For all delivery methods, you have the ability to set the frequency of the delivery. This includes:

  • How often – Hourly, Daily, Weekly, Biweekly (every other week), Monthly
  • Start date – set specific date
  • Delivery time – time our system will start processing the delivery (note that if an export takes several minutes to generate for large files it may be delivered ~10-15 minutes after the time you set)

delivery frequency settings

Email Delivery

Specifically for emails, you can set:

  • Delivery Email – who should we deliver this to (and optionally you can select to cc yourself)
  • Subject line of email – set it to something that the recipient(s) will recognize

email delivery settings

When the recipient receives the email, it will contain a link to retrieve the file. The link expires after 30 days. Here’s an example of what the email would look like:

automated export email example

SFTP/FTP Delivery

While delivering to an email is very helpful, there’s a lot more you can do delivering data to an SFTP or FTP that can help you automate processes. Other systems can auto-retrieve the file and do whatever needs to be done. This can often replace the need for custom API development.

The settings for SFTP or FTP are very standard. You should talk to your IT Administrator who likely owns the SFTP or FTP servers for the Hostname, Port, Username, Password and Folder Path. They should be able to guide you and if not, please reach out to your Success Manager for assistance as we’d happily walk you or your IT administrator through this.

SFTP/FTP delivery settings

Checking the Status of Automated Delivery

We always recommend that you send a test after setting up your automated delivery – whether that’s via email or SFTP/FTP. This will help to troubleshoot any issues with the configuration without having to wait until the first date of sending. You can do this easily after you save an Automated Delivery by clicking on the “Send Test” button.

send test button

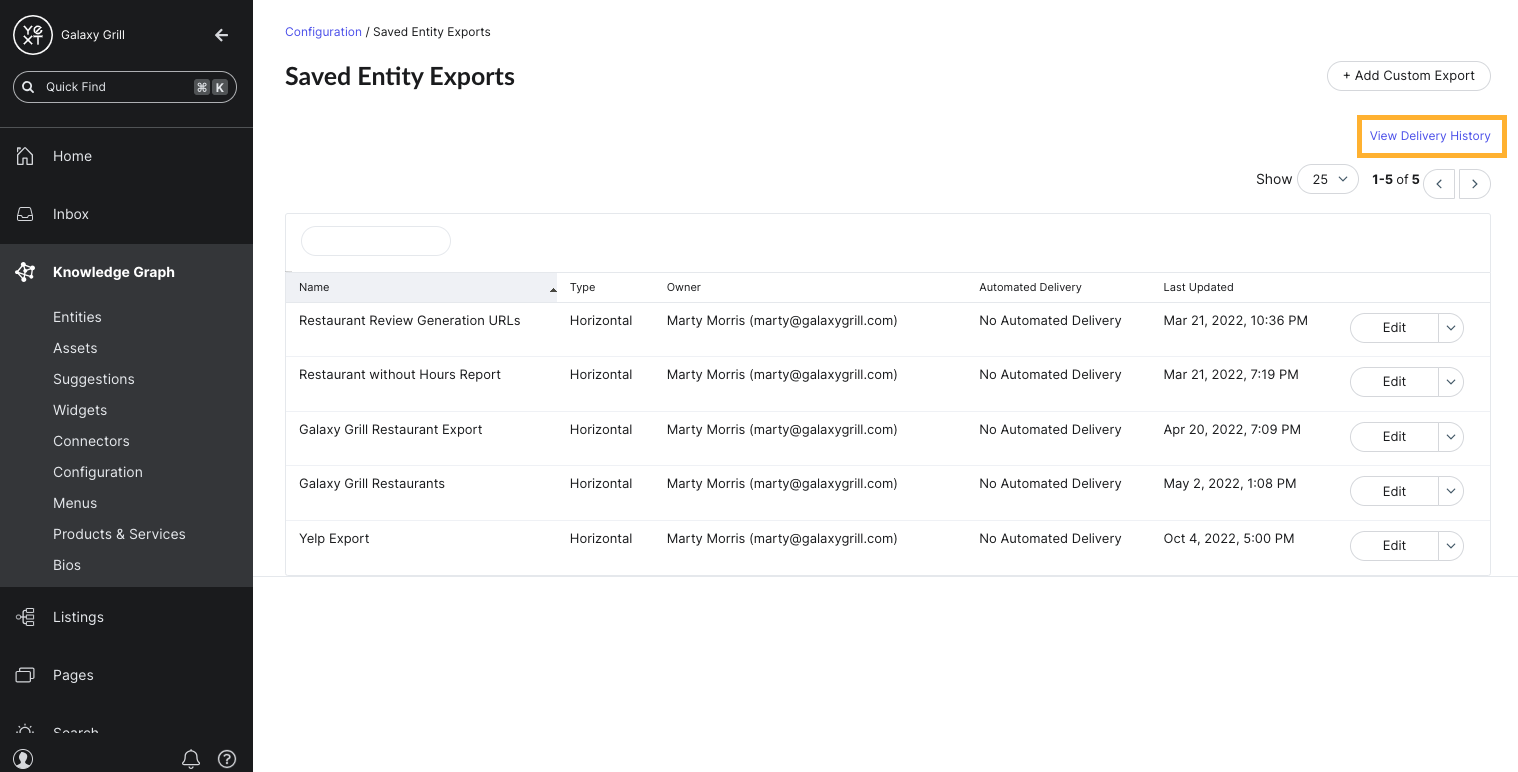
You can view the status of or troubleshoot your automated export deliveries by navigating to Content > Configuration > Saved Entity Exports and clicking on the “View Delivery History” link.

view delivery history link

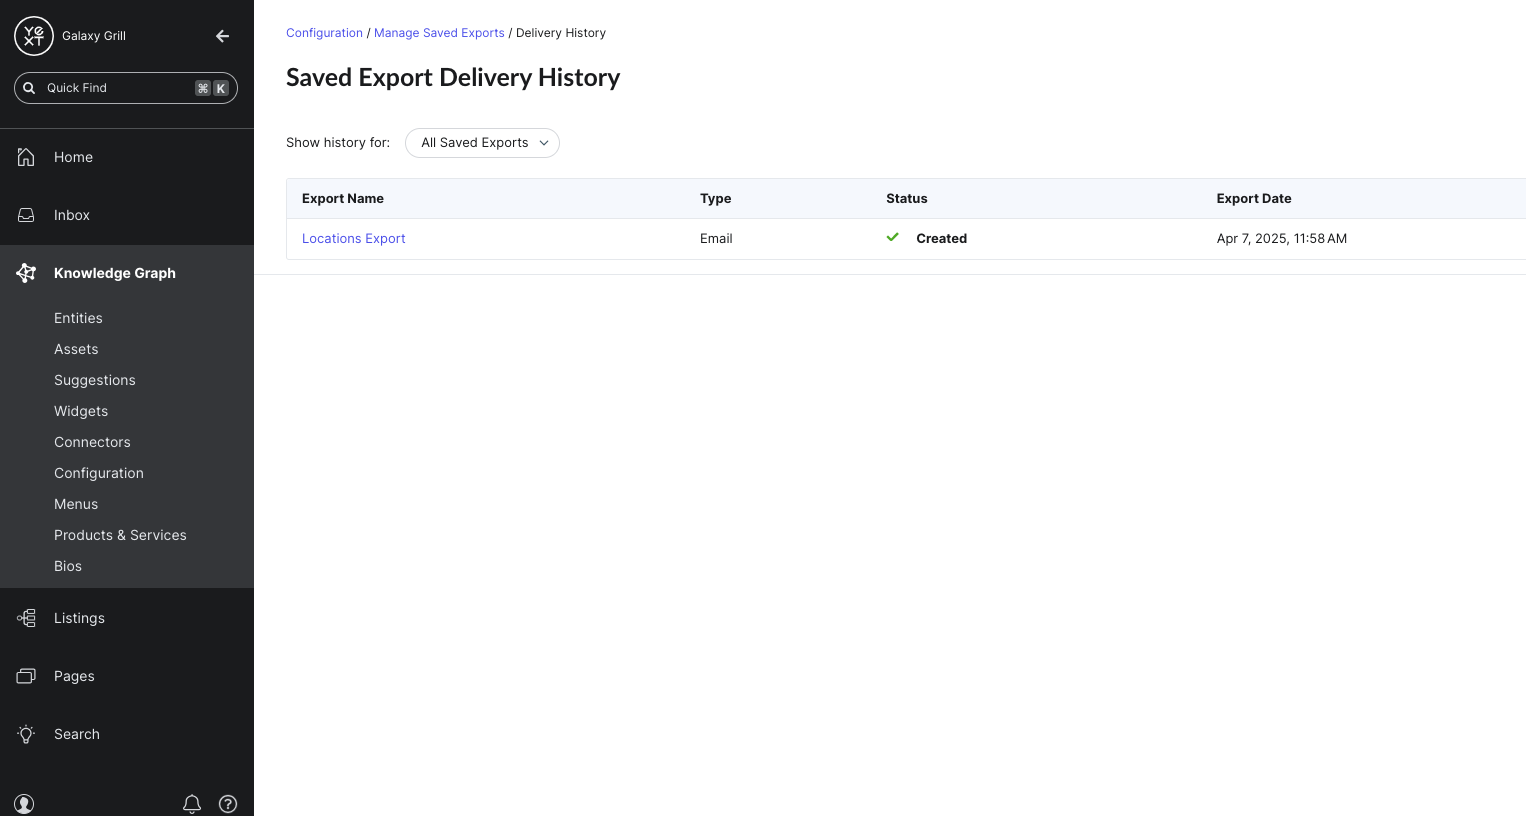
From this screen, you can see all of the updates to your Automated Delivery settings, as well as a complete status history for each delivery, including tests. If you see an error message here, feel free to contact Yext support or your Success Manager for assistance.

delivery history table

light bulb
Note
The Entities to Export uses a saved filter and will dynamically pull the set of entities specified at time of export. For example, if you want to receive an email when new entities are added to a folder but don’t have any licenses yet, you can set up a Daily Automated Export with a Saved Filter for entities that are in Folder “New Entities”, “Subscriptions” do not include any of “Any Subscription”. This will alert you that you need to login to Yext and assign licenses.
unit Quiz
+20 points
Daily Quiz Streak Daily Quiz Streak: 0
Quiz Accuracy Streak Quiz Accuracy Streak: 0
    Error Success Question 1 of 2

    What are the different methods you can use to automate export file delivery in the platform? (Select all that apply)

    Error Success Question 2 of 2

    At what frequencies can you deliver exports? (Select all that apply)

    You're out of this world! 🌎

    You've already completed this quiz, so you can't earn more points.You completed this quiz in 1 attempt and earned 0 points! Feel free to review your answers and move on when you're ready.
1st attempt
0 incorrect
Feedback