
Navigating the Admin Console | Yext Hitchhikers Platform
What You’ll Learn
In this section, you will learn:
- How to find resources in the Admin Console
- How to edit existing or add new resources in the Admin Console
- How to diff and apply in the Admin Console
Resources in the Admin Console
When you first open up the Admin Console, you will notice that there are two main sections. The section on the left has a few items with arrows in front of them such as km and platform. The section on the right is largely blank.
The left section is actually a folder structure, similar to a directory you would find on your computer. There are several top-level product areas, with a folder representing each. Both km and platform are product areas. Clicking the arrow next to a product area will show the contents of the folder. From there, there are folders representing the different resource types in that product area. Opening up these folders will show the files within them.
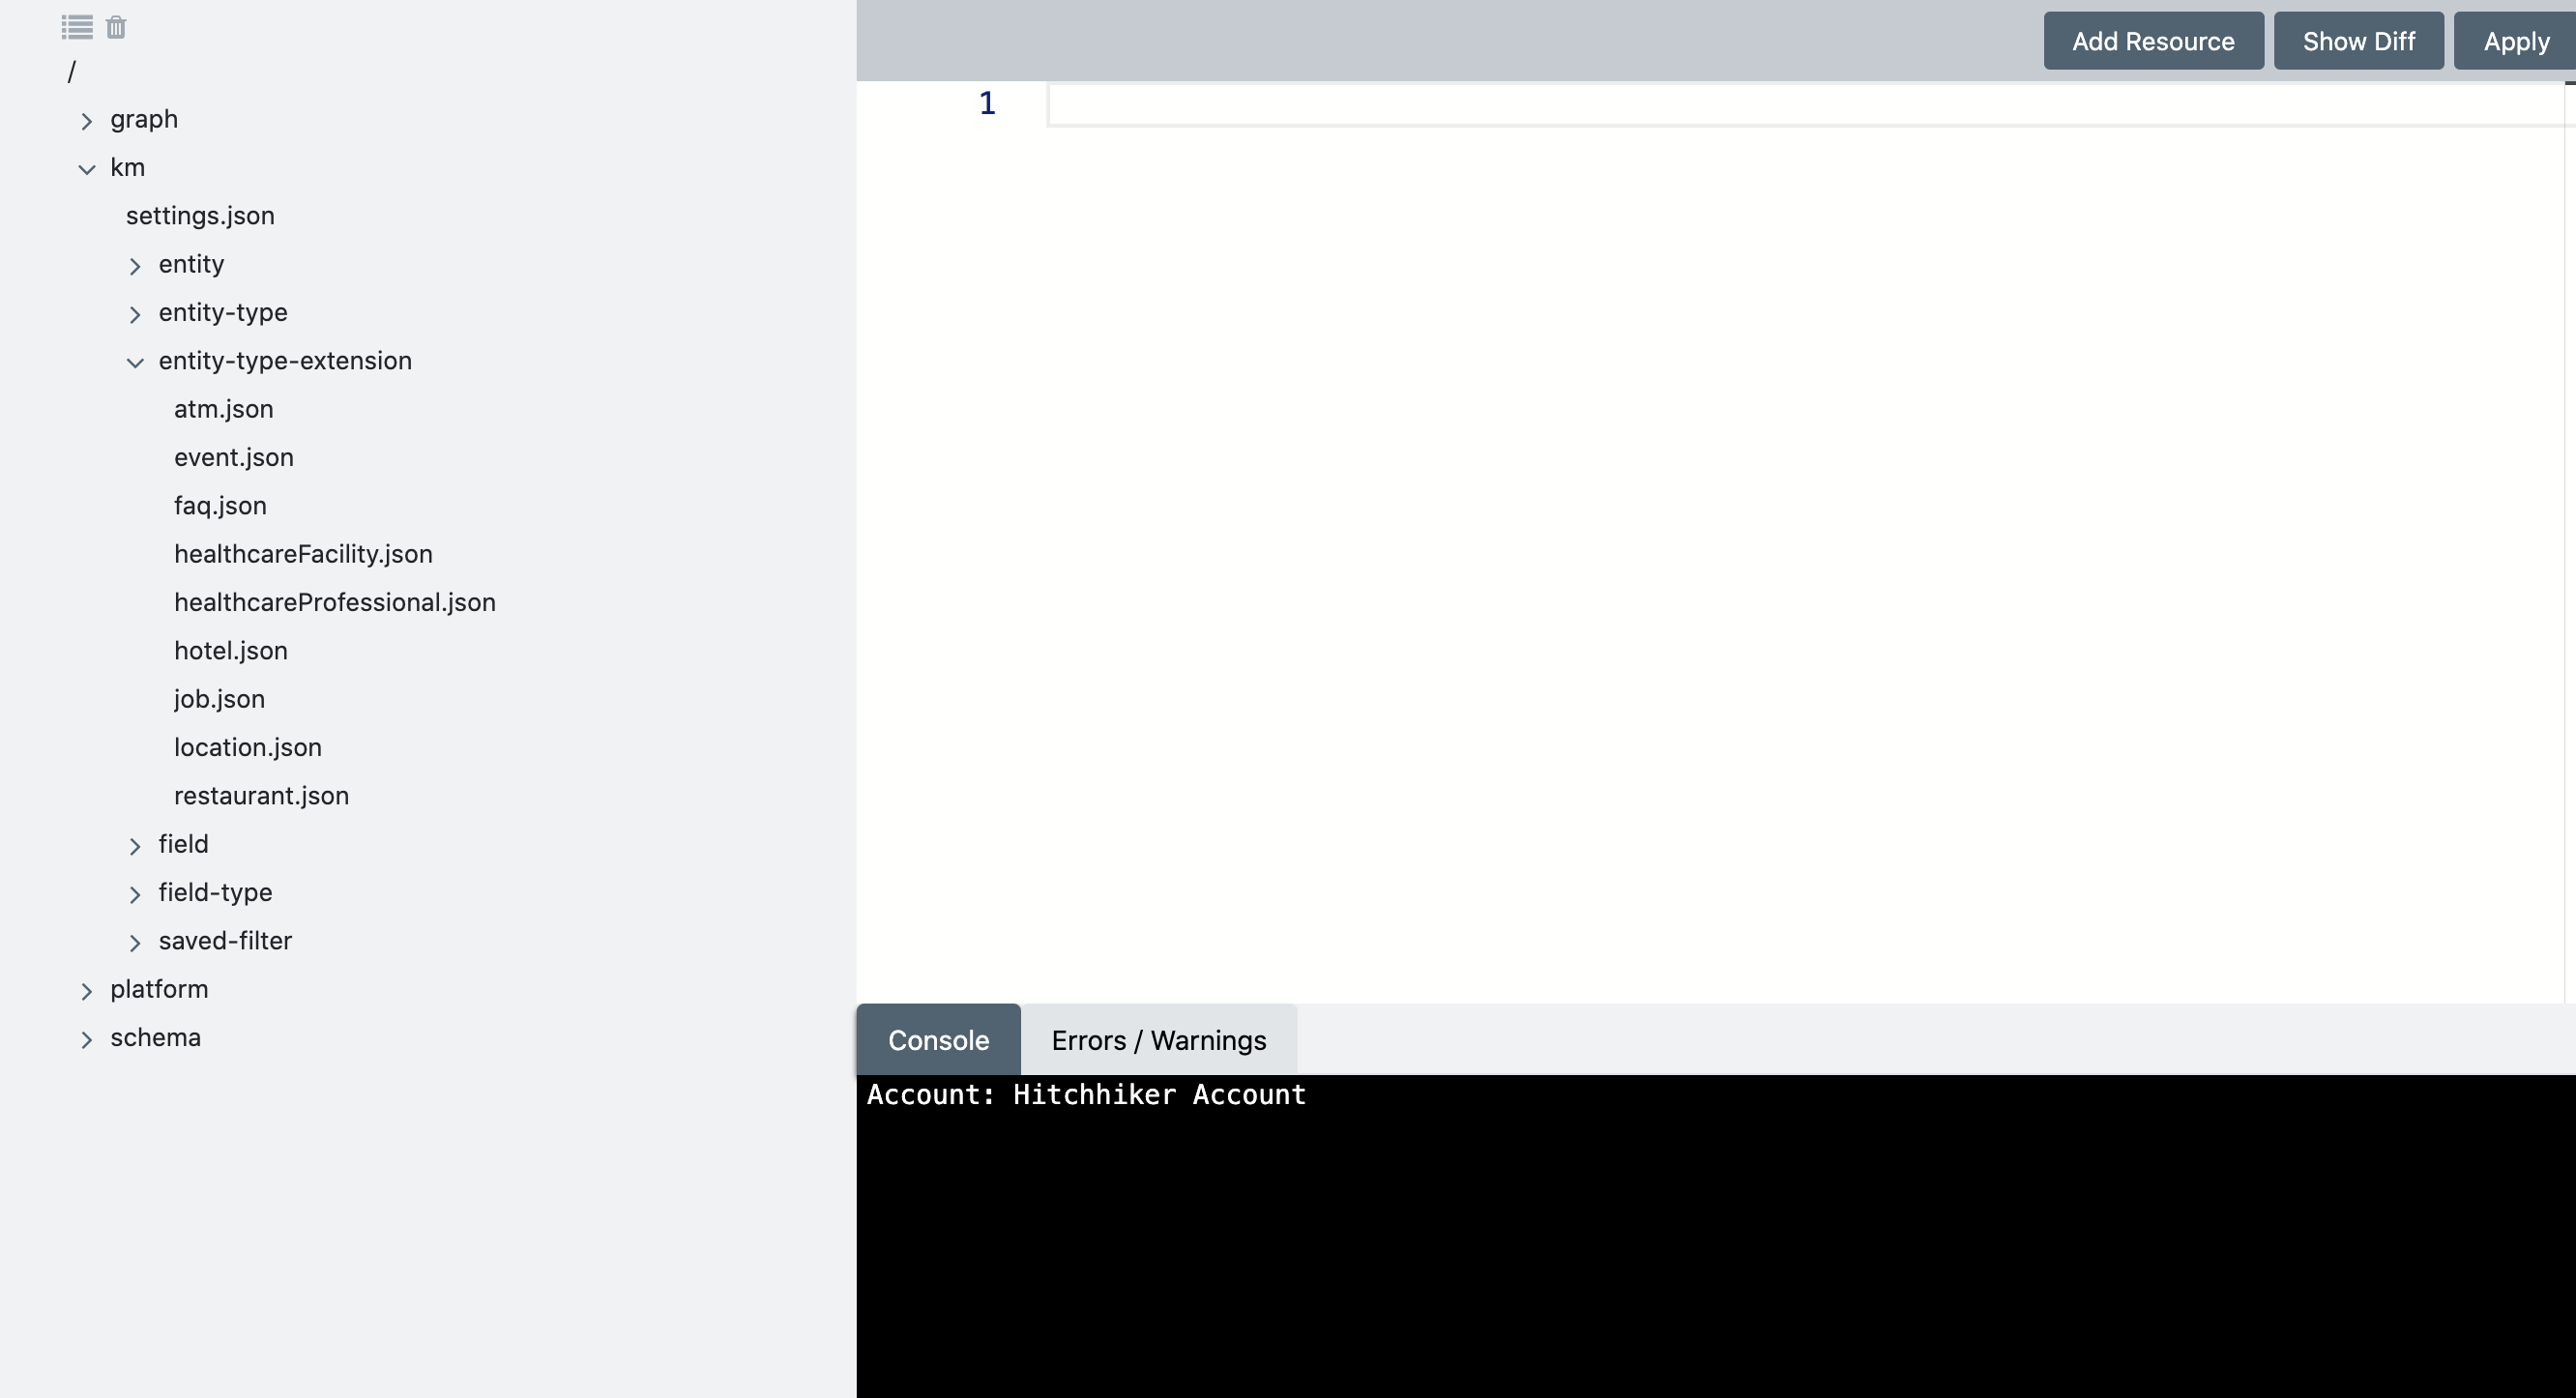
These are the resource files that represent the configuration of the different resources within your Yext account. Clicking on any of them will open the file in the editor. This is what the right section is - the editor.
You can make changes to the files in the editor. Note that these are local changes, meaning your changes will persist only for you, in your browser. This means that if you refresh the tab, close out, etc. any changes you make will be lost and the next time you come to the tab, the Admin Console will pull the latest set of configuration files from the account or repo. Additionally, the changes you make to the files will only exist locally until you apply them to your account or another account. If you delete a file in the console, it will not delete in your account until you apply your changes.
You can also add new resources in the Admin Console. In the upper right, there is an “Add Resource” button. Clicking it will open a dialog where you can select what type of resource you want to add. Select the resource type, give it a name, and click Create.
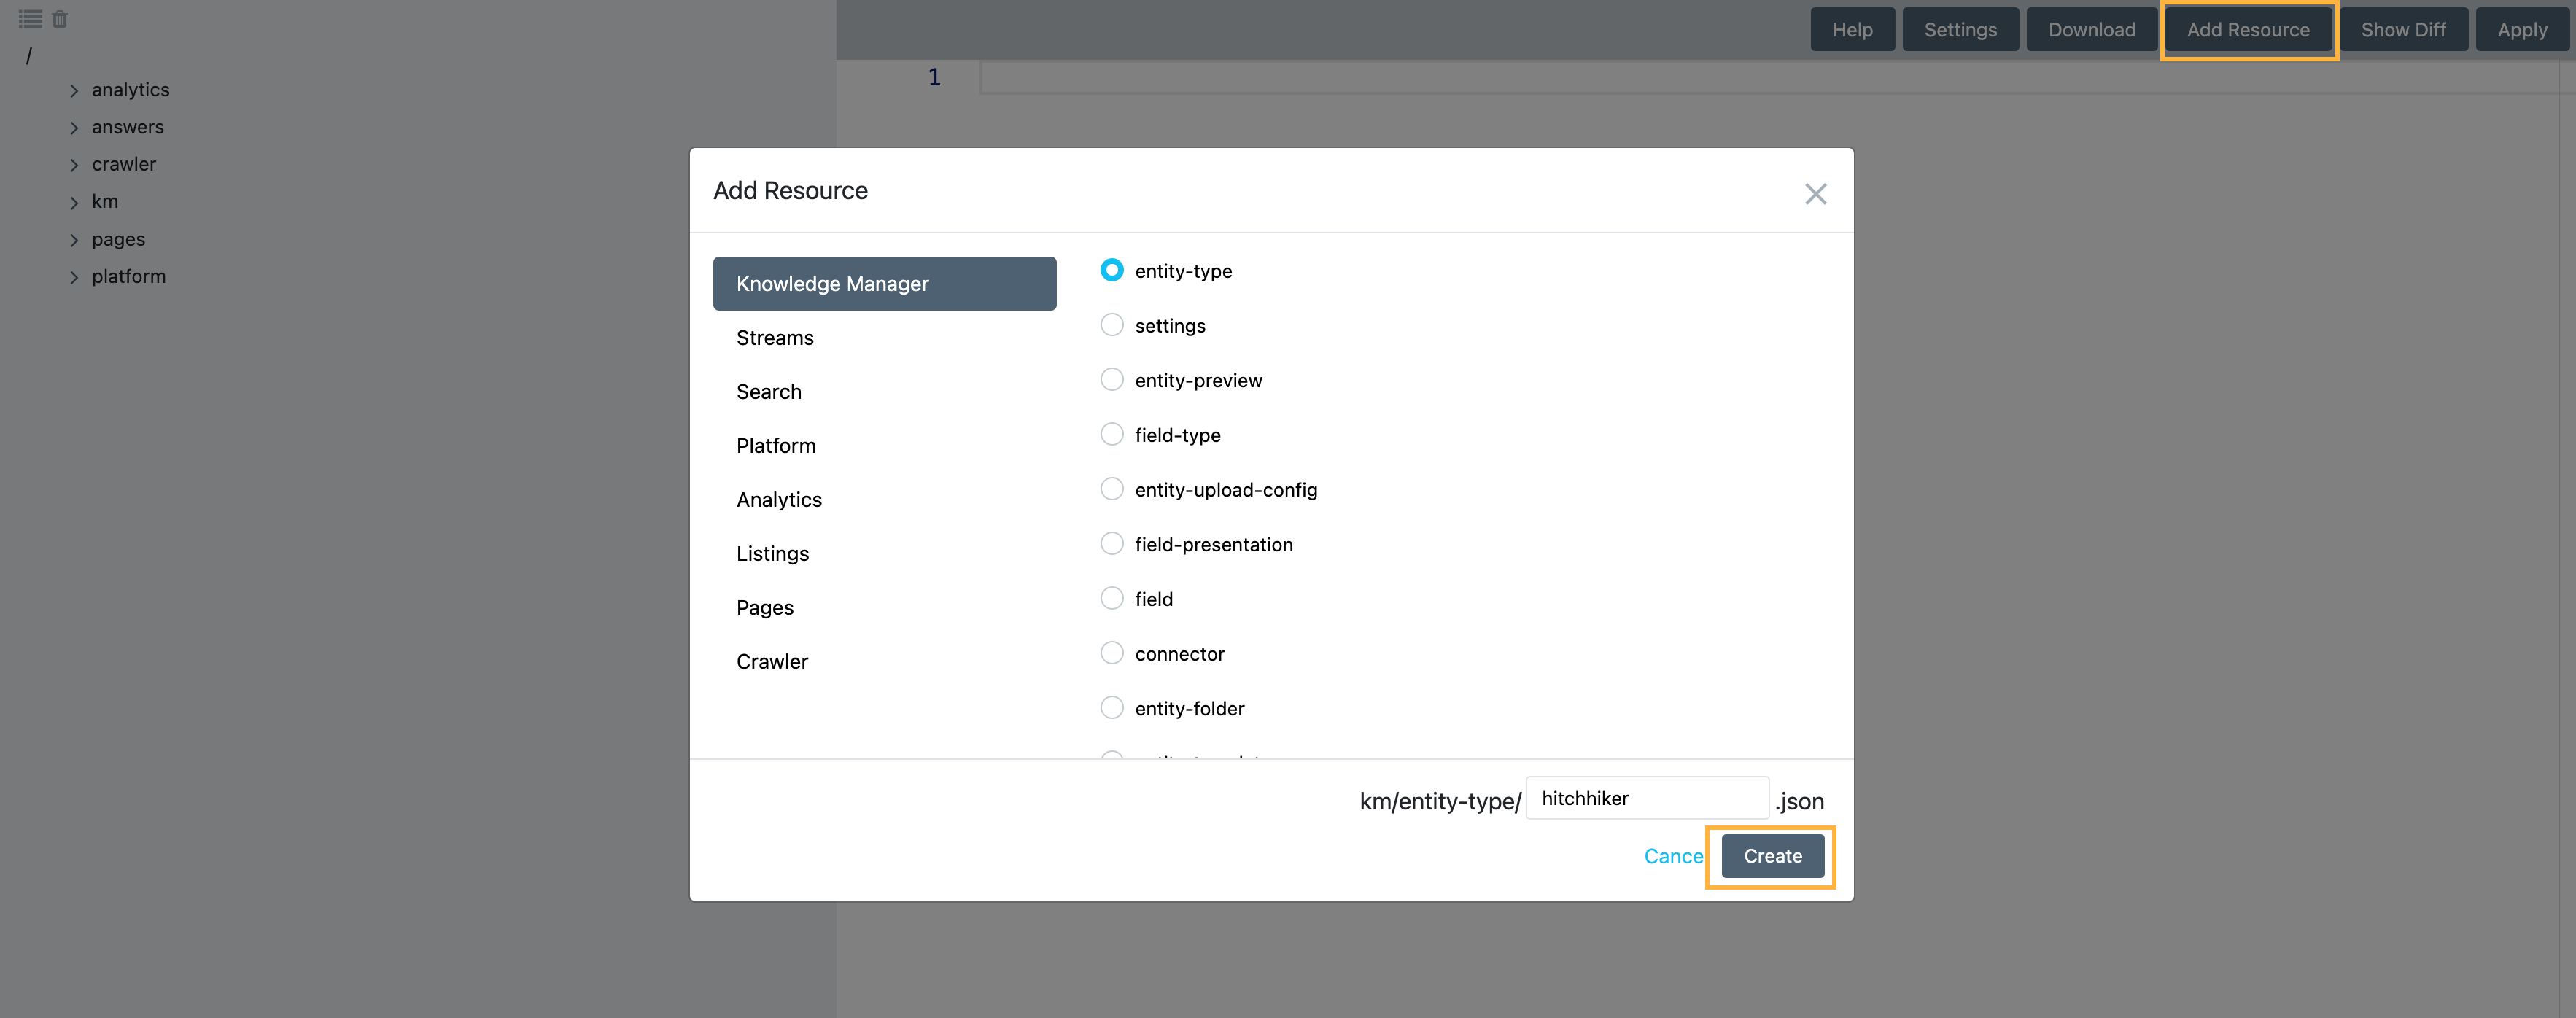
The resource will be created with a generic template. Edit the template to set the configuration as you wish. Remember, these changes are still local and have not yet been applied to your account.
Diffing and Applying
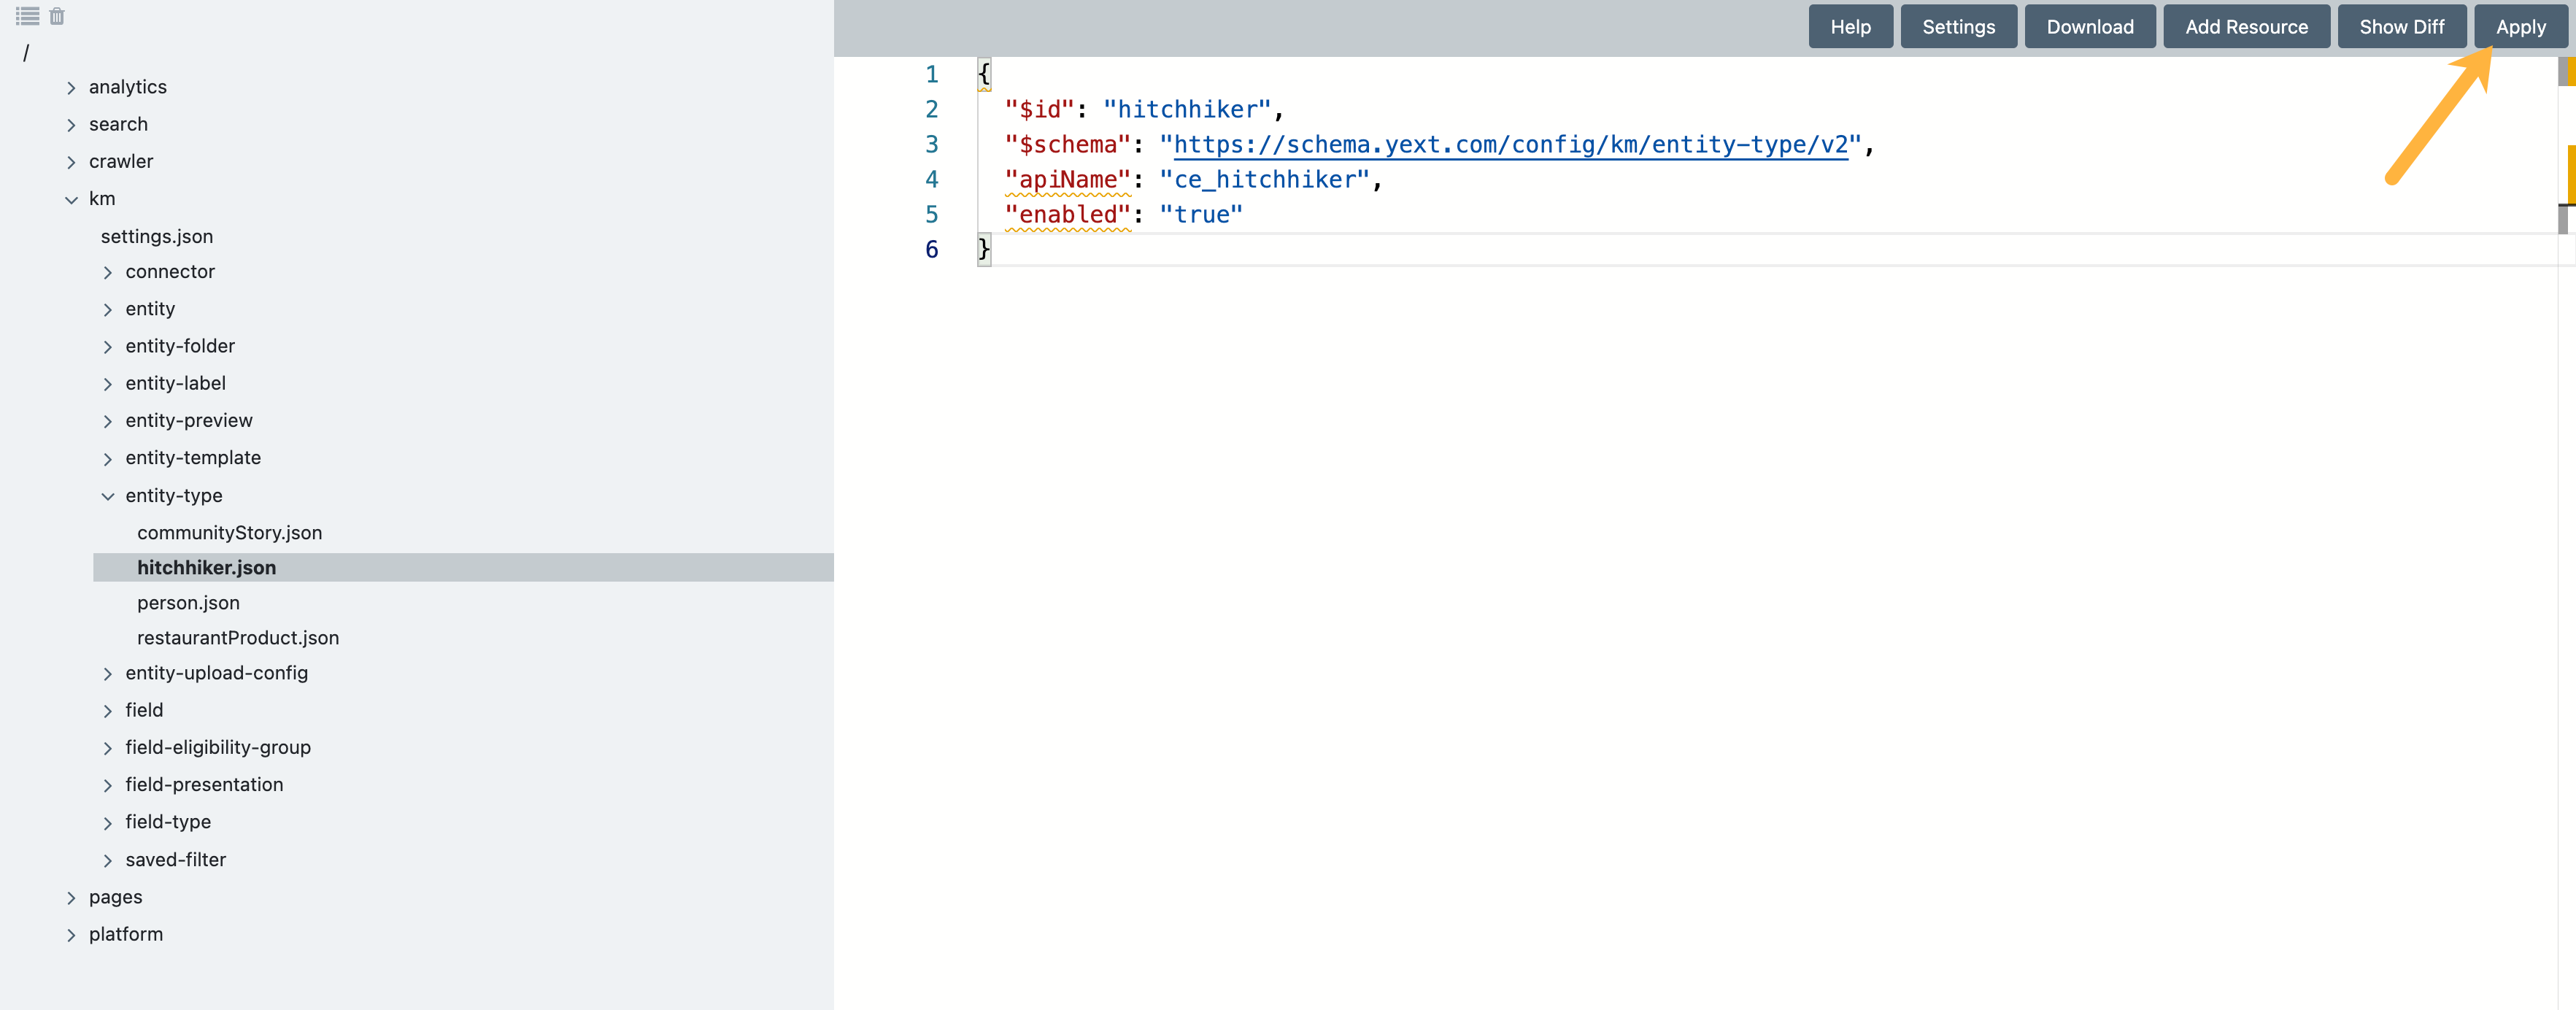
Once you are satisfied with the changes you have made, you will want to apply them to your account. The Admin Console provides an easy way to do that.
Start by clicking on the “Apply” button in the upper right. This will open up a dialog.
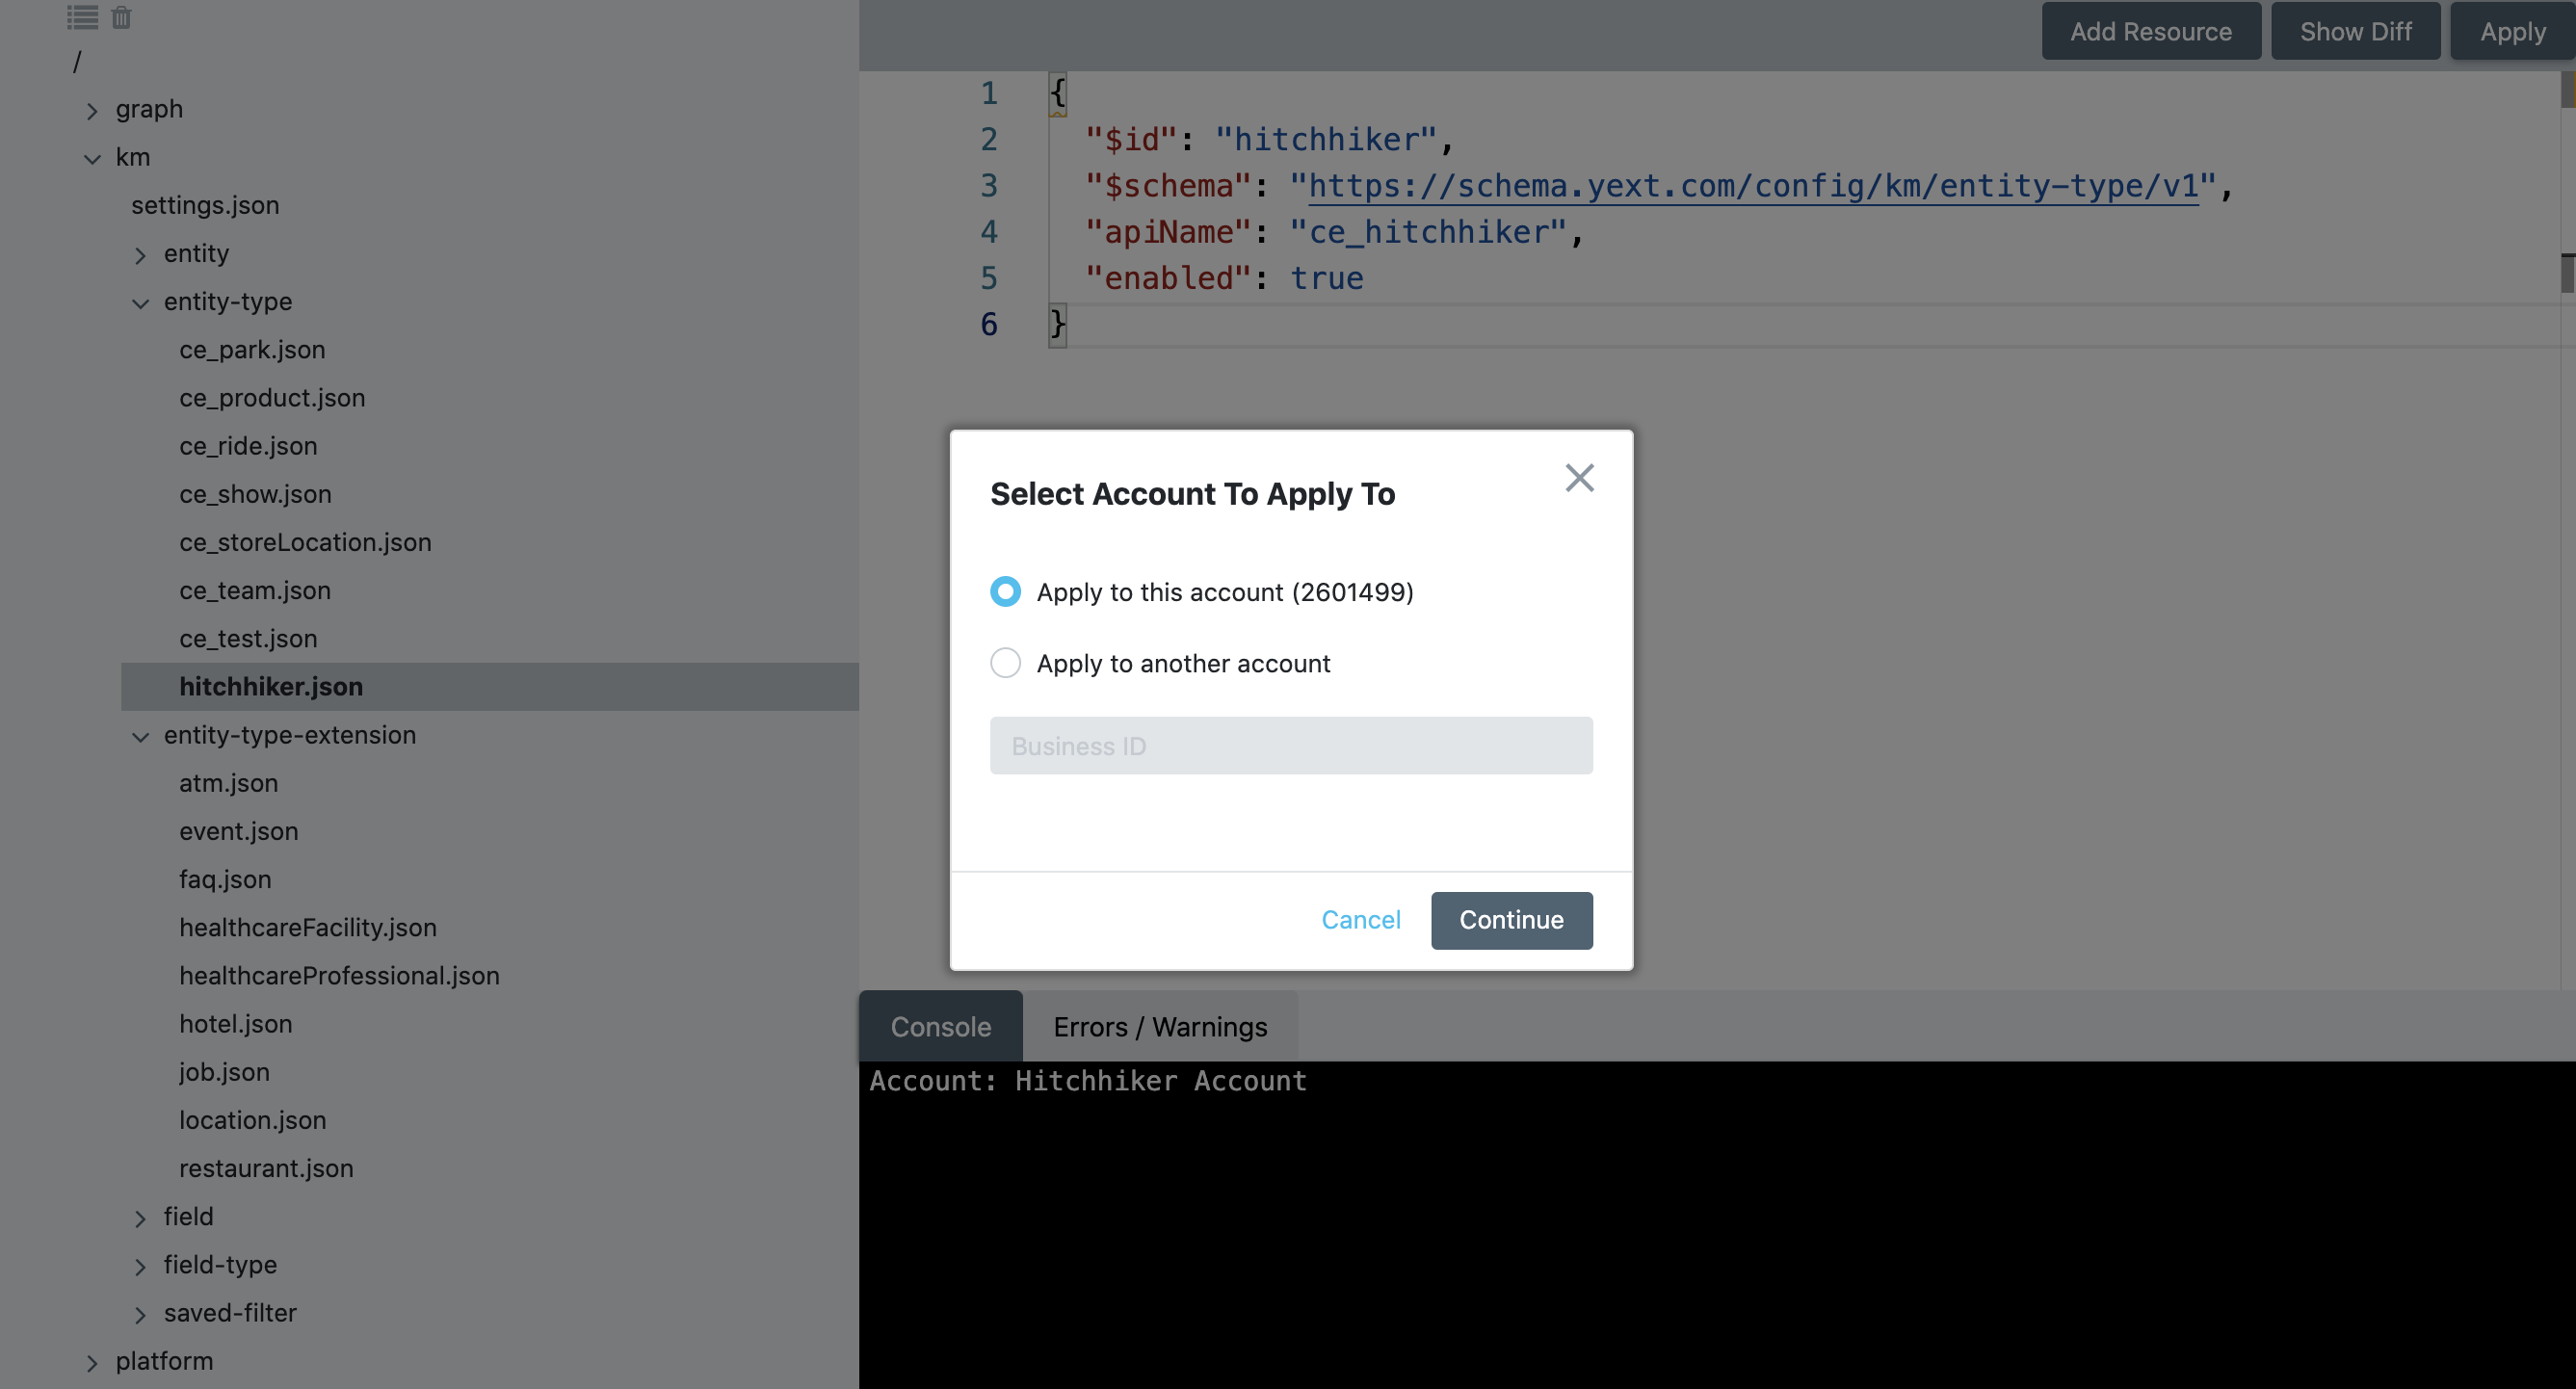
You then select if you would like to apply these files to the same account that you pulled them from or to a different one. This looks similar to how you apply a solution template, except solution templates are GitHub Repositories so you’re always applying to another account.
In most cases, you’ll be applying changes to this account (except when using Solution Templates) unless you are working across multiple accounts (e.g., as a Yext partner or Yext employee working with multiple brands).
Once you make a selection, you will be taken to a screen that shows the diff between the files you are applying and what is currently in the account. Note that you can also view the diff at any time by clicking on the “View Diff” button in the upper right of the Admin Console.
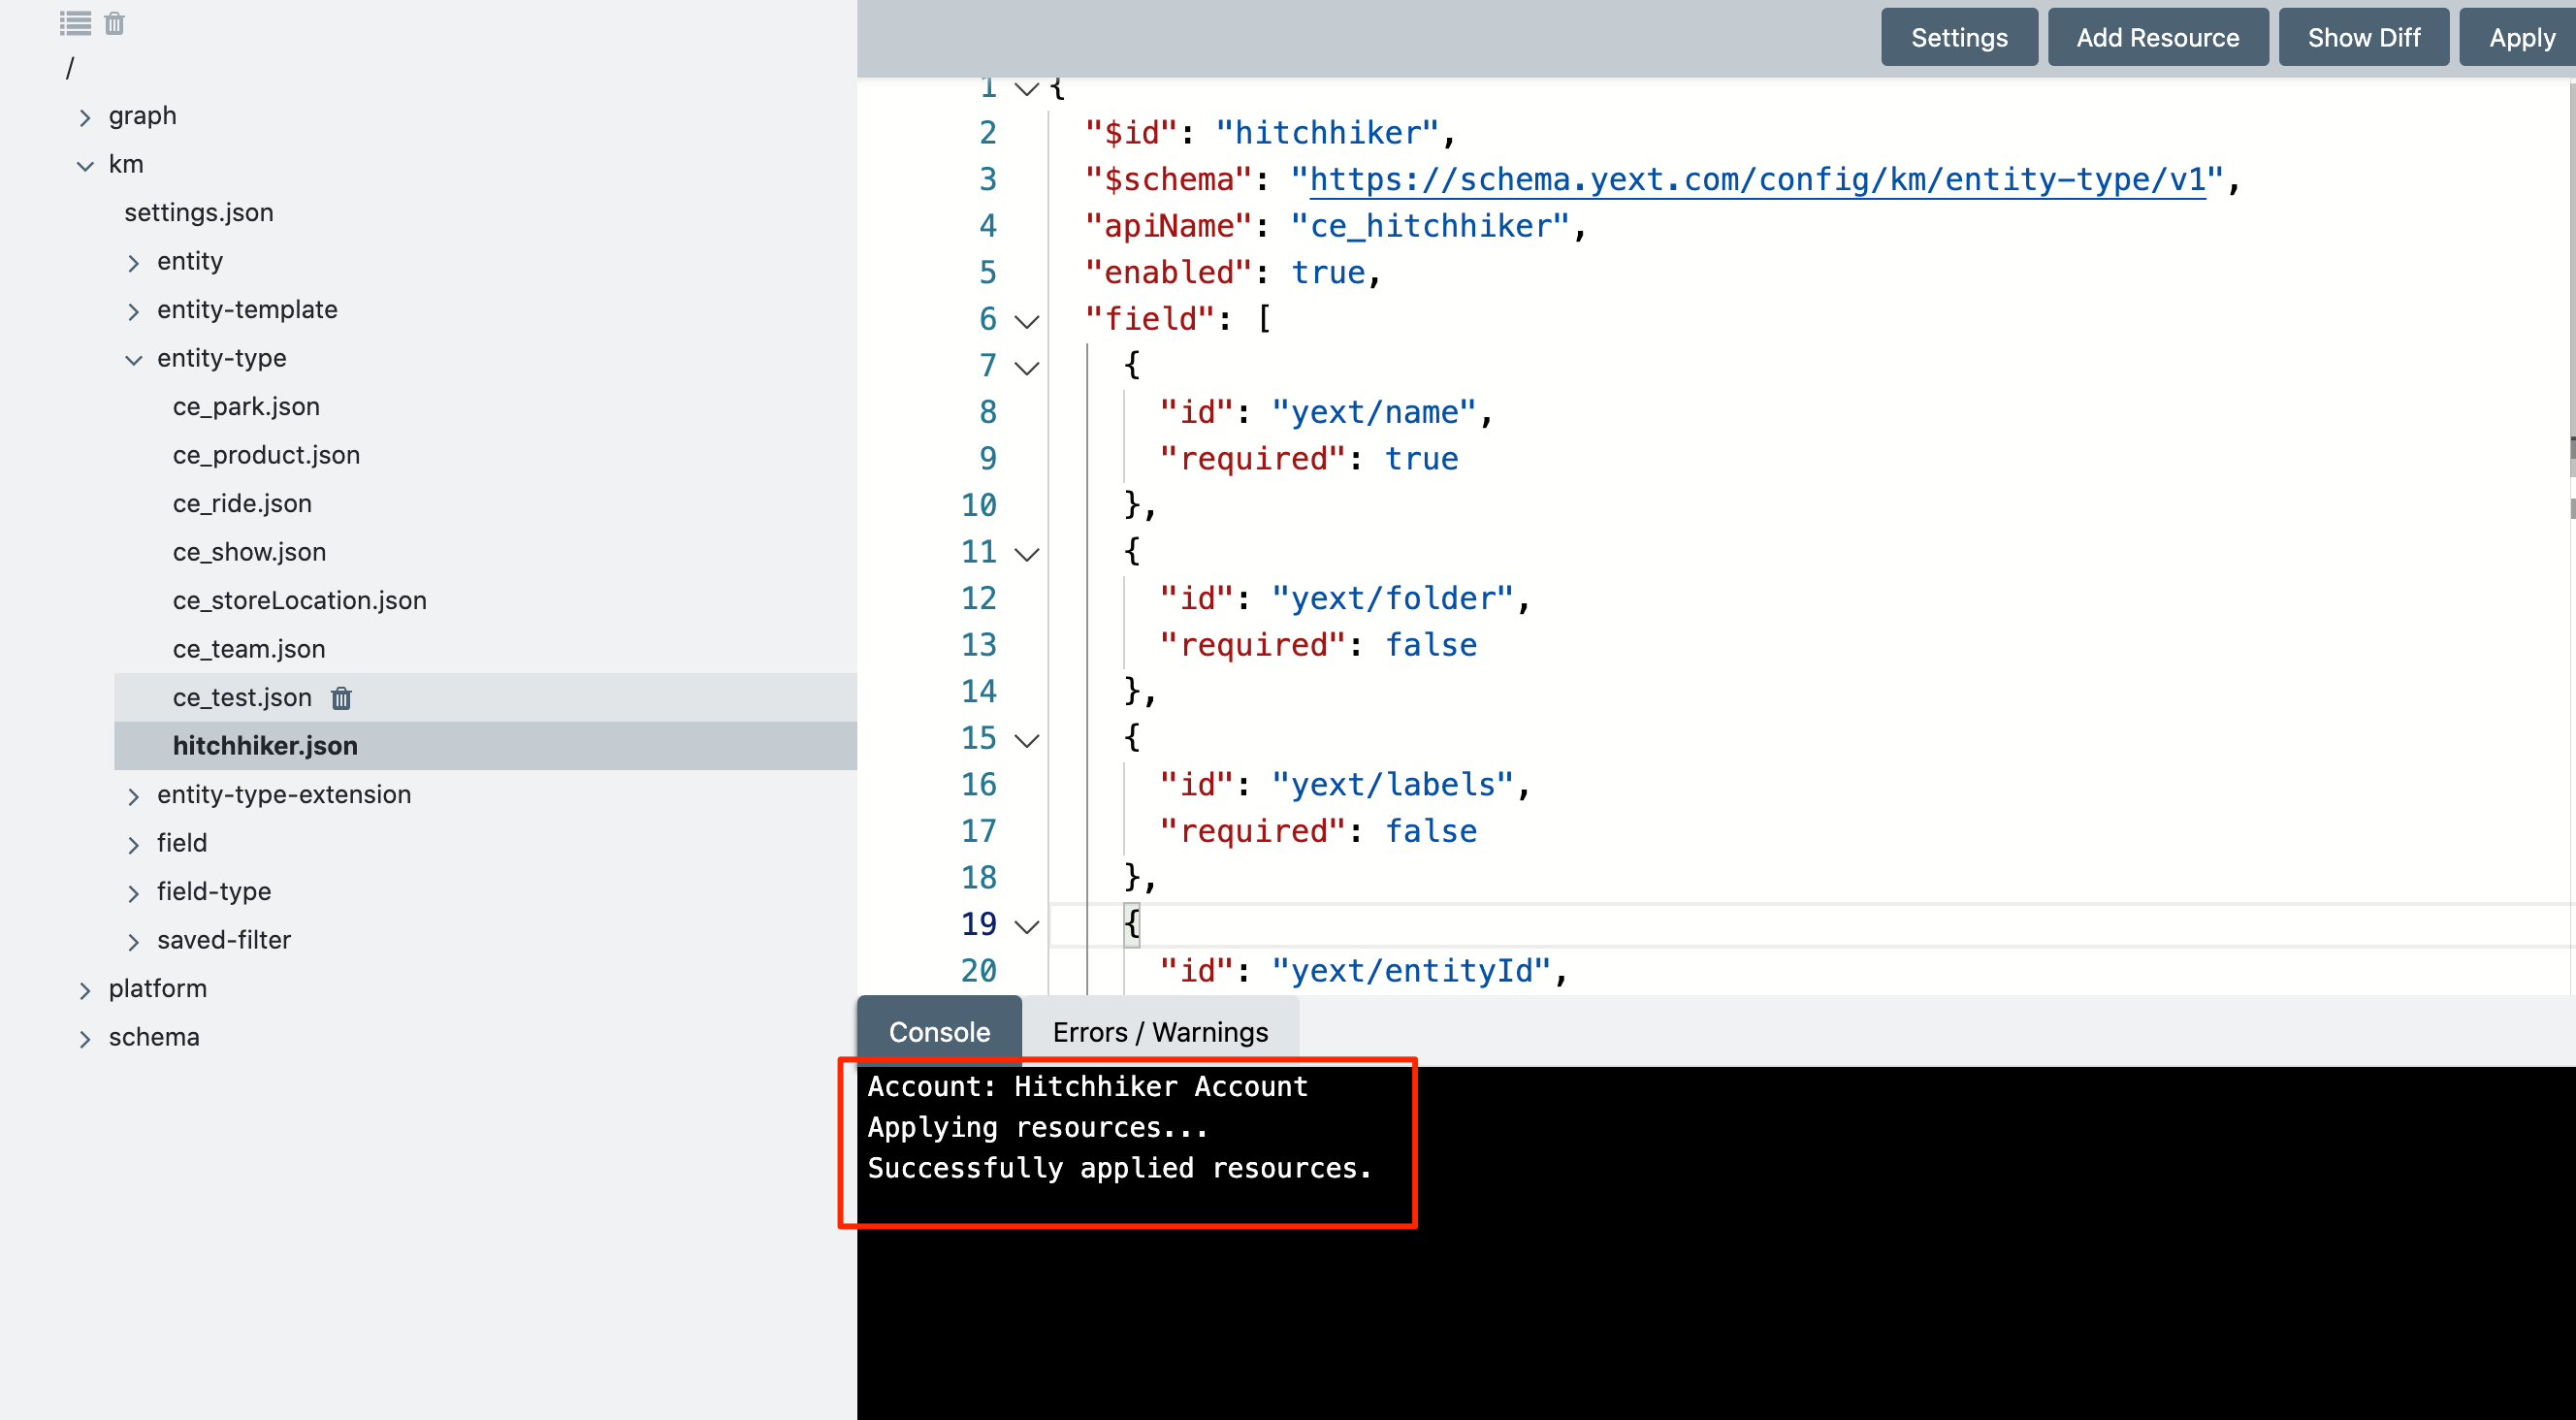
After you continue, you will be taken to a confirmation screen. Selecting the “Confirm” button will attempt to apply the files to the account. The bottom of the right side of the Admin Console will display any errors or warnings and let you know when the files are finished applying.
Downloading Your Files
You can also download the files from the Admin Console by clicking the “Download” button. This will automatically download as a zipped file. You might do this if you want to store a version of your configuration files before making changes, just in case you need to revert your account.
True or False: You need to download a configuration file to your computer in order to view it.
True or False: The View Diff window appears in the application flow for your review prior to applying resources.
True or False: When you add a new resource in the Admin Console, the file will be created with a template to start you off.
Wahoo - you did it! 🙌
