

Step 1: Approach 1 - JS Snippet Integration
This first approach for creating a Search Results page is called the JS Snippet path, In this approach, you will embed the search results into a page you host and control. Follow the steps below if you’d like to proceed with this option.
1. Choose a Domain
The first step is to pick the URL for your search results. We recommend domain.com/search or /answers, but it’s up to you.
2. Create Page in your CMS
Using the chosen domain, stand up a page in your CMS. If you already have a search results page, then you can skip this step and move on.
3. Replace Content with Search Results
The next step is to embed the search results from Yext Search on that page.
<div id="answers-container"></div>
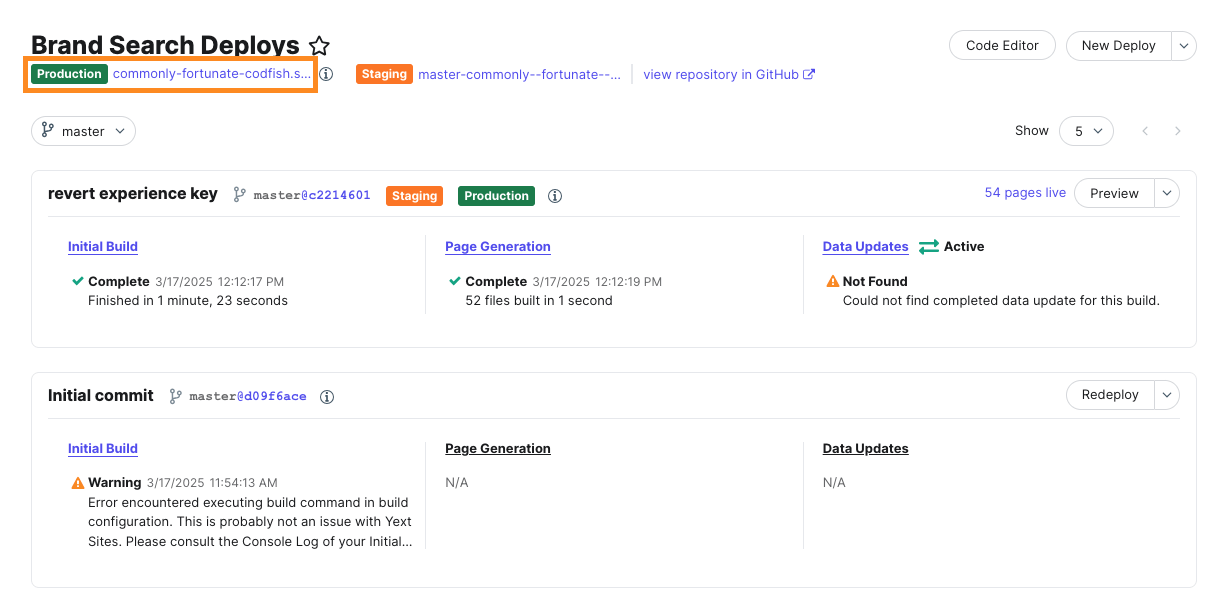
<script src="REPLACE_ME_PRODUCTION_URL/iframe.js"></script>Note: Your Search Admin will likely provide production URL to replace the REPLACE_ME_PRODUCTION_URL. Use the production version of the placeholder domain, so you may also find it yourself on the Deploys screen of your site.
The placeholder domain is automatically assigned when you create your Pages site. You must publish a deploy to production before the production URL is available to use.
Use snippet generator for Search Results Page
To make the process quick and seamless for creating your search results page, you can use the Search snippet generator to automatically create the snippet you need above to integrate with the JS Snippet option.
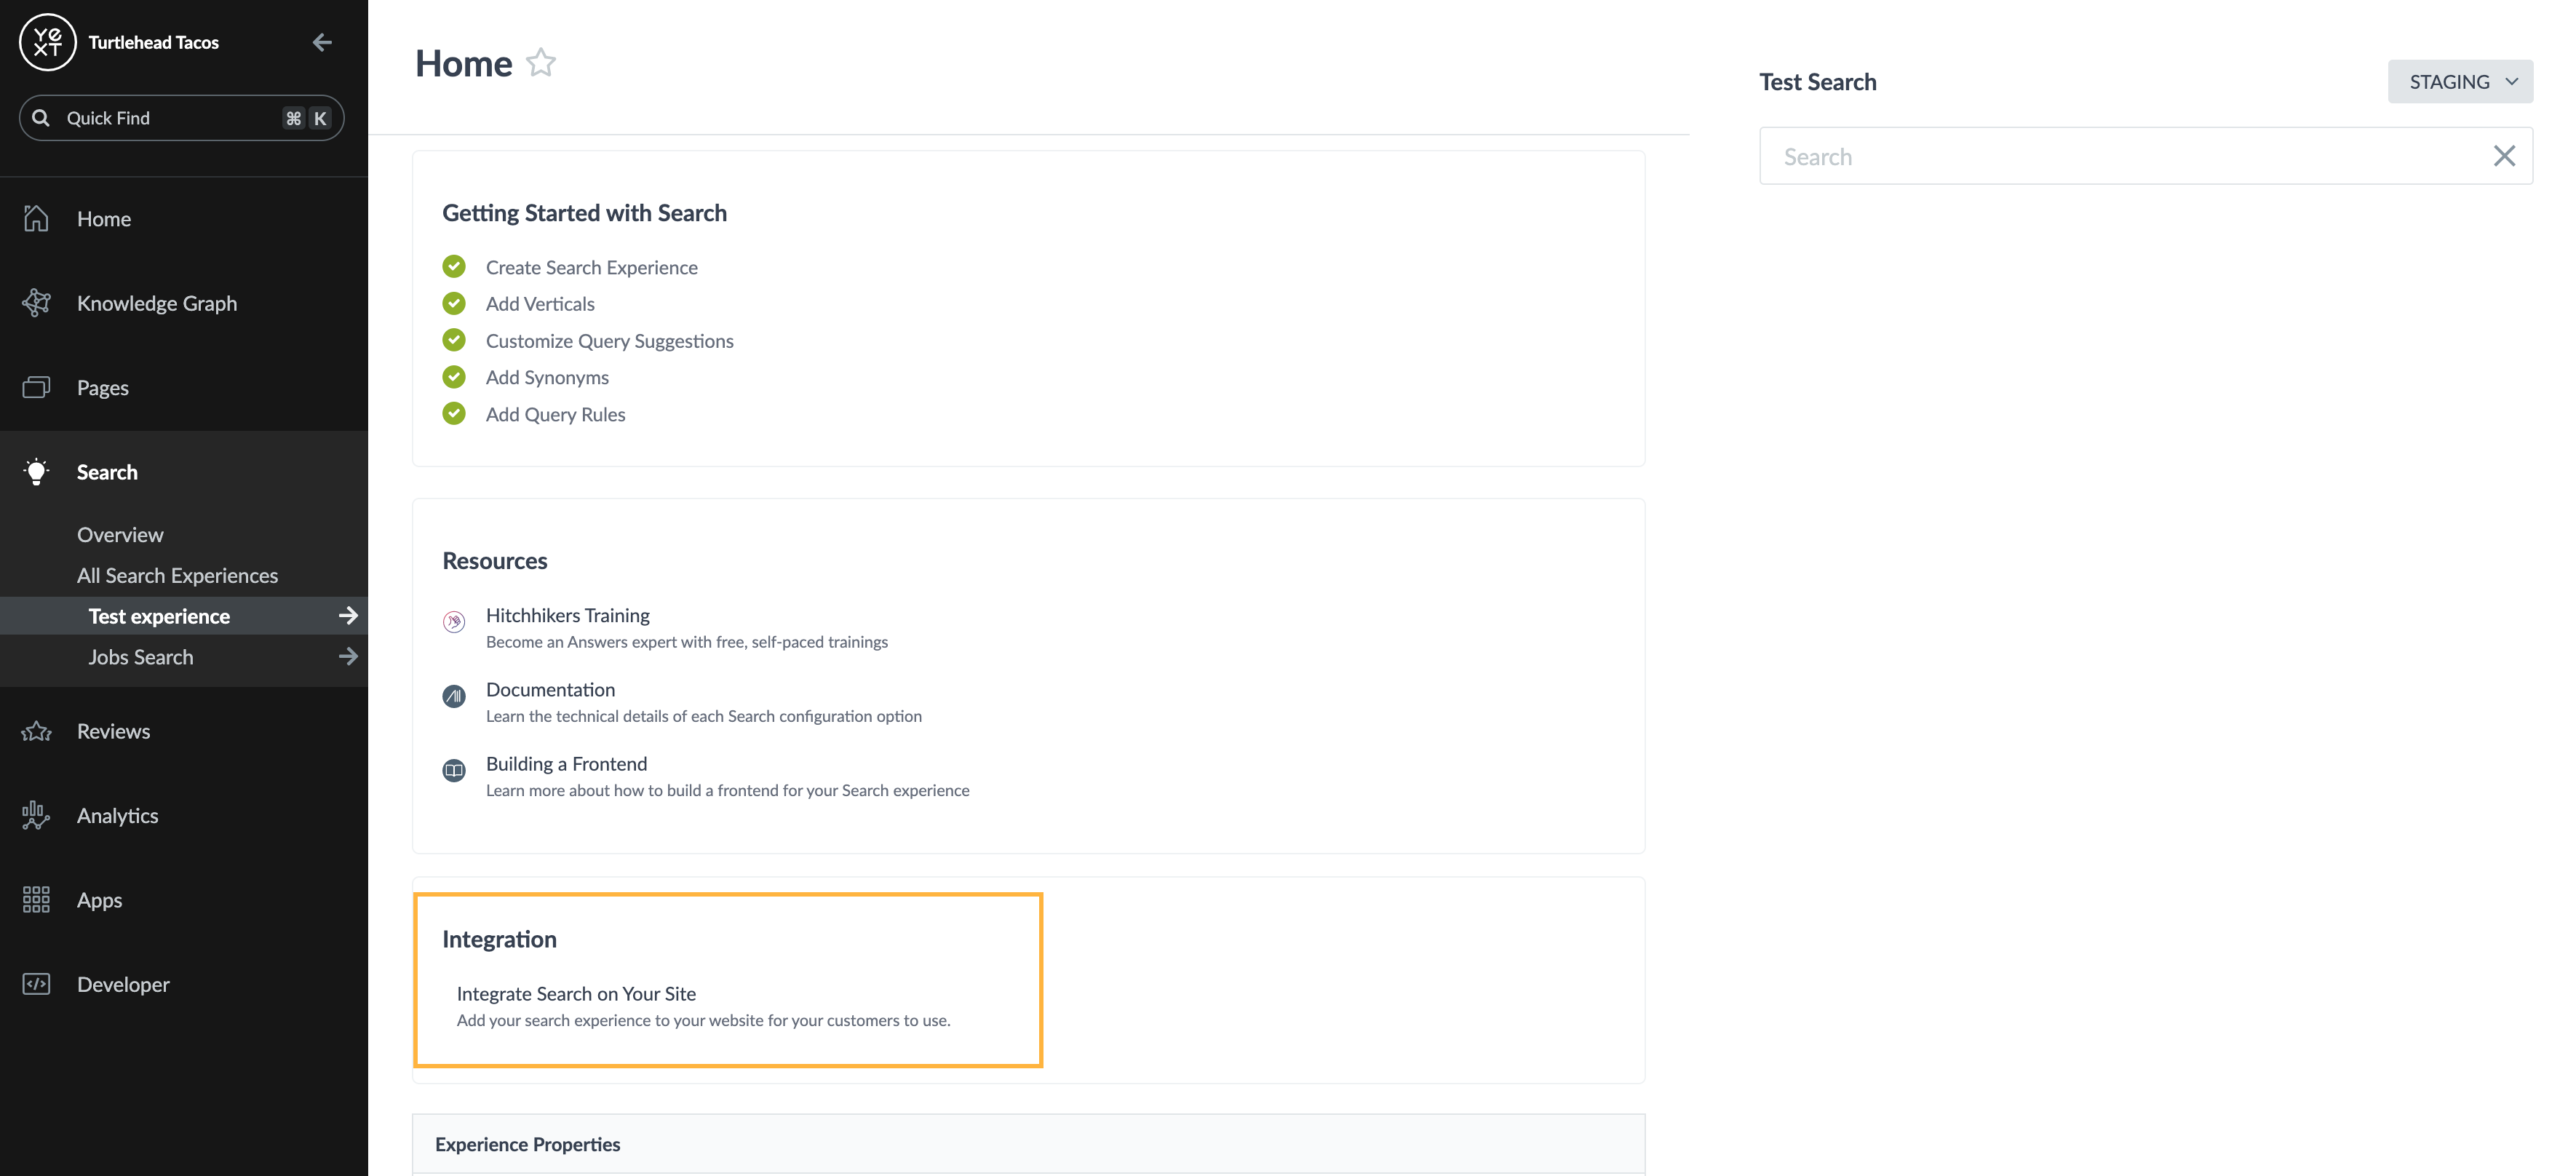
To generate the snippet, navigate to your Yext account > Search > Experiences > General Settings and select “Integrate Search on Your Site”. Follow Step 5 in this guide for complete steps on how to use the Search snippet generator.
Generally this code snippet would be added between the header and the footer. At a high level the page structure might look something like this:
<html>
  <head></head>
  <body>
    <header></header>
    <div id="answers-container"></div>
    <script src="REPLACE_ME_PRODUCTION_URL/iframe.js"></script>
    <footer></footer>
  </body>
</html>
Display a Specific Page
Additionally, to display a specific page in your experience (like a vertical page, or an international subfolder), you can add the data-path attribute in your script tag.
By default, the script tag will pull in the root folder of your experience, landing users on the index.html page. Adding data-path to the script tag will append /[[data-path]] to the iframe’s src.
<div id="answers-container" data-path="locations.html"></div>
<script src="REPLACE_ME_PRODUCTION_URL/iframe.js"></script>
Modifying the Script Tag to Embed Staging Version of Search
If you want to use the script tag to preview the staging version of your Search experience, you will need to slightly modify the code listed above.
Use the staging URL of you Search experience instead of the production URL. In order to preview the staging version of Search, you will also need to change iframe.js to iframe-staging.js. It will look something like this:
<div id="answers-container"></div>
<script src="REPLACE_ME_STAGING_URL/iframe-staging.js"></script>
At a high level the page structure might look something like this:
<html>
  <head></head>
  <body>
    <header></header>
    <div id="answers-container"></div>
    <script src="REPLACE_ME_STAGING_URL/iframe-staging.js"></script>
    <footer></footer>
  </body>
</html>
This can be particularly useful when trying to preview search on a staging site prior to officially launching Search onto your site.
Also see the directions in the Adding a Search Bar guide to learn how to add a search bar to preview the Staging version of Search.
4. Add H1 Header Tag
We recommend adding an h1 header tag to the page you are embedding the search experience on to clearly indicate what content is included on the page.
5. Update Meta Tags
The final step is to make sure the meta tags on the page make sense. You will want to update
your title and meta description to match the experience you now deliver. These live inside the
<head></head> tag on the page.
Title
Add (or update) the <title> tag in the <head> to something like “{{Brand Name}} Searh | {{List of entity types}}”.
Yext recommends around 60 characters or less.
<title>{{Your Brand Name}} Search | Locations, People, FAQs, Products</title>Meta Description
Next you will want to update the meta description (<meta name="description">). For this tag we recommend 125 to 150 characters.
<meta
  name="description"
  content="Ask any question to find the answer you need from {{Your Brand Name}} today. Learn more about our {{list of entity types}}"
/>
(Optional) Configure the JS Snippet to Work with your Analytics Platform
If you have custom analytics (like Adobe) that are hosted on your domain and will also be added to Search, follow Step 4 in this guide in addition to the ones above.