

Step 2: Verify Site Ownership from your Google Account (Optional)
Overview
This step is only required if you want to be able to log into Google Search Console using your own Google account and view analytics for your Yext Pages. One easy option for doing this is to add an HTML tag to your page in Page Builder that verifies your Google account’s ownership over that domain.
Step 1: Fetch your Google Site Verification code
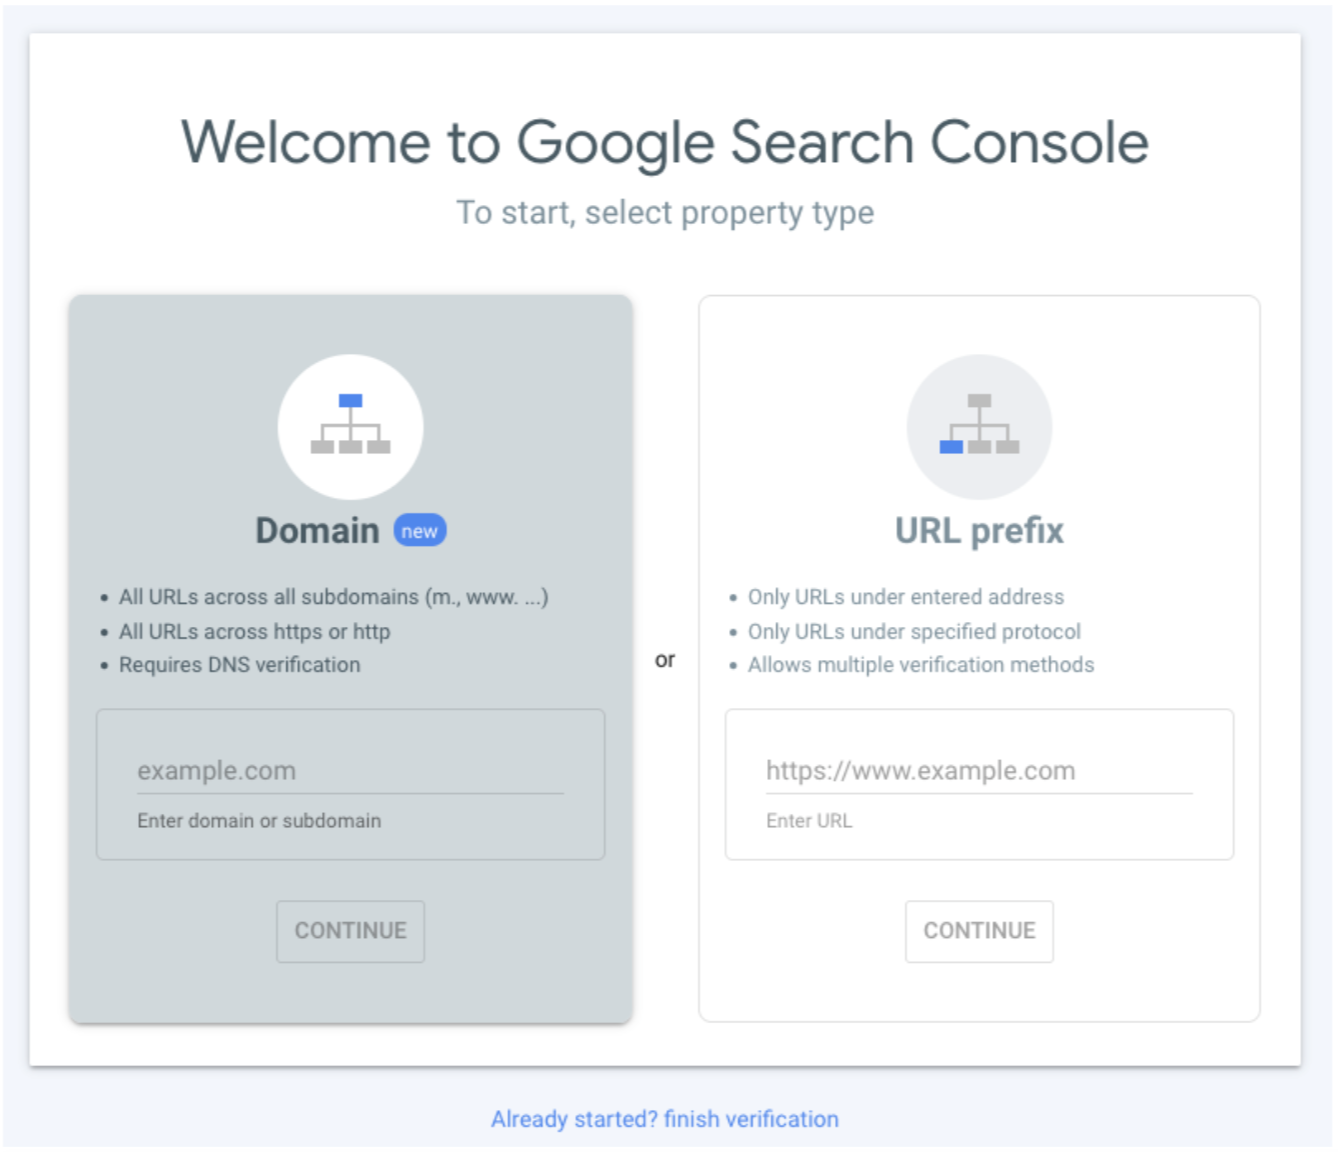
You should first log into Google Search Console and enter the domain you wish to verify in the box on the screen (if you already have other domains registered with your account, you can access this box from the “Search Property” dropdown menu in the upper left, and selecting “+Add Property”).
Once you have entered your domain, you will see another pop-up with a Google Site Verification code.
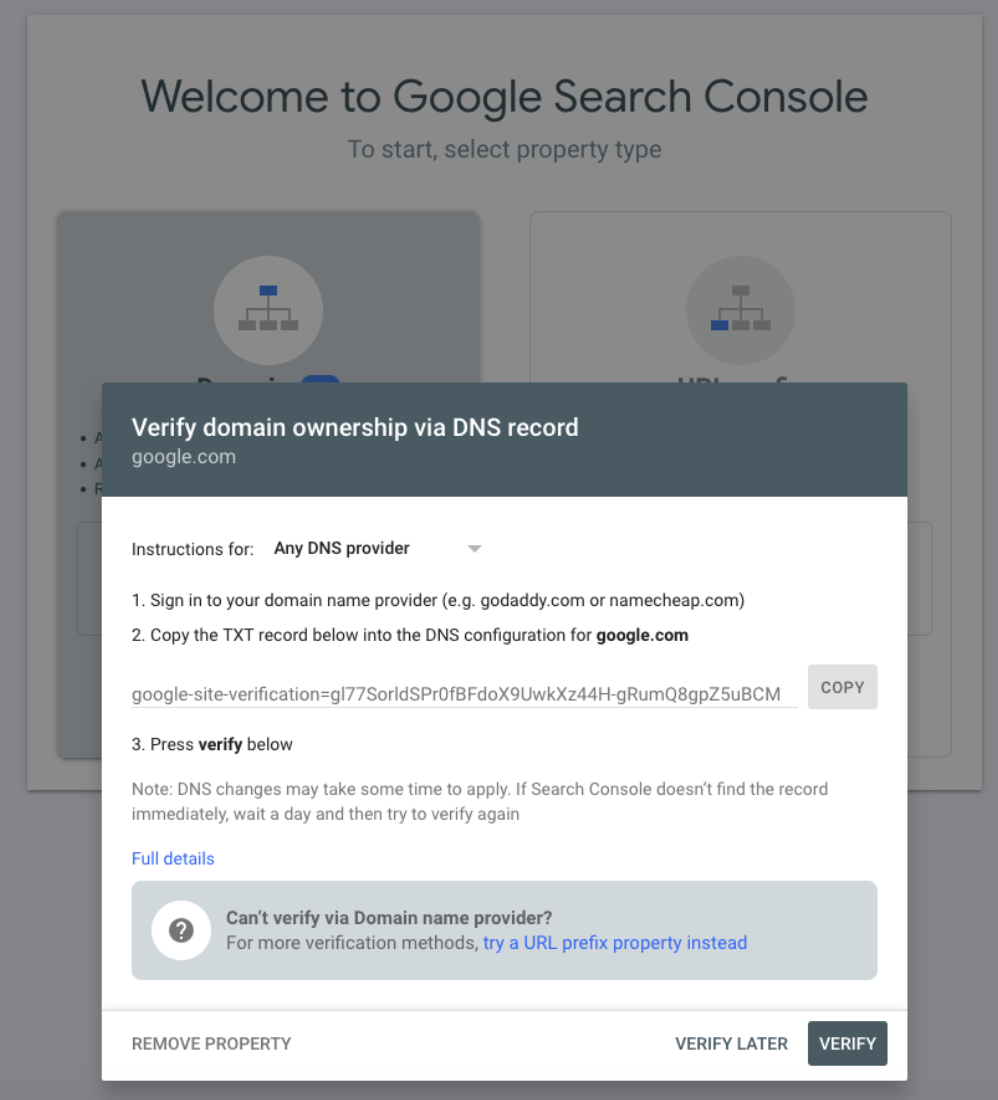
Your Google Site Verification code is everything after the equals sign. Copy this code, and then open up Yext Page Builder in a new tab (you will need to return to this page later).
Step 2: Add HTML Header in Page Builder
With your Google Site Verification code copied, open Page Builder and navigate to Settings > Header HTML.
In the code editor that appears, add the following HTML, and paste your Google Site Verification code that you copied from Google Search Console.
<meta name="google-site-verification" content="[YOUR CODE HERE]"/>Click “Save”, and then publish your changes.
Step 3: Verify in Google Search Console
Once you’ve added the tag to the Header HTML of your page, you can return to the screen you were at previously in Google Search Console, and click “Verify”. Your Google account should now be verified as an owner of your Yext Page!