

Step 2: Approach 2 - Separate Search Bar and Results
A second approach is to create a search bar that redirects to a dedicated search results page. The benefit of this approach is that you have a dedicated search results page that you can share with anyone.
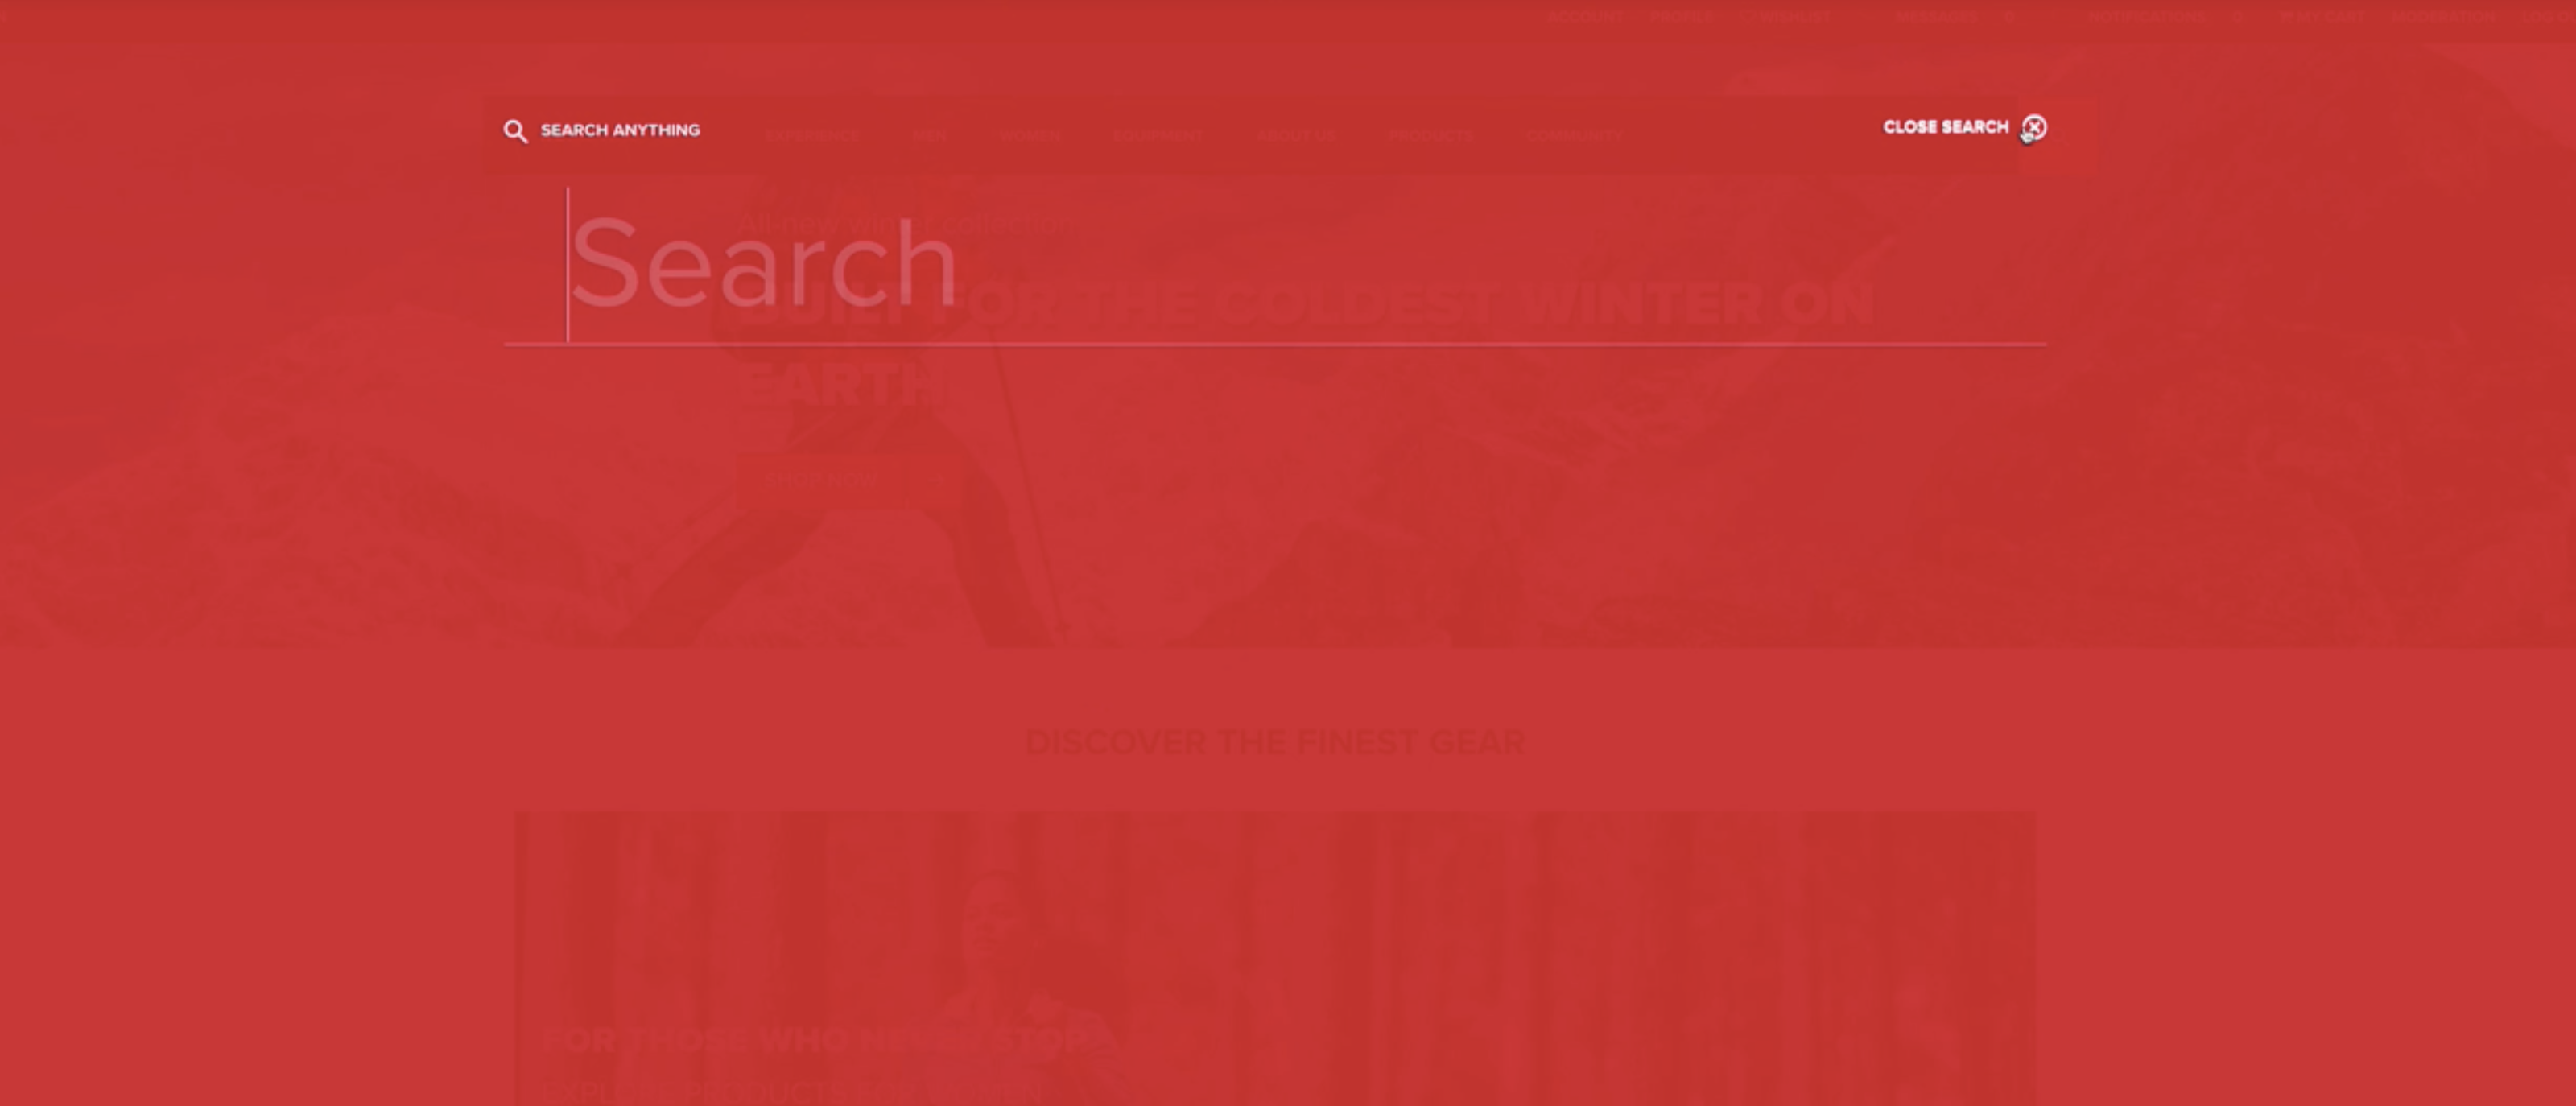
In order to create a separate search results page from the search bar, we will start by replacing the current search bar in the below search overlay page with the Yext search bar.
Search Overlay Page:
As we walk through these steps, we will use an example Yext retail demo. You can watch this video and follow along below:
Navigate to the search bar which can be found under
core > wcm > components > search > v1 > search > search.html.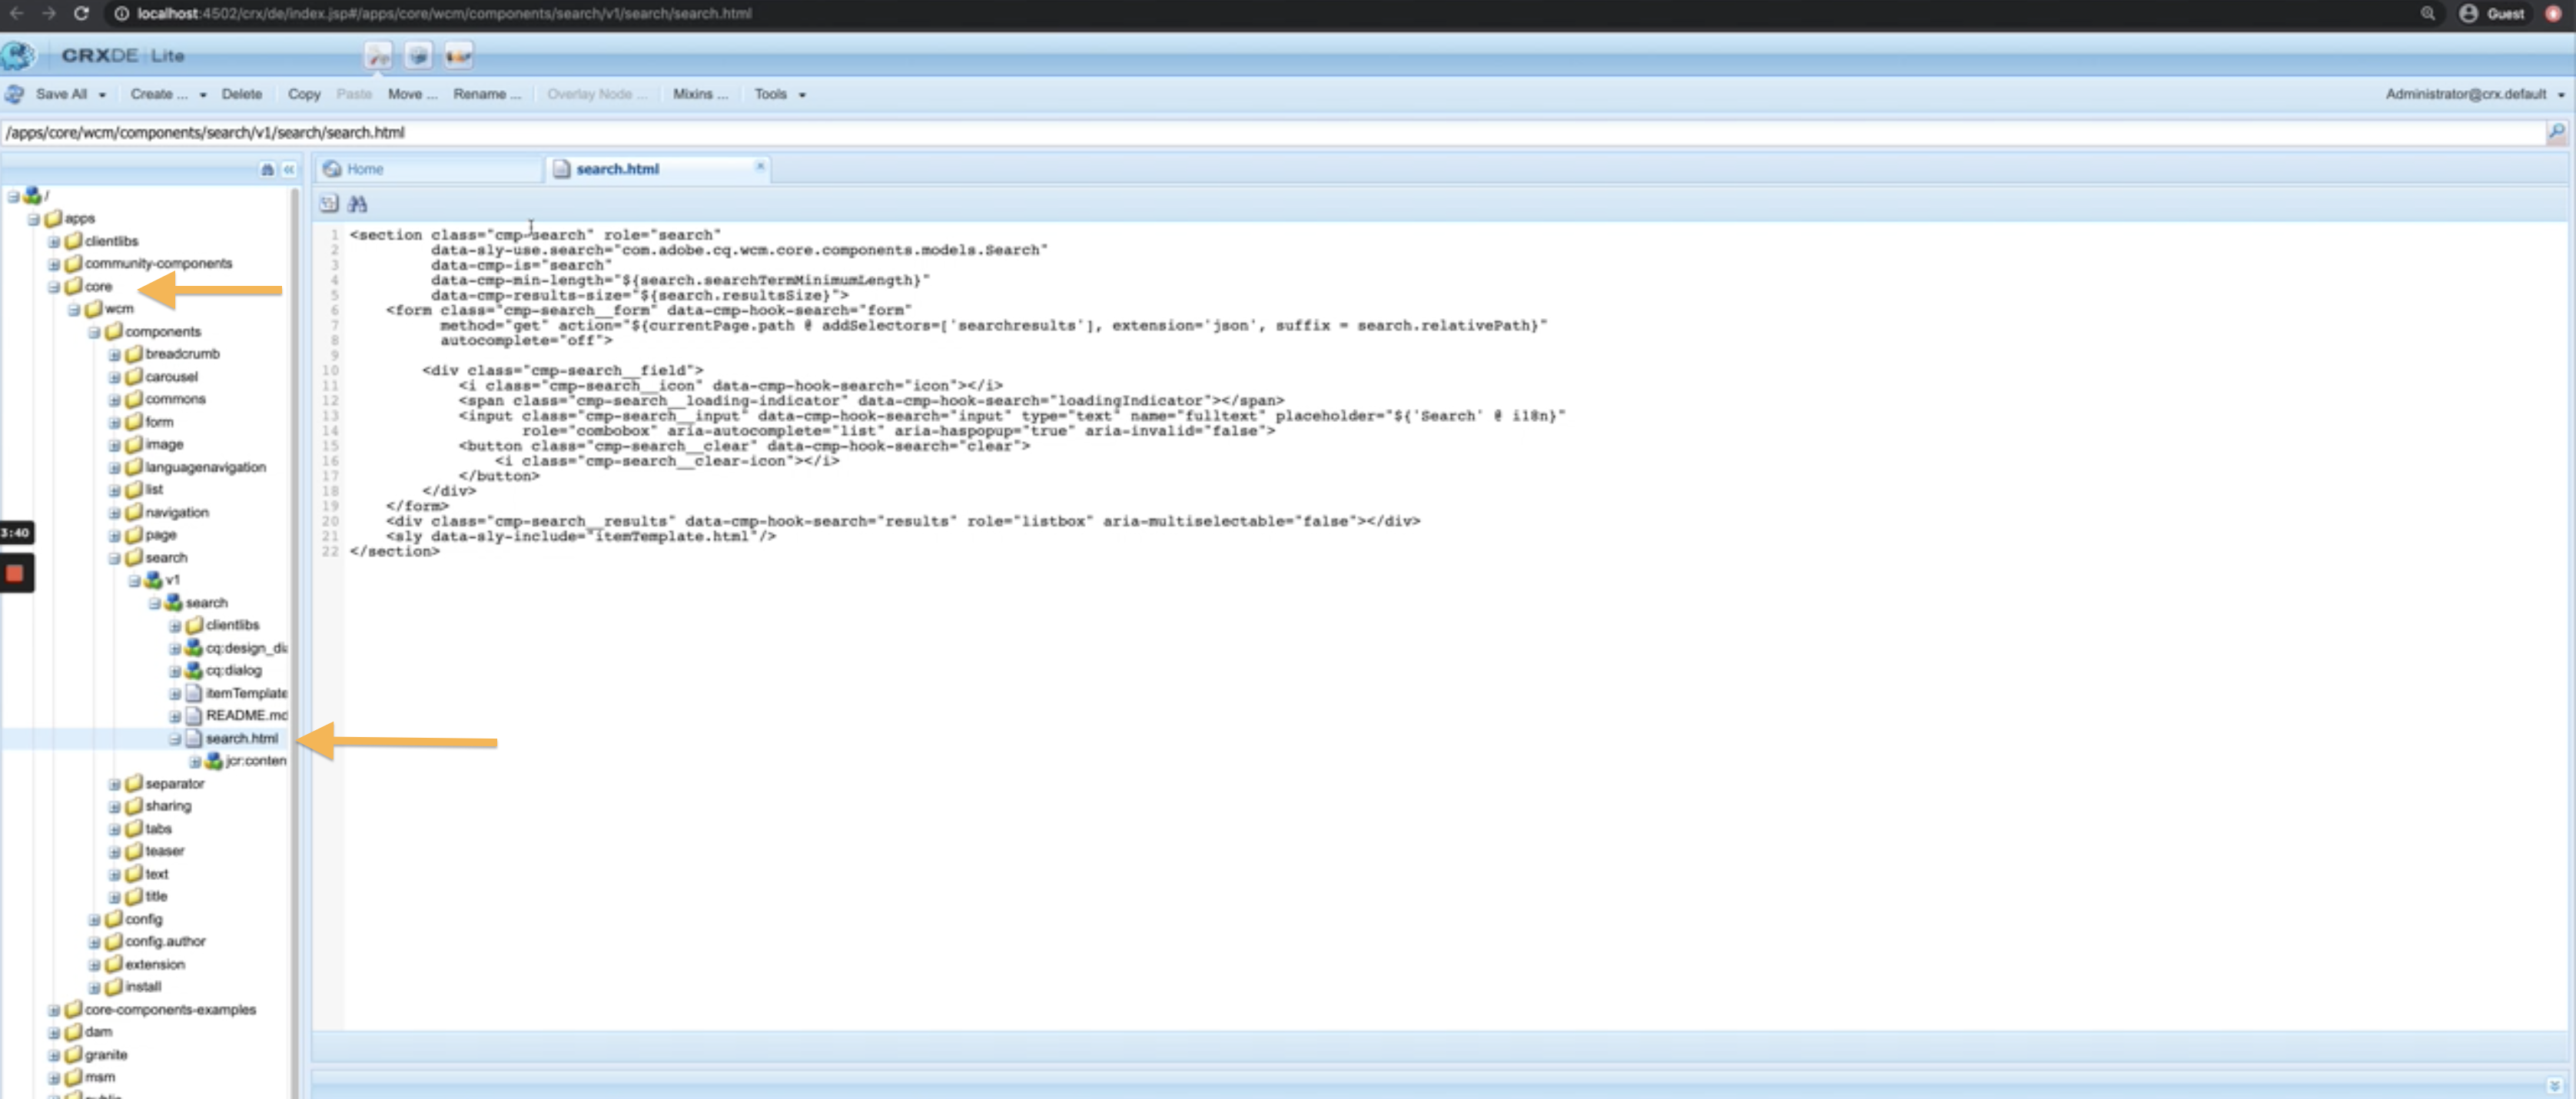
Replace the
search.htmlpage with the Yext Search search bar and styling using the script below. Please note that if you have multiple sites in your AEM instance, this step will replace search on all sites in your AEM instance.Below we have included the script to apply to create the Yext search bar with inputs from an example Yext retail account.
 NoteIf you are hosting data in the EU cloud region, update the code snippet based on the callouts in the Hosting Data in the EU Cloud Region section.
<!-- Search Bar -->
<link
  rel="stylesheet"
  type="text/css"
  href="https://assets.sitescdn.net/answers-search-bar/v1.6/answers.css"
/>
<script src="https://assets.sitescdn.net/answers-search-bar/v1.6/answerstemplates.compiled.min.js"></script>
<div class="search-bar"></div>
<script>
  ANSWERS.init({
    apiKey: "a1c14c5c35a224a32f286f7a56acdc04",
    experienceKey: "retail_v2",
    businessId: "2342169",
    experienceVersion: "PRODUCTION",
    templateBundle: TemplateBundle.default,
    cloudRegion: "us", // replace with "eu" to host data in EU cloud region
    cloudChoice: "multi",
    onReady: function() {
      // init components
      this.addComponent("SearchBar", {
        container: ".search-bar",
        redirectUrl: "REDIRECT_URL",
      });
    },
  });
</script>
Make sure to replace each of the following components with your own keys. As a reminder, we’ll go through where to find each of these here:
experienceKey- Found in the Yext platform, underSearch > ExperiencestabbusinessId- Found in the Yext platform, in the URL or underAccount Settings > Account ID(to find Account Settings, hover over your username in the top right section the Yext platform)apiKey- Found in the Yext platform, underSearch > Experiencestablocale- Locale of the experience. For English sites, this will always be'en'redirectUrl- This is your final search results page URL, where a user will land after conducting a search. For a Yext-hosted subdomain, it is likely https://www.answers.brand.com or https://www.search.brand.com. For a client-hosted JS Snippet integration, it is likely https://www.brand.com/answers or https://wwww.brand.com/searchJS version- The most recent version of our Search Javascript library. You can find the latest version number (exv1.6) here
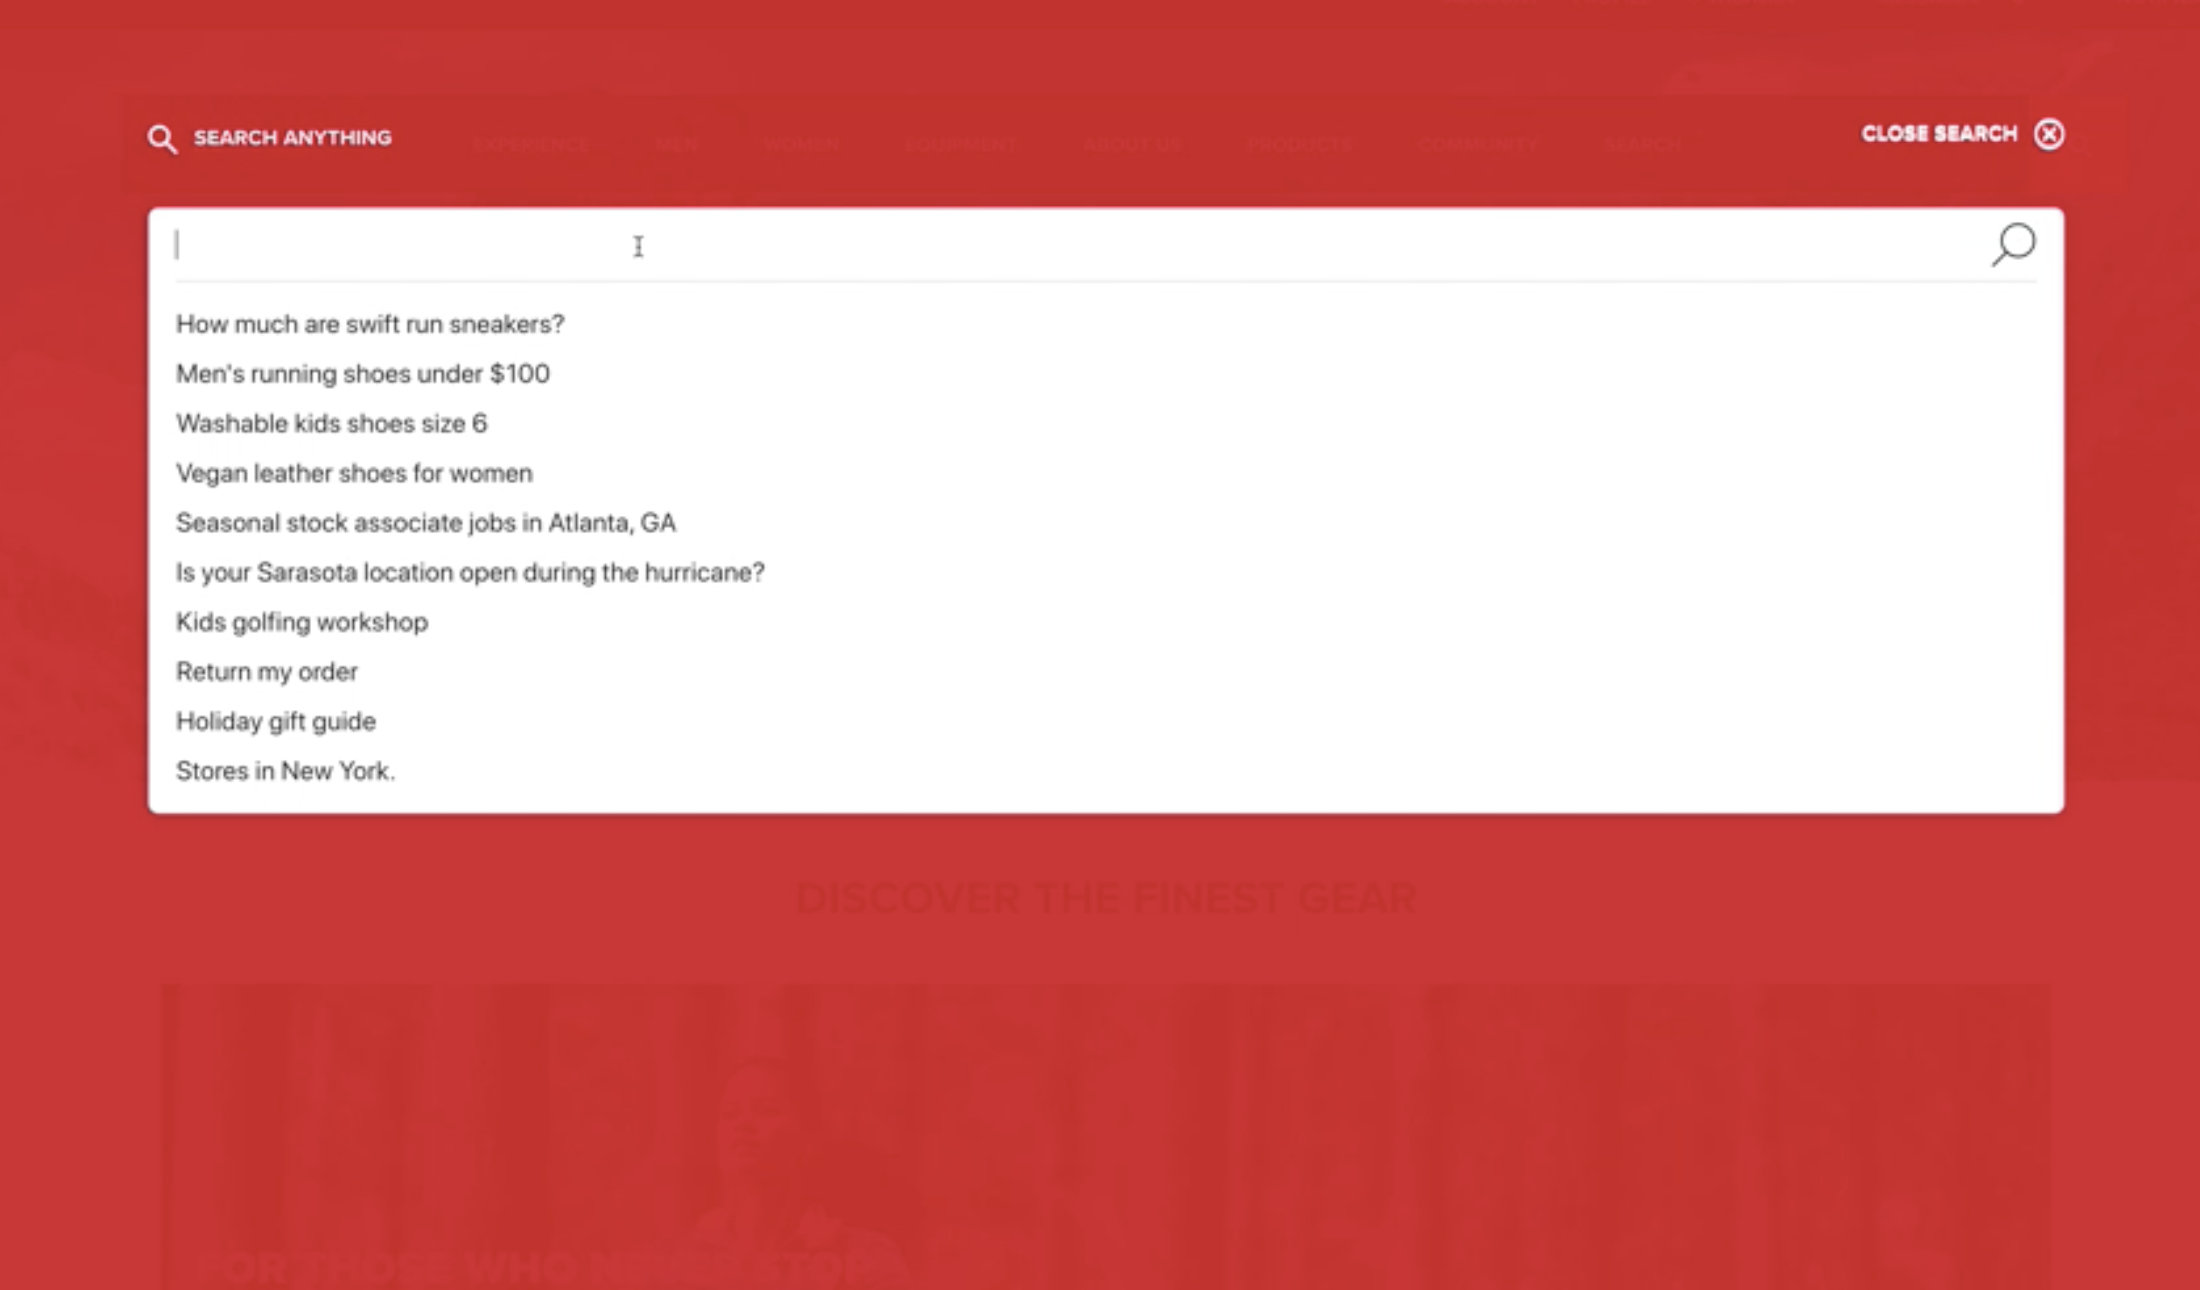
After completing steps 1-3, you’ll now see your own Yext search bar appear in the overlay. Click into the search bar to see your dropdown prompts like so:
Going Further: Creating a Search Results Page and Custom Components
After adding the search bar to the overlay, the next step will be to create the search results page. The most prominent piece will be the search results component.
Create a custom AEM component that houses the search results page. If you are new to creating custom components on AEM, this is a good starting tutorial .
Inside this new component, embed the Yext search results JS snippet.
     <div id="answers-container"></div>
     <script src="REPLACE_ME_PRODUCTION_URL/iframe.js"></script>
The
REPLACE_ME_PRODUCTION_URLvalue will be available once we publish to production (see Step 6: Publish to Production .)
The full instructions for creating a Search Results page can be found in our Search Integration Guide .