

Step 3: Adding Search to Your WordPress Site
Install the Yext AI Search Plugin (v2) on WordPress
Log into your WordPress account and navigate to the Yext AI Search plugin .
Install the Yext plugin into your Wordpress account.
Once the plugin is installed, you will see it in your Plugins section. When you are ready to set up the plugin, click Activate.
Follow the step-by-step instructions to embed your search experience onto your site.
 NoteIf you’ve been following this guide, you should be able to zoom through the first three steps! The answers should be “Yes, I have a Yext account” / “No, I have all the data I need”, and “Next”.
After these introductory steps, you will need to copy over various details from your Yext account to WordPress. You should have the following values from your Yext account on hand:
- API Key: This can be found in the “General Settings” section in Search. Make sure you’ve selected the correct search experience if you have multiple.
- Experience Key: Like the API Key, this can also be found under “General Settings”.
- Business ID: Can also be found under “General Settings”, or in the URL of any page on your Yext account.
- Search iFrame URL: This is the Production URL of your search experience, found in Pages.
Once you’ve input your details, click Save and Continue.

If you have native WordPress search any of your WordPress pages, and would like to automatically replace that with Yext AI Search, click Enable Global Search. If you don’t have native WordPress search on your site, or don’t want to replace current instances, leave the box unchecked. Click Save and Continue.
In the next step, you can customize the styling of your search bar and see the changes live. If you aren’t familiar with any of the inputs, click the tooltips to learn more about what each means. Click Save and Continue.
Select from the dropdown menu which page you would like to add your search results to. Note: you can always edit this or add more search bars using drag-and-drop Gutenberg blocks (See the note on Step 9, below). Click Save and Continue.
Click Publish to go live!
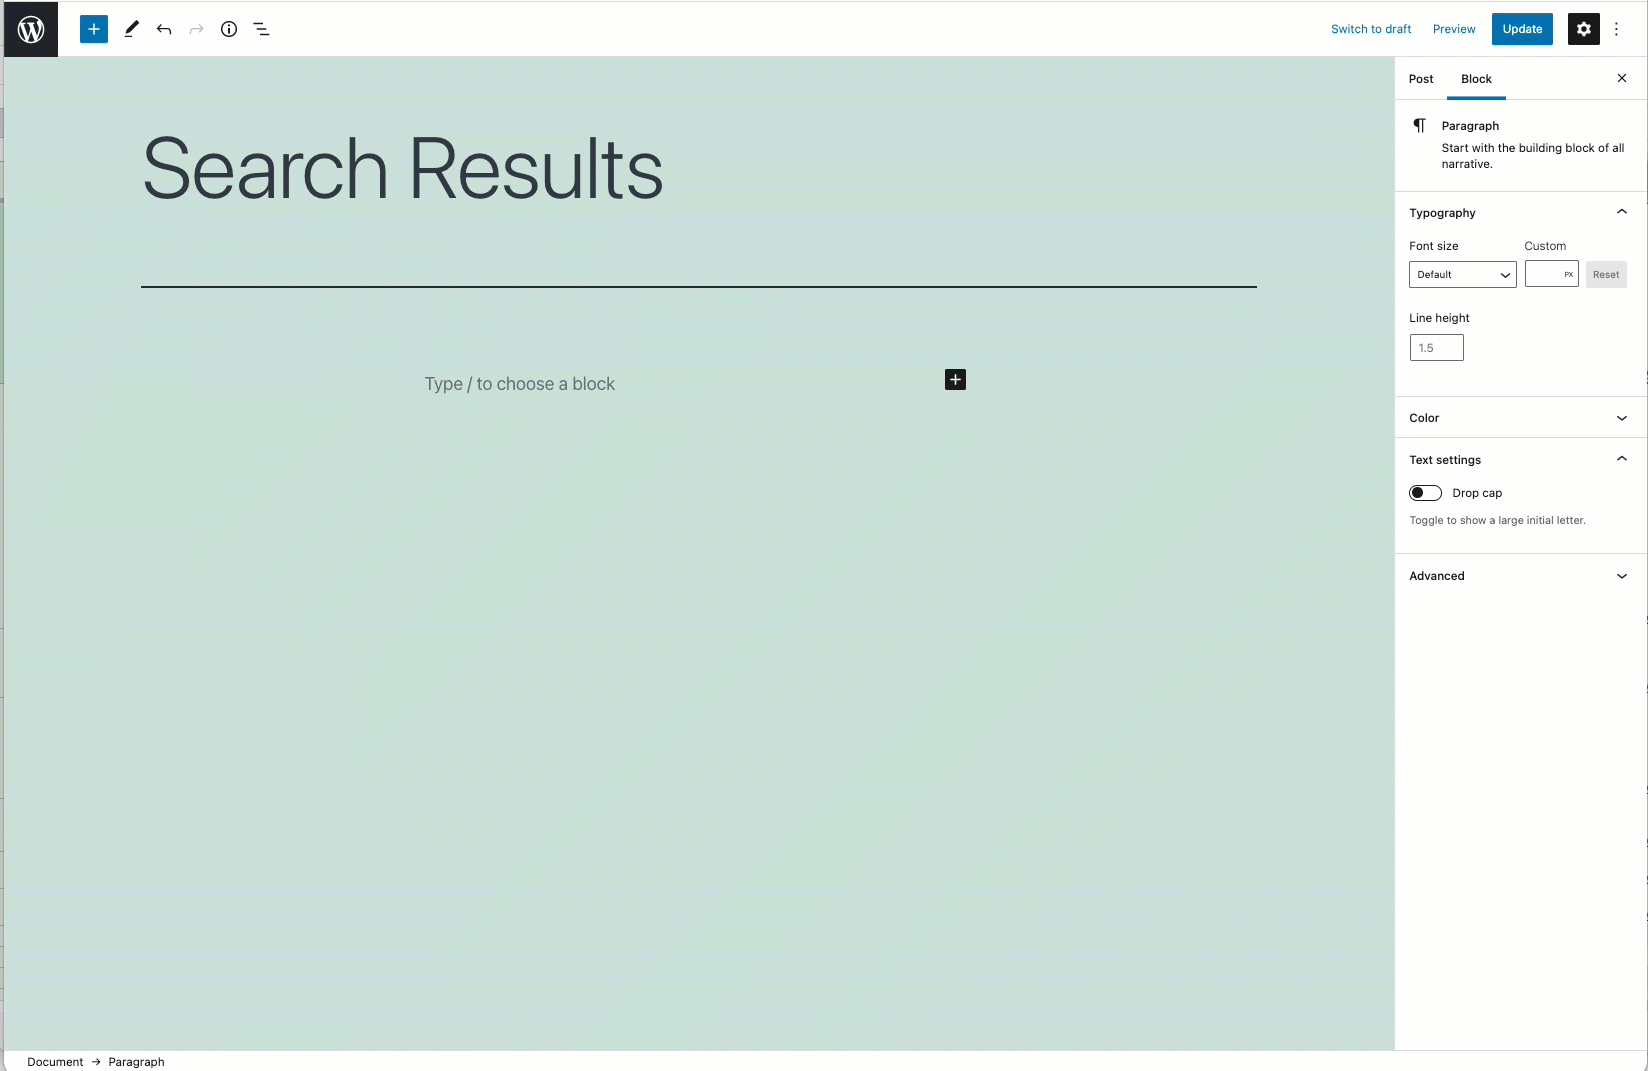
We recommend using drag-and-drop Gutenberg Blocks to add your search bar or search results to any additional pages. Navigate to any page on your WordPress site, click the + button in the upper left corner to add a block, and scroll down to the Yext Blocks section. Drag and drop your search bar or search results onto the page, click Update in the upper right corner, and your search experience is live!
You can follow this GIF for visual instructions.
Whenever you make changes to your search experience or add new data to your Yext account, those changes will be immediately reflected on your WordPress search experience!