
Navigate Yext Search | Yext Hitchhikers Platform
What You’ll Learn
By the end of this unit, you will be able to:
- Navigate to the screens used to manage the Search backend and Search frontend
- Recall what types of information the All Search Experiences screen provides
- Recall the types of configurations found under the five categories of screens for the Search backend configuration
Overview
As we discussed in the What is a Search Experience unit, there are three components of Search. Each component can be accessed from a different part of the Yext platform:
- The Knowledge Graph: the Knowledge Graph section
- The Search backend: the Search section
- The Search frontend: the Pages section, if you are using the Pages product to build your frontend
Check out the Navigating Yext Knowledge Graph module for more details on navigating the Yext platform in general and the Knowledge Graph screens.
For both the Search and Pages sections of the navigation bar, you’ll see a screen for All Search Experiences (Search) or All Sites (Pages). The All Search Experiences screen shows a list of all experiences. The All Sites screen shows a list of all sites. Once you click into a Search experience or site, you’ll have access to view details, edit, and deploy your experience or site. We’ll cover the All Search Experiences and All Sites screens below, as these are what you’ll use for Search experiences.
Search Experiences Screens
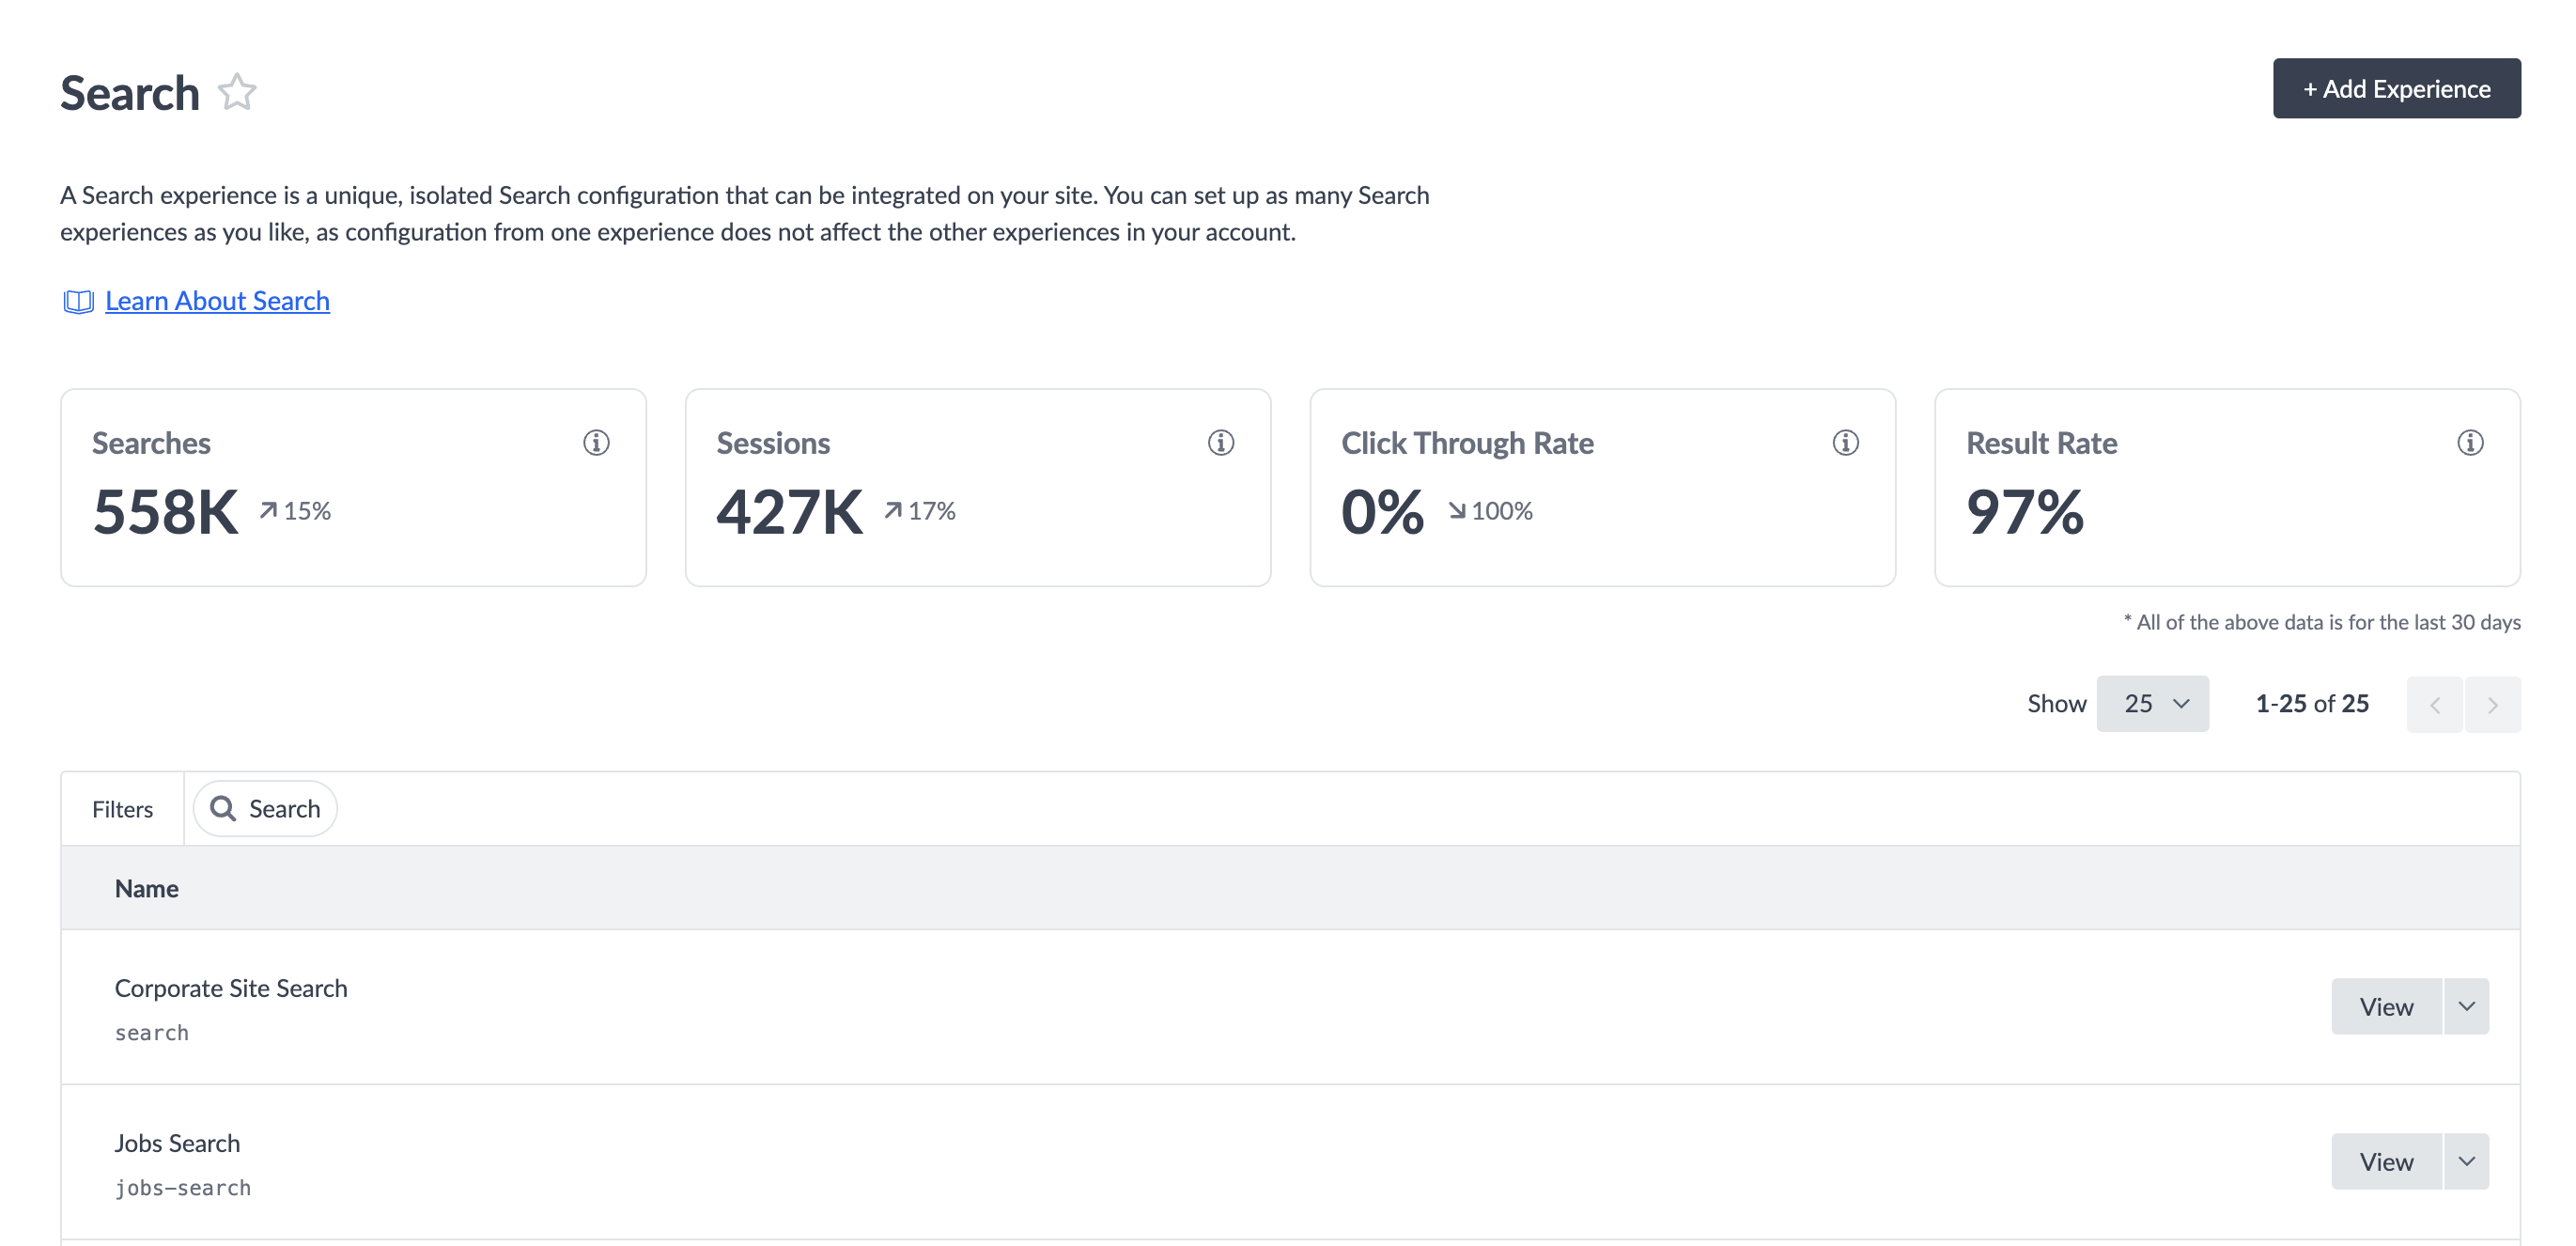
In the Search > All Search Experiences screen, you can view and manage your experiences. If you don’t have a Search experience yet, you can create one by clicking the button in the top right. Check out the Create a Search Configuration help article for details.

If you have at least one experience, the screen will list out all experiences. Next to each will be a drop down for you to view, delete, or duplicate the experience.
Above the list of experiences is a snapshot of the activity across all your Search experiences. There are hero numbers with the analytics metrics Searches, Sessions, Click Through Rate, and Result Rate. This data is aggregated across all Search experiences for the last 30 days. Check out the Search Metrics reference doc for a definition of each of these metrics.
Once you click into an experience, you’ll see five main sections in the navigation bar:
- Test Search
- Configuration
- Analysis
- Training
- Deployment
Test Search is where you can test your Search experience without having to configure a frontend. This screen shows a full screen test search, but you can also access a test search as a side panel on each of the configuration screens. You can learn more about Test Search in the Test Search unit.
When you first click into an experience, you’ll land on the Verticals screen of the Configuration section. The Configuration section is where you manage your Search configuration. You’ll learn more about what you can do here in the Vertical-Level Configuration and Search-Level Configurations modules. You can also specify IP addresses as internal traffic. You can edit your Search configuration directly in the UI or optionally through JSON syntax. On the General Settings screen, you’ll find details on your experience, including the experience key and the API key.
In the Analysis section, you’ll find details on what is being searched and how the algorithm interprets searches. You can use these tools to optimize search quality over time. You’ll learn more about these in the Search Analytics , Debug the Backend , and Search Optimizations units.
In the Training section, you will be able to give the algorithm feedback on its predictions so it will learn to improve over time. Rejecting a prediction fixes it immediately and also helps ensure similar mistakes don’t happen in the future. You can train the algorithm on featured snippets, inferred filters, and spell checking. Learn more in the Experience Training unit.
In the Deployment section, you will see a history of your Search configuration versions and have the ability to deploy specific versions to the Staging and Production labels of your site. Learn more in the Create and Edit the Search Config unit.
All settings in Search exist at the experience level so that each experience can be configured independently. The first place you should look if you’re trying to figure out how to turn on or off a Search-related setting is in the individual experience.
Pages Sites Screens
The Pages > All Sites screen allows you to access and manage your sites. If you’re building with the Theme, you’re likely using Yext’s Pages product to host the frontend. You may also use a Pages site to deploy a site built on Search UI React.
If you don’t have a Pages site yet, the screen will prompt you to create one. Follow the prompts.

If you have at least one site, the screen will list out all sites. Next to each will be a drop down for you to edit or delete the site. You can still add a site by clicking the button in the top right.
Once you click into a site, you’ll see a different screen based on which type of Pages the site is built on. If you’re on the new Pages system (you could be building with React or the Theme), check out the Pages Deployment Screens unit for a walkthrough of the screens. If you’re on Classic Pages (only Theme builds use this for Search), check out the Deploy an Experience unit for a walkthrough. No matter the Pages system you’re using, you’ll still come here to deploy your site.
If you are using the Theme on either Pages or Classic Pages, you’ll be able to access a code editor from these screens, where you can edit the files in your Search frontend repo directly. If you are using React, you’ll edit your repo files locally and only use the platform to deploy commits to your site.
Now that you understand the foundation of the components of Yext Search, the different ways you can build them, and how to navigate to them, let’s dive in and start building! Again, we’ll cover the Search backend in the rest of this track. There are separate tracks and resources for the Search frontend, which we covered in the previous unit.
Where would you go to edit the Search configuration?
Where would you find the API key for a Search experience?
Where would you deploy code that impacts the styling of search results?
Soon you'll be your brand's hero! 🎓
