

Step 3: Create a Template
After adding your Site, the next step will be to create a Page Template.
Navigate to your newly created Site.
Add a new Page Builder template by clicking the Add New Template button in the upper right, or in the center of the screen.

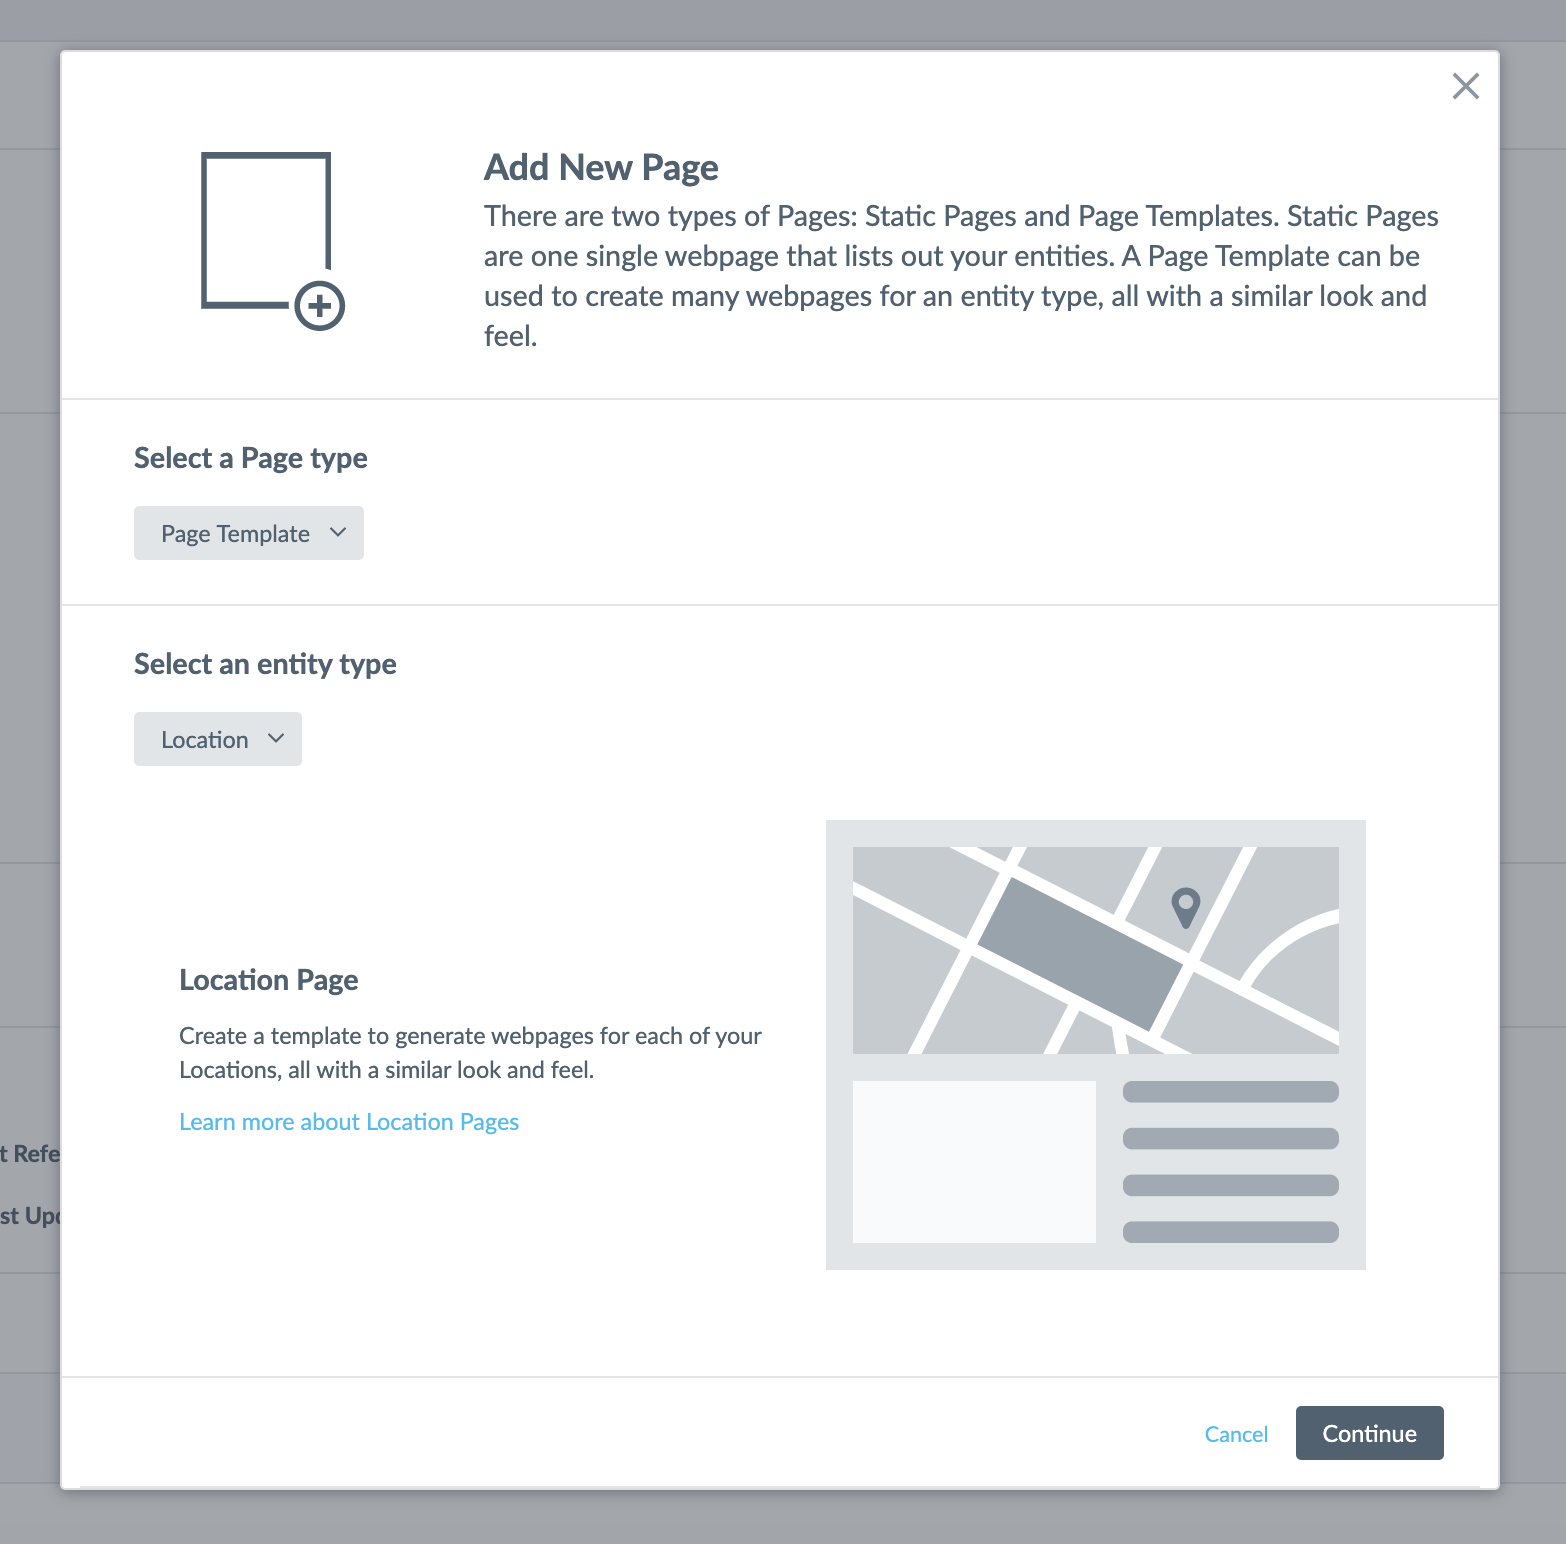
Next, you will be presented with a few dropdown options. We’ll be creating a Page Template for your Location entities. As a reminder, there are two types of Pages:
- Static Pages are one single webpage that lists out your entities.
- A Page Template can be used to create many webpages for an entity type, all with a similar look and feel.
Select Page Template and choose the Location entity. Click Continue.
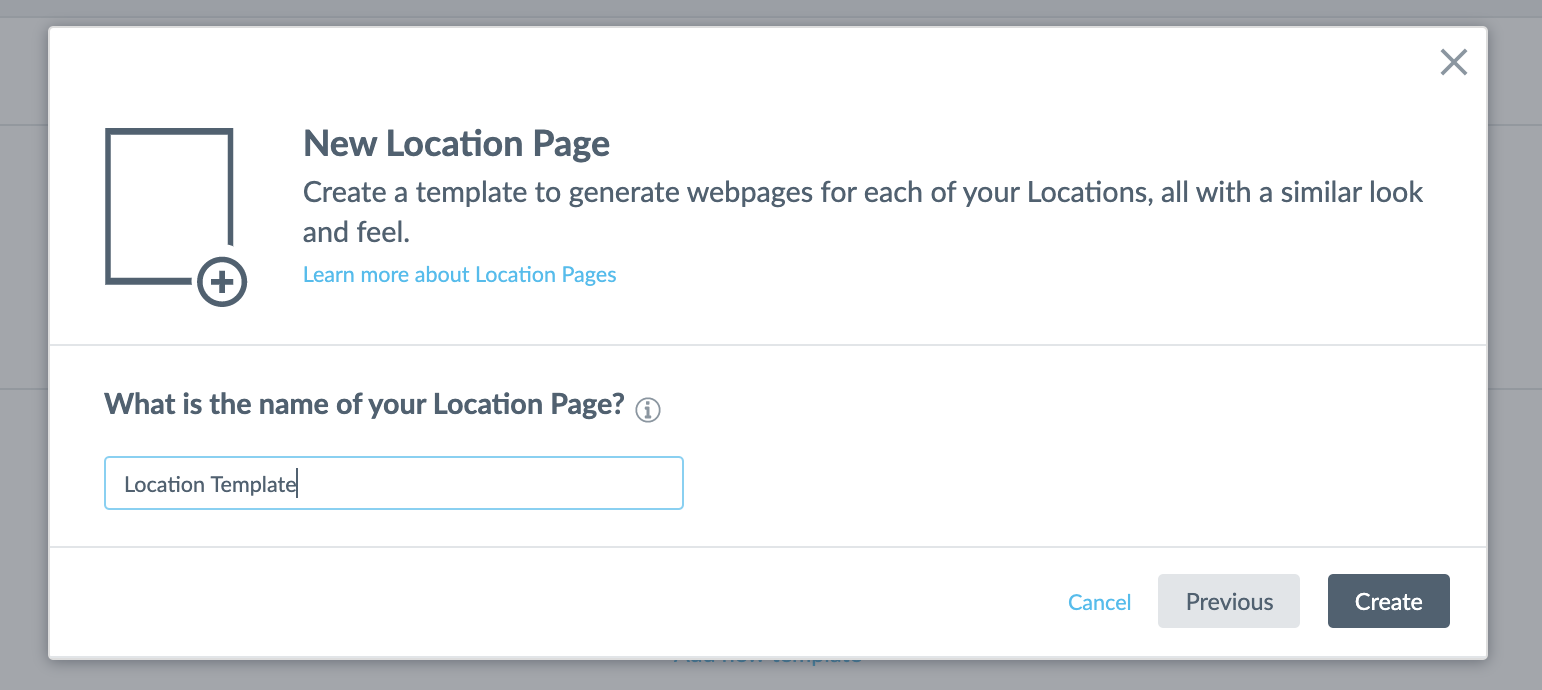
Name your template based on what you’re using it for (such as “Location Template”). You can always change the name later if needed. Click Create.
Now that you’ve created your template, by default, you’ll see a number of modules in the Location Entity template, such as Core Location Details. These are just a starting point to get you going. You can easily add, delete or reorder these as you need. You can review the Customizing Modules training for more information.
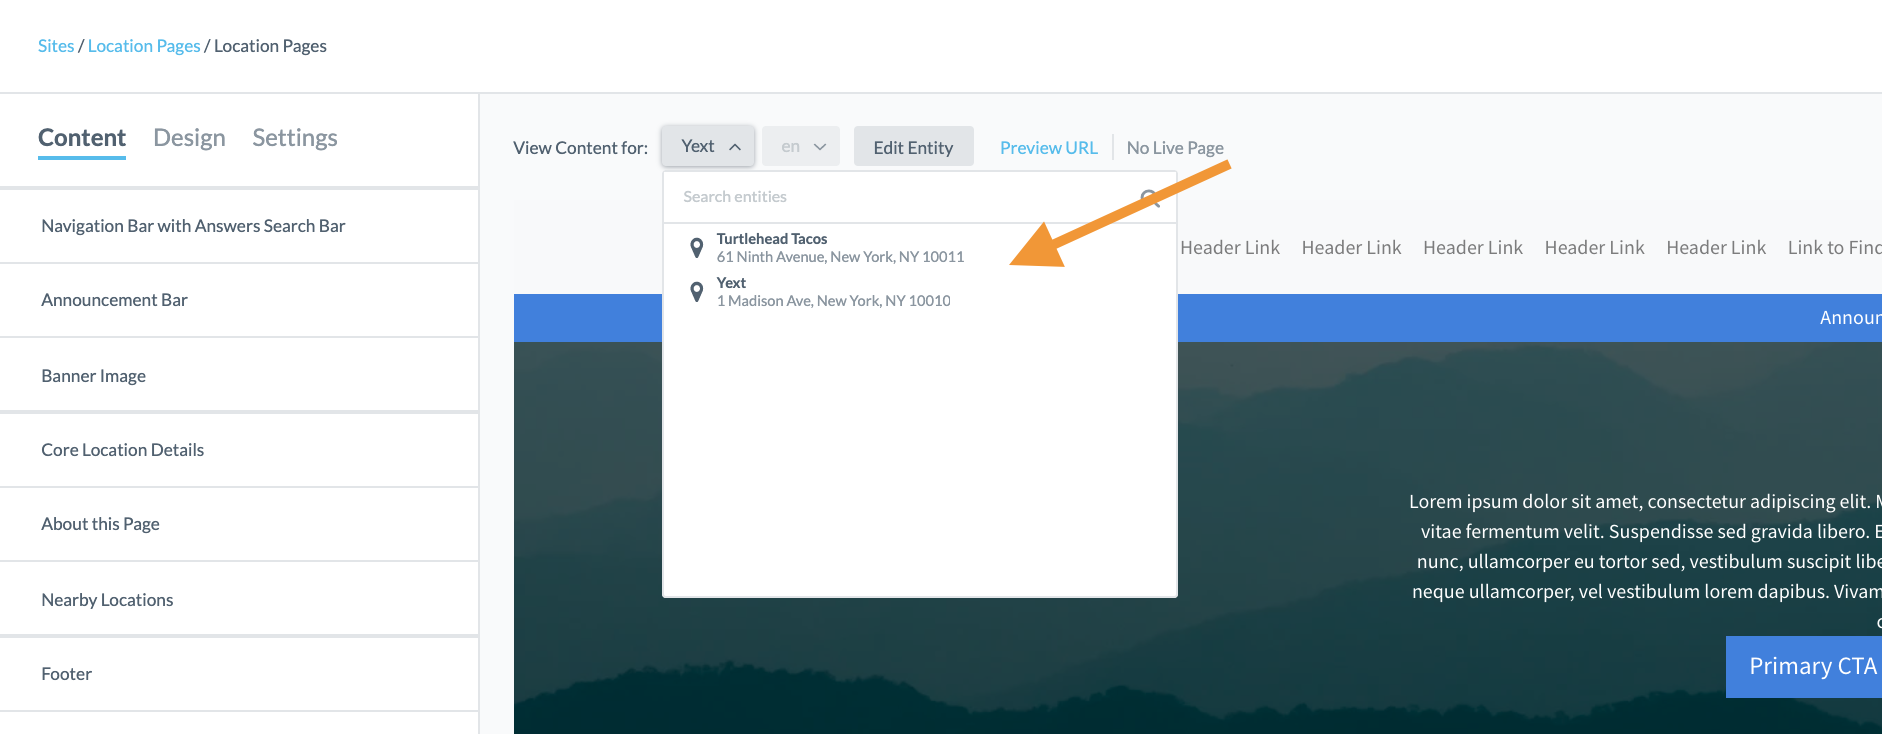
If you created a new entity and need to toggle between your Location entities, you can do so in Pages under the View Content for header:
In the next step, we’ll show you how to customize your Content for this template.