

Step 8: Patches - Apply a Diff
Remember from the semantic versioning convention we use that patches can include bug fixes, including for styling regressions. There may come a time when you want to add a particular bug fix to your experience to target a specific issue without doing a full theme upgrade. You can do that easily via Tools > Apply Diff. This is also a great way to share updates between your repos or share a cool update with a colleague.
Use Case: Let’s say your Search experience is on Theme v1.22.0 and the latest version released is 1.25.0. However, you realize that Theme v1.22.1 includes a fix so that analytics events are fired when rich text field links are clicked in a result card. This is important to your experience, but you don’t want to do a full theme upgrade to 1.25.0. You can apply a diff!
Note: Patch updates are not included in the changelog. Reach out to Yext if you need to resolve a bug without upgrading the entire theme.
Steps to Applying a Diff
You’ll notice that these steps are similar to the steps above for upgrading your experience. That’s because this is a partial upgrade and you’ll want to follow similar steps to prepare for and then QA your experience.
- Check which version of the theme you are currently on by looking in the
package.jsonfile. - Read through the instructions provided by Yext thoroughly, including upgrade implications, and note any actions you may need to take before or after applying the patch.
- Make any changes needed before applying the patch, such as overriding any standard cards you want to keep as-is if the upgrade will change them.
Click on Tools > Apply Diff in the top right of your Code Editor.

Select the diff file you want to apply by entering the URL of a diff file or uploading a diff file (click Upload).
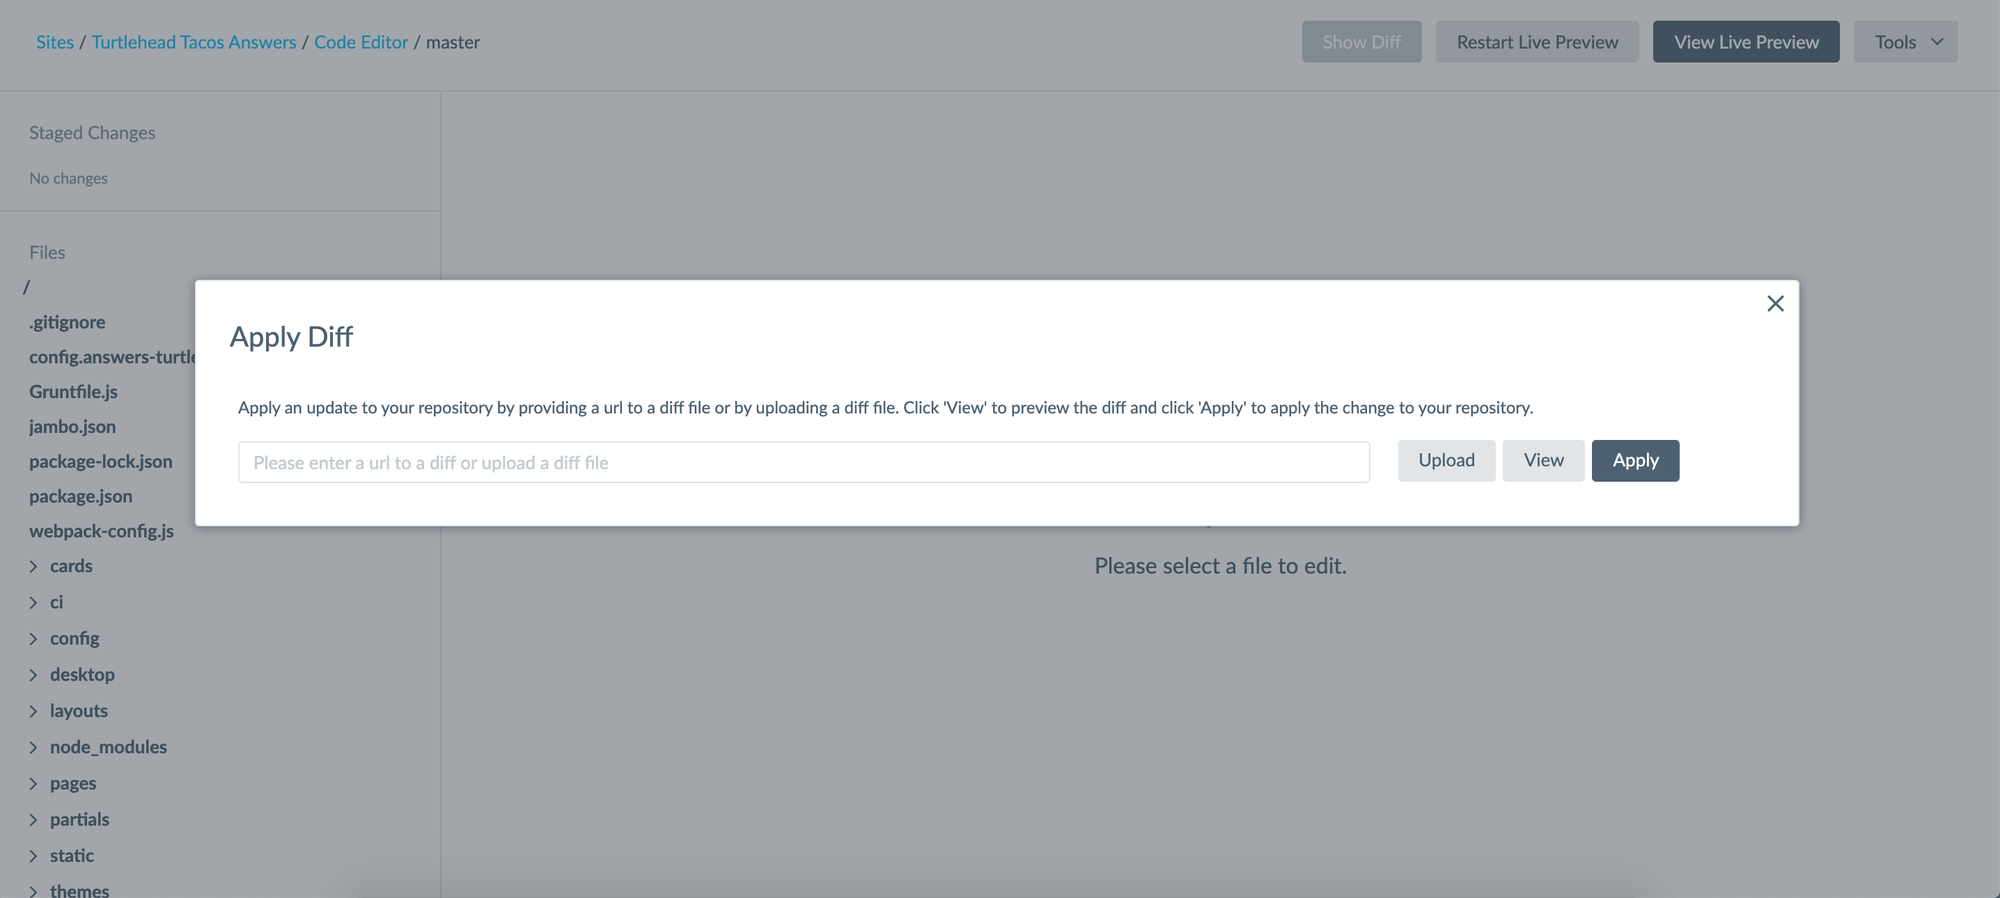
Click View to preview the changes that will be applied. Click Apply to apply the changes.
Make any changes needed after the diff file is applied, including:
- Re-forking certain files as directed to in the upgrade implications.
- Following any instructions needed to configure the patch update.
Test Live Preview thoroughly to ensure it works and functions how you expect it would.
Commit your changes once Live Preview looks good. Then publish the commit to Production and do some light testing.
You’re done!