Step 1: Index the Data
Overview
As part of your account creation, we will provide you with a starting structure for your account (including the Yext Knowledge Graph setup and a Search frontend and backend config) that you can then customize to get you off the ground. If you input your Zendesk Subdomain during account creation, then you’ll notice your Zendesk Help Articles are already loading into your account.
However, if you did not enter your Zendesk Subdomain earlier or are using a Playground Account, you can connect Yext and Zendesk to pull in your Zendesk Help Articles by following the below steps. The goal of this step is to make sure that your experience returns your brand’s actual data.
Add Data to Yext
On the Knowledge Graph > Entities screen in your Yext account, click the on the + Add Data button.
Click Install an App in the Connectors section of the modal.
Select the Zendesk Help Center Connector App.
Click Install and follow the install flow:
- You will be prompted to authorize Yext to access your account and update your Entities. Click Next.
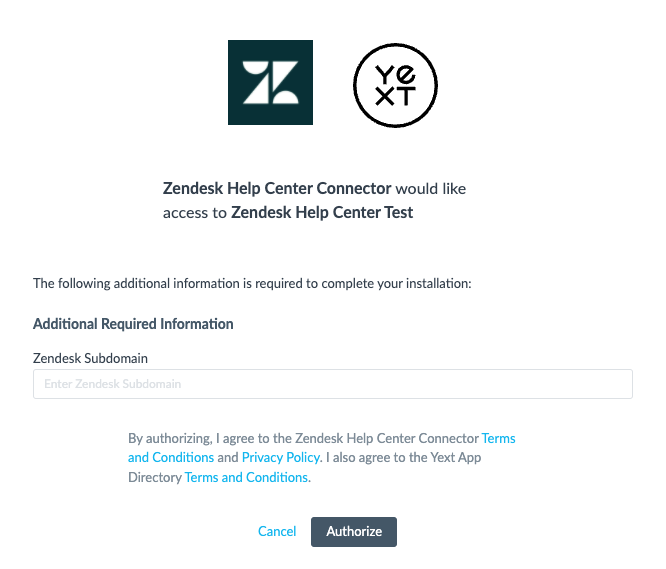
- Enter your Zendesk Account Information. To import your Zendesk help articles to your Yext account, we will need your Zendesk subdomain. For information on how to find the subdomain, see this Zendesk help article .

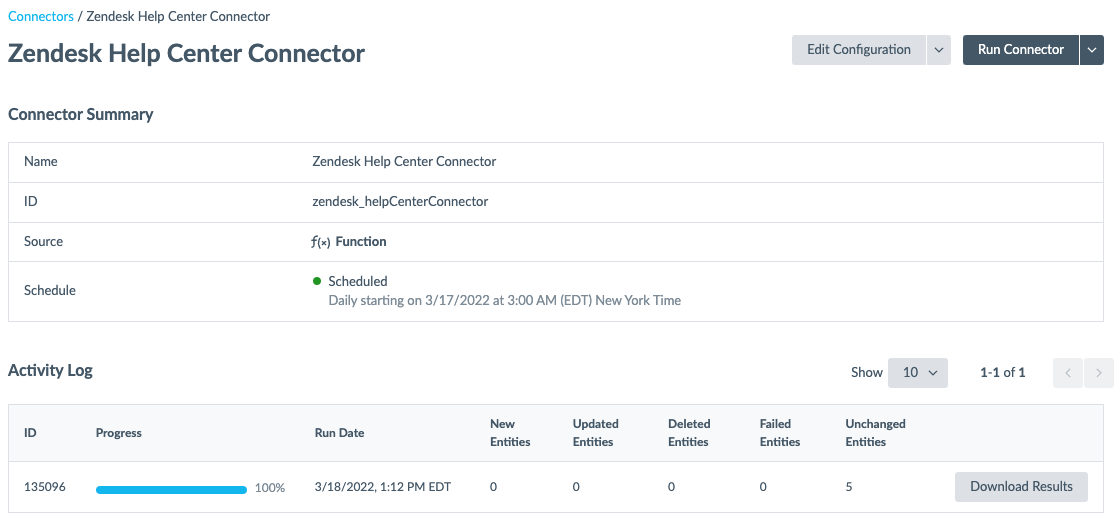
- Once you hit Authorize, the connector will run automatically and you will be taken to this screen:

Note that the time it takes the connector to run will vary depending on how many articles you have to import.
Alternatively, you can bulk upload your data to Yext using Excel. Review the Uploading Data to Yext training on how to use the Entity Upload.

