

Step 4: Add to your Ticket Form
Another great next step in the process is to integrate Search into your ticket form to help deflect case volume. Before a user submits a ticket, they will be able to automatically search your Help Articles within the Search experience based on the ticket category field (or another field), find the Help Article they need, and save your team from an extra ticket. Here’s how you can accomplish this:
Set Up Ticket Form
In order to have the ticket form (the new request page) visible, you will need to set up the ticket form. If you already have a ticket form set up, then you can go to the next section to add the search bar to the form.
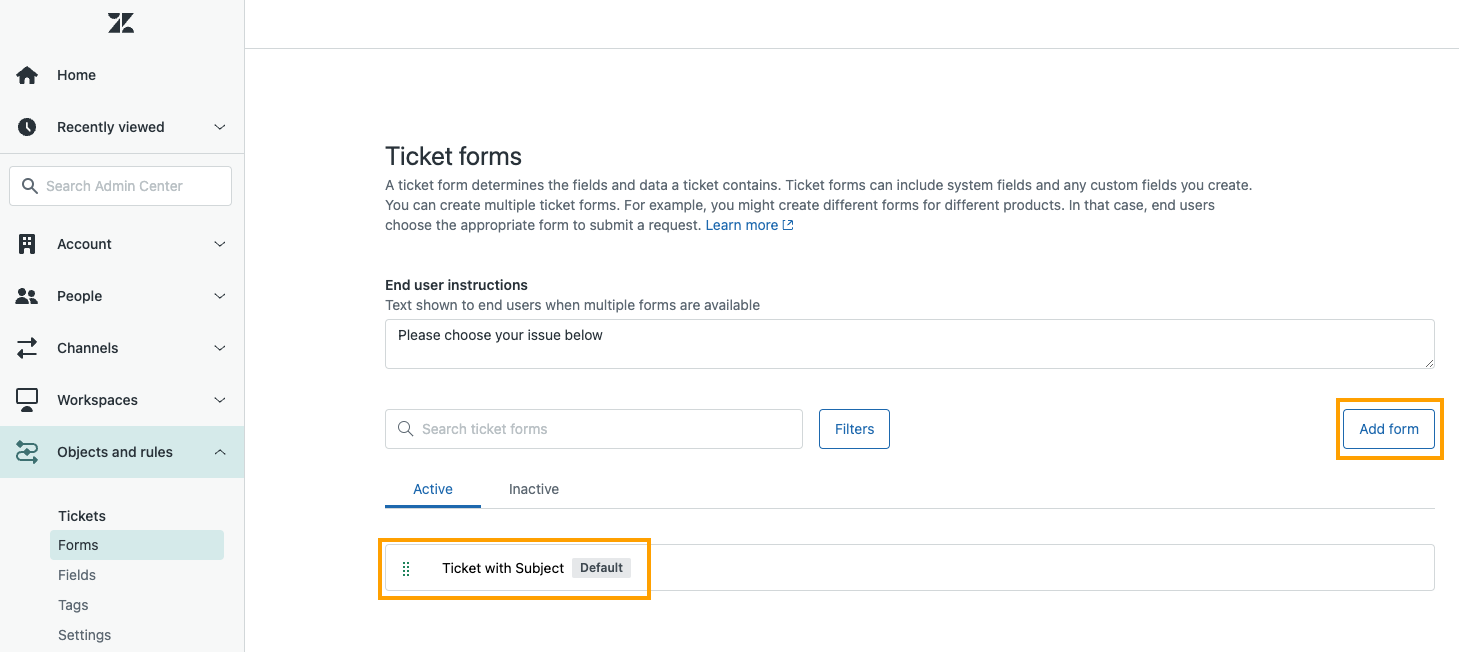
Navigate to Admin Center > Objects and rules > Tickets > Forms.
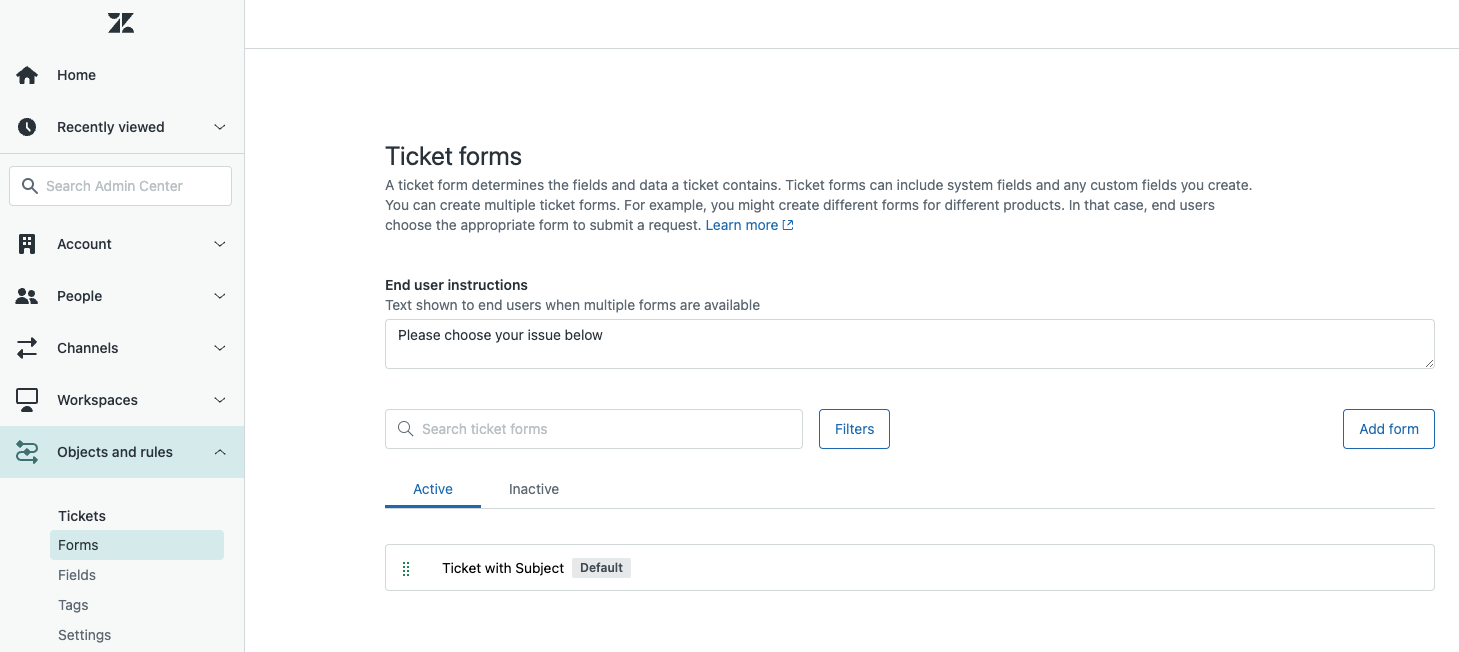
Click on the ‘New form’ or ‘Default’ Ticket Form that is already created or click Add form if you want to create a new form.
The Subject and Description should appear by default. You can drag and drop any other ticket fields you have in your Zendesk account to your form and reorder them.
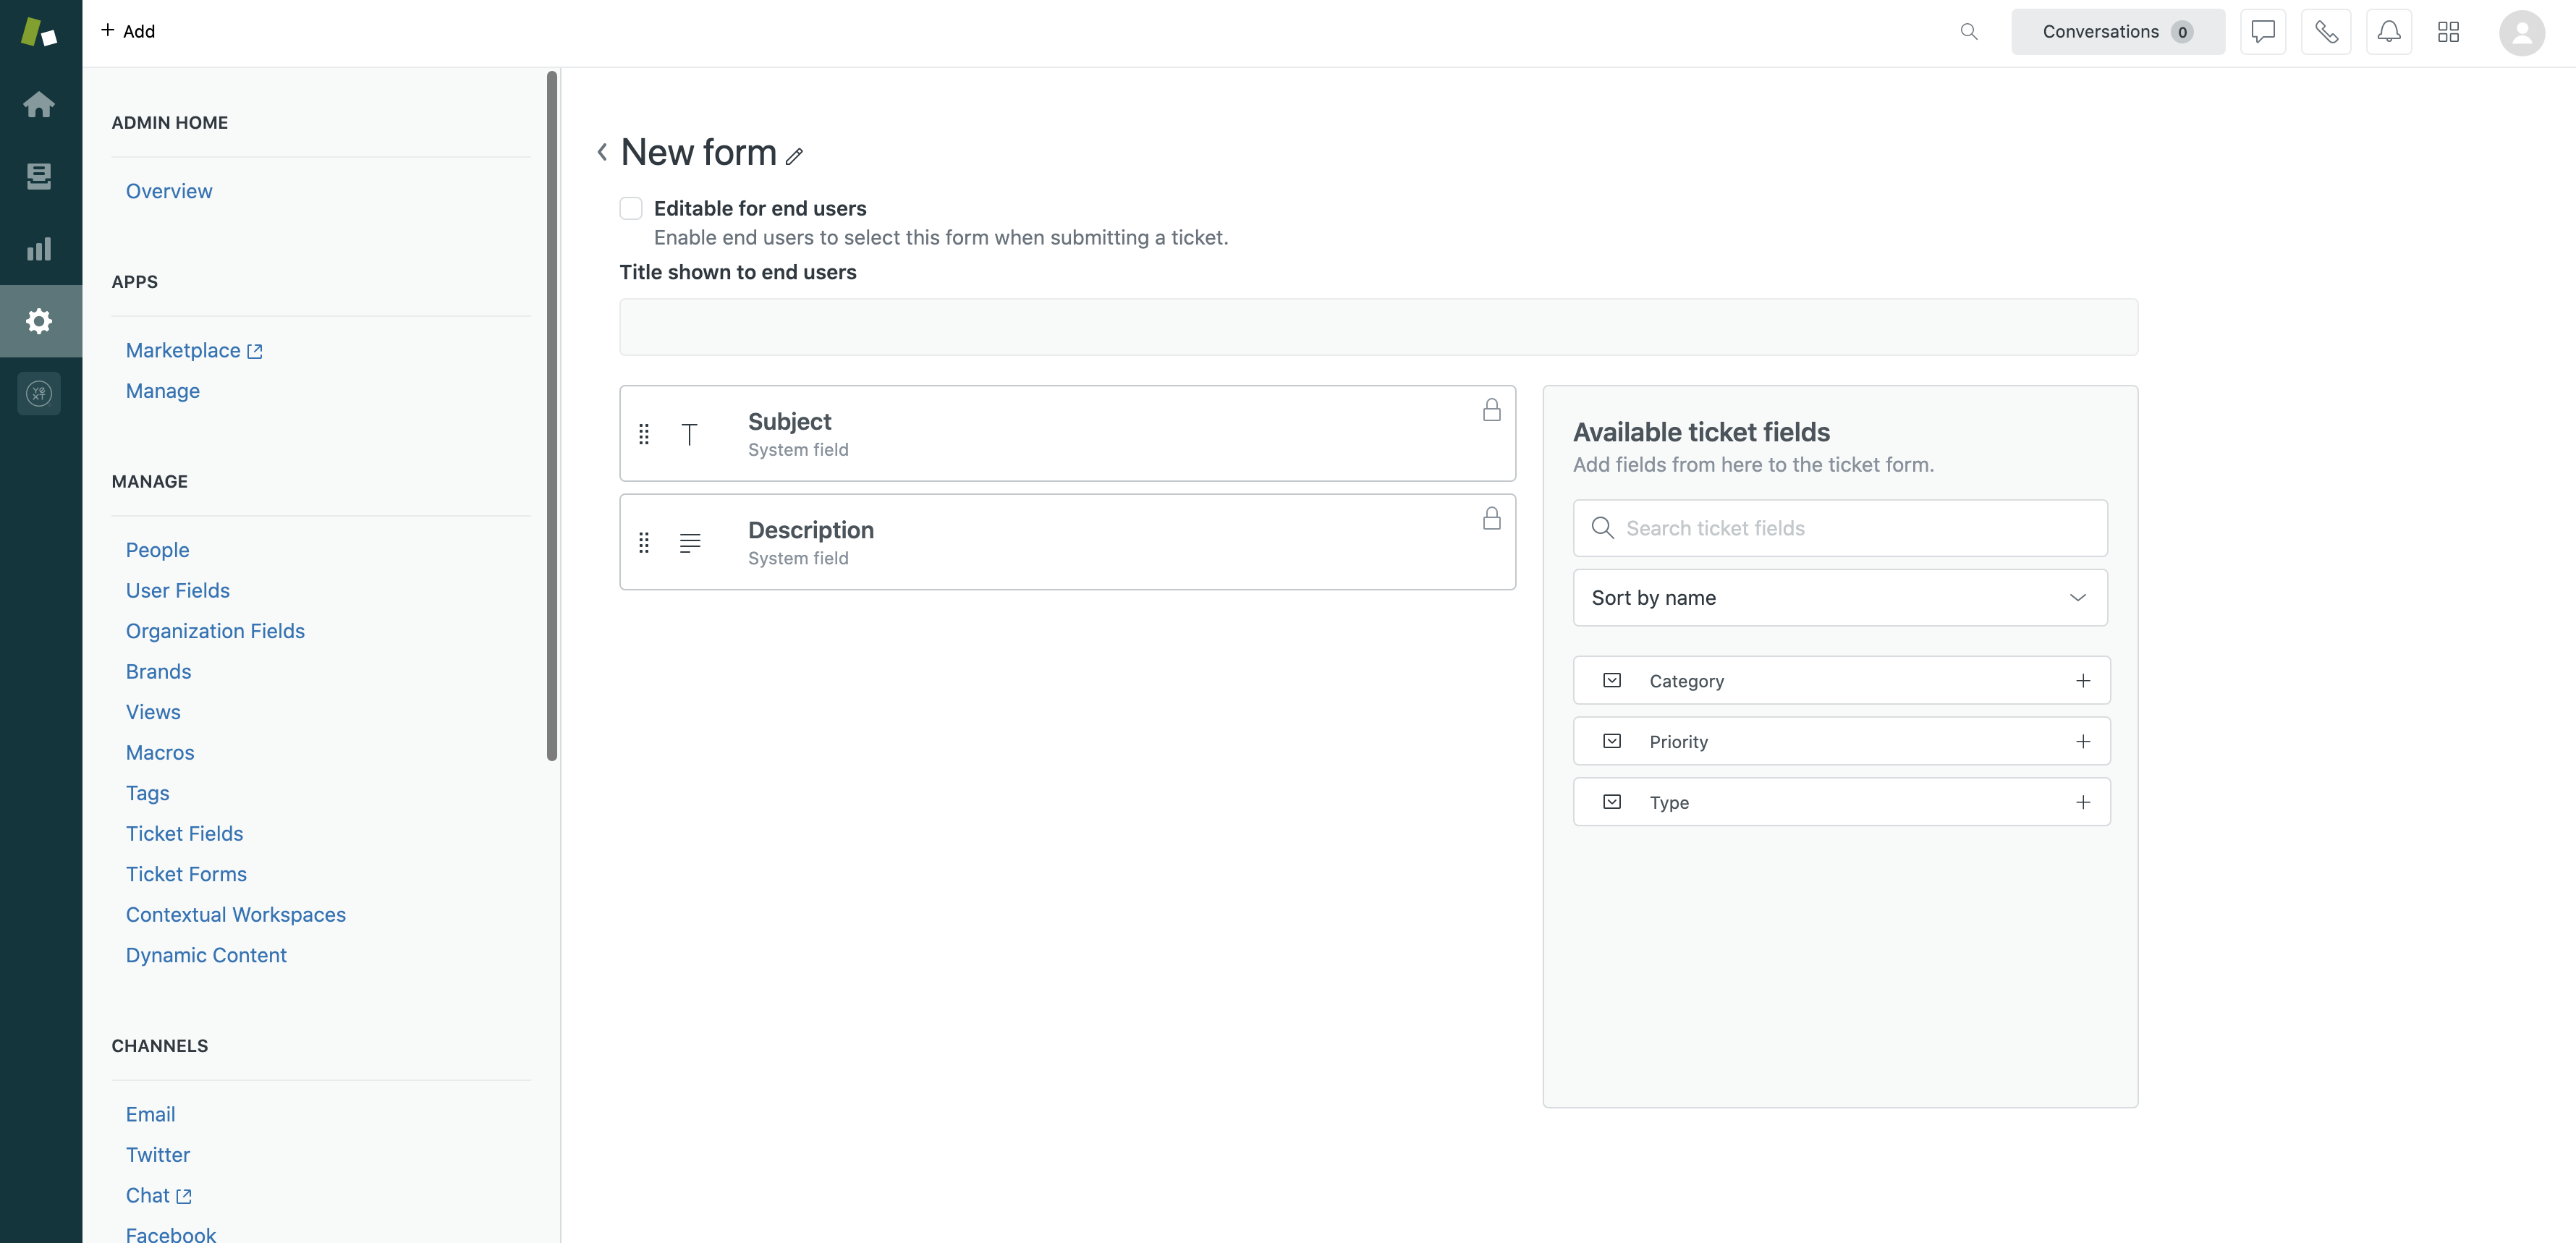
Now you have a basic ticket form on Zendesk!
Add a Search Bar to your Ticket Form
Navigate to the Customize Design tab in the Help Center. This can be found under Zendesk Guide > Guide Admin > Customize design.
Edit your theme. You can either add a new theme by selecting “Add theme”, make a copy of your Live theme by selecting the three dots > Copy. If you would you like to edit your existing theme directly, click on Customize under your Live theme.
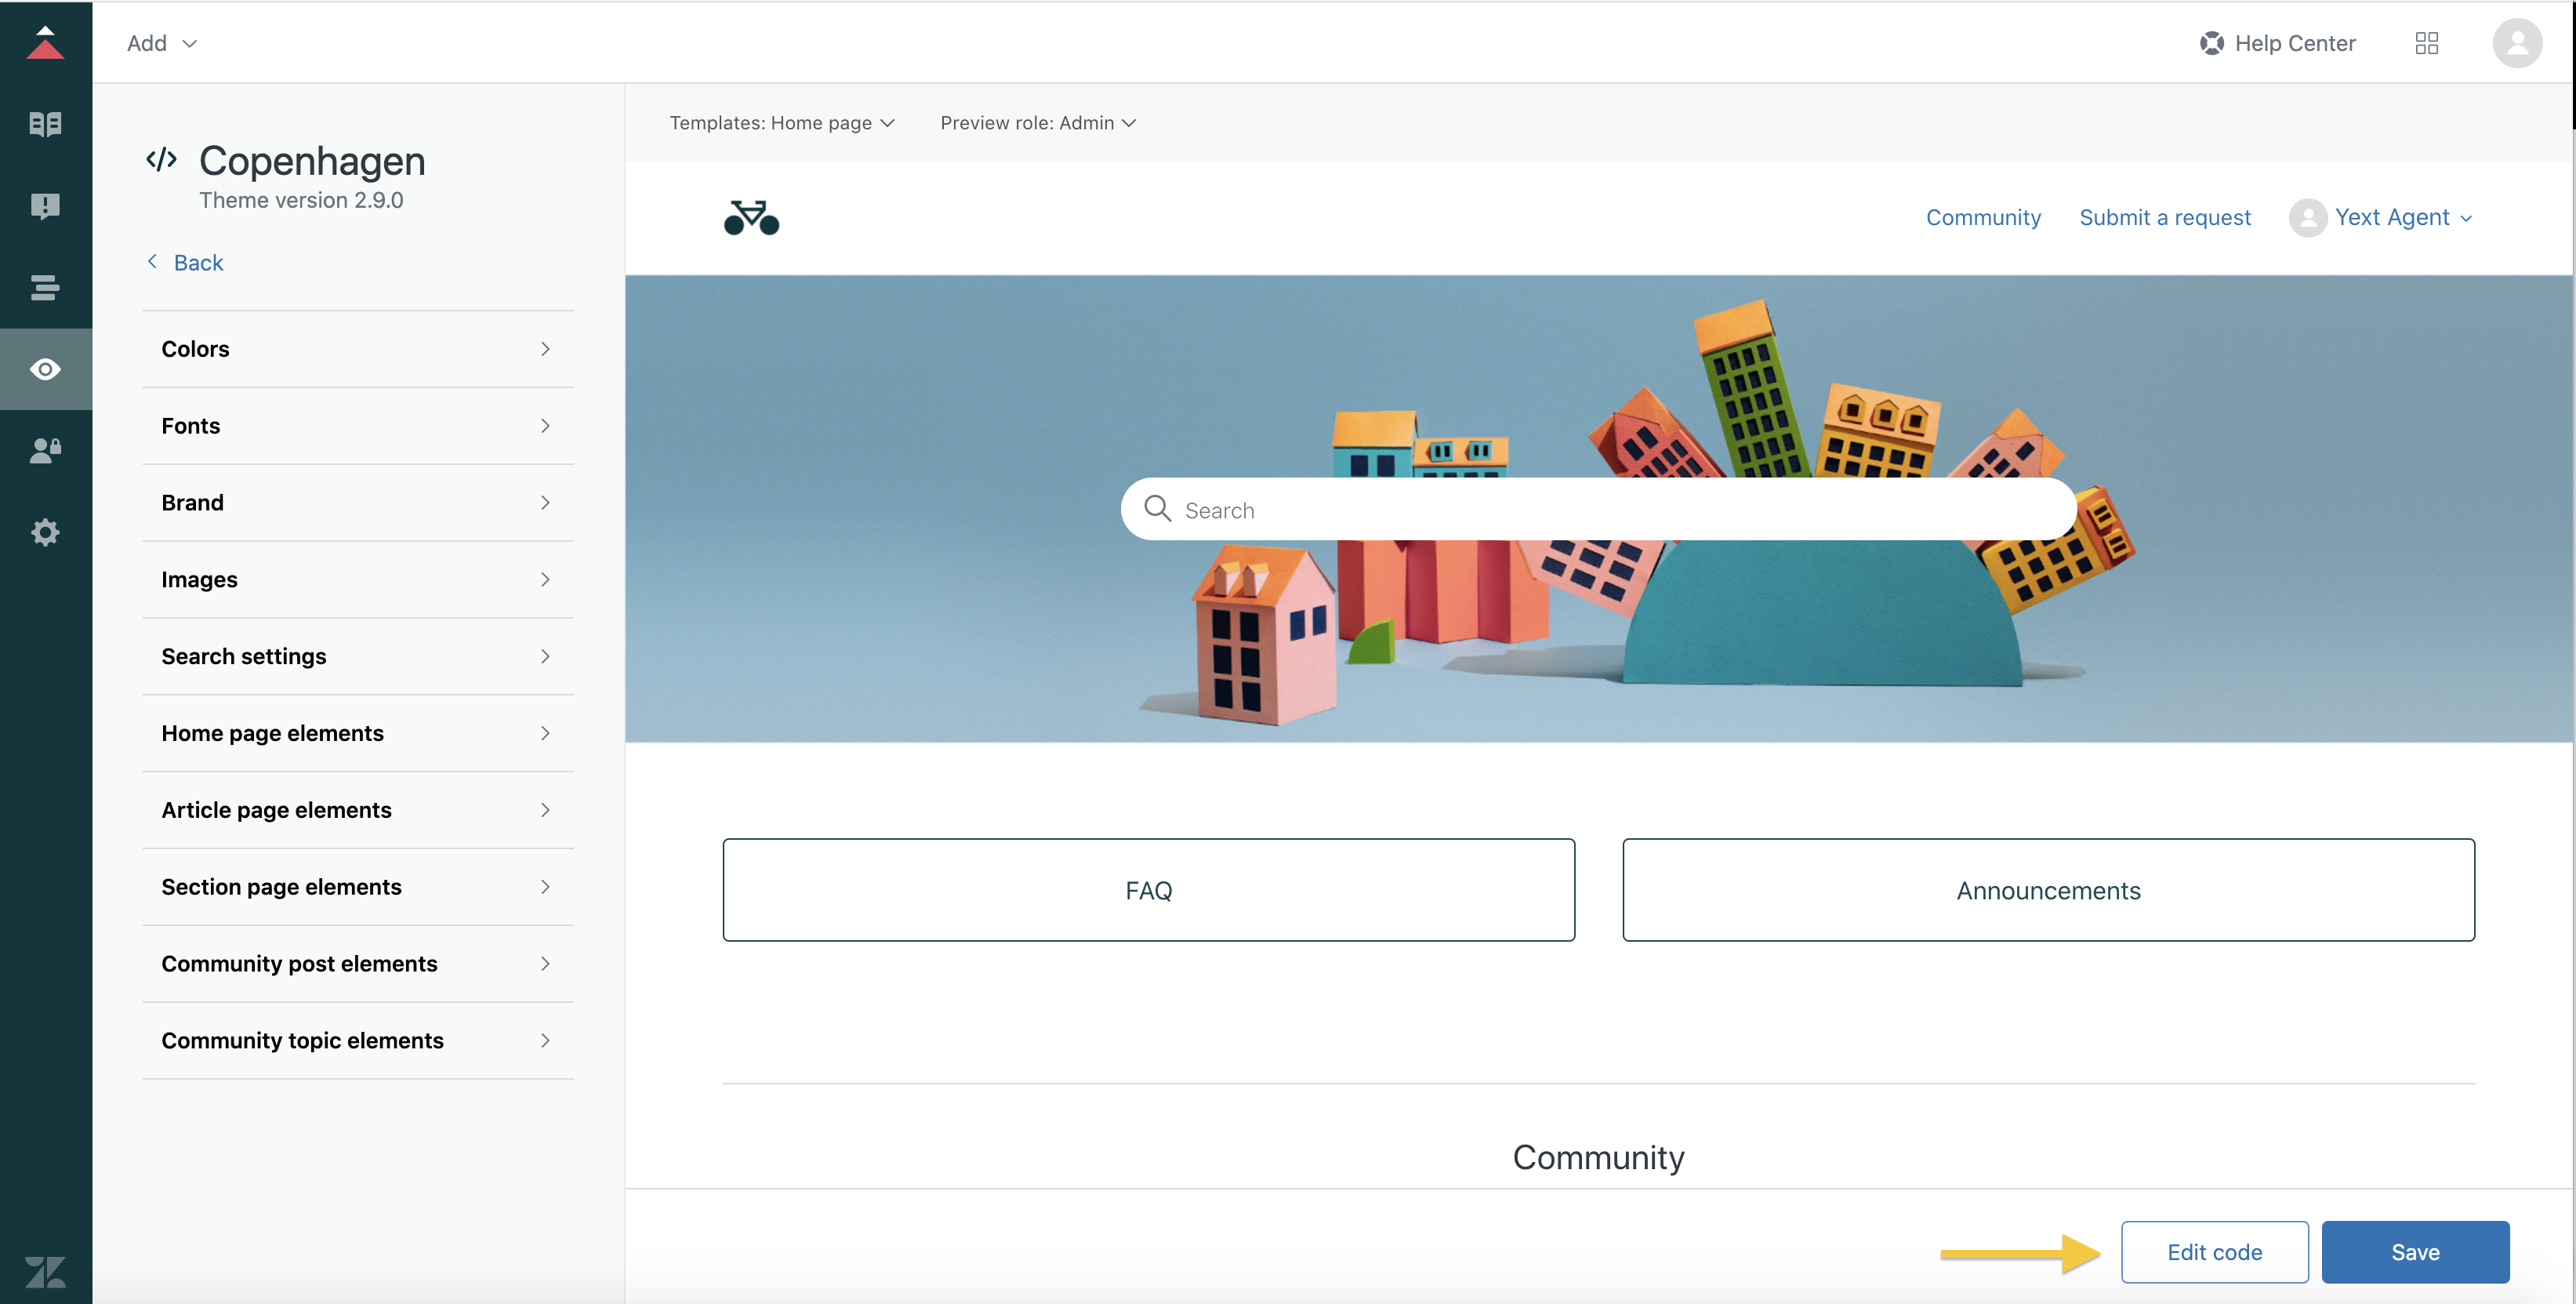
 NoteIf your help center is already live on your site, we recommend making a copy of the Live theme in order to test this out in a sandbox environment first. Under your Live theme, select the three vertical dots and click Copy.
In order to replace the search bar with your Yext search bar, you will need to edit the code. Click “Edit Code” in the bottom right corner:
Navigate to the New Request Page. Once in the editor, on the lefthand side, click on the new request page (
new_request_page.hbs), which is the page for ticket form submissionWithin
new_request_page.hbs, add in the following two lines underneath your request_form:<div id="answers-container" businessId="REPLACE_ME_BUSINESS_ID" experienceKey="REPLACE_ME_EXPERIENCE_KEY"></div> <script src="https://[[businessId]].supportembed.com.pagescdn.com/iframe.js"></script>Note: Insert your account business ID in the above URL for
[[businessId]]. This is the production URL from when you published to production in step 2.Similar to the search results page, this embedded Yext search experience includes a search bar, so the default Zendesk search bar can be deleted from the code in the same way you removed it from
search_results.hbswithin your Help Center.Also within
new_request_page.hbs, add a support_container div and a new-request-div class around the form and the Search experience. The result of steps 5 through 7 will look as follows:<div class="container-divider"></div> <div class="container"> <nav class="sub-nav"> {{breadcrumbs}} </nav> <div class="support-container"> <div class="new-request-div"> <h1> {{t 'submit_a_request'}} <span class="follow-up-hint"> {{follow_up}} </span> </h1> <div id="main-content" class="form"> {{request_form wysiwyg=true}} </div> </div> <div id="answers-container" businessId="REPLACE_ME_BUSINESS_ID" experienceKey="REPLACE_ME_EXPERIENCE_KEY"></div> <script src="https://[[businessId]].supportembed.com.pagescdn.com/iframe.js"></script> </div> </div>Save your work. Click Save. If you are using a Live theme, you can choose to “Publish” your work.
Next, update the styling. Head to your
style.cssfile and add in CSS for the support container under the .container CSS:.support-container { display: flex; }Also in
style.css, under the “/***** Request *****/” comment, add in CSS for the new-request-form:.new-request-div { position: relative; width: 55%; padding-bottom: 50px; margin-right: 5%; flex: 1.5; } #answers-container { flex: 1; } @media (max-width: 768px) { #answers-container { display: none; } }Save your work. Click Save. If you are using a Live theme, you can choose to “Publish” your work.
Add Interaction between the Subject Field and the Search Bar
In this step we will automate the Yext search experience which you’ve added to your Ticket Form so a customer can find the answer they are looking for without ever submitting the request. The end result of the following steps will look something like this:
Note: Depending on the set up of your ticket form, there might be some tweaks to the below steps that you’ll have to make.
Navigate back to Zendesk Guide. In the
new_request_page.hbsfile and below the closing div, add in the following:<script> //Support Form Fields (function() { let queryId = ""; let businessId = ""; let experienceKey = ""; window.addEventListener("message", function(event) { if (event.data && event.data.includes("queryId") && event.data.includes("message")) { let msg = event.data; msg = msg.substring(msg.indexOf("message") + "message".length + 2, msg.length - 1).replaceAll("\\", ""); msg = JSON.parse(msg).queryId; if (queryId === "") { const response = fetch('https://answers.yext-pixel.com/realtimeanalytics/data/answers/'+businessId, { method: 'POST', body: '{"data":{"eventType":"CASE_START","verticalKey":"","searcher":"UNIVERSAL","entityId":"","experienceKey":"' + experienceKey + '","experienceVersion":"","queryId":"' + msg + '"}}', headers: { 'Content-Type': 'application/json' } }); } queryId = msg; } }); let answersQuery = ""; window.addEventListener('DOMContentLoaded', (event) => { AnswersExperienceFrame.runtimeConfig.set('querySource', 'CASE_DEFLECTION'); if (HelpCenter.user.email != null) { const visitor = { id: HelpCenter.user.email, idMethod: "ZD_EMAIL" }; AnswersExperienceFrame.runtimeConfig.set("visitor", visitor); } AnswersExperienceFrame.init({}); let answersContainer = document.getElementById("answers-container"); businessId = answersContainer.getAttribute("businessId"); experienceKey = answersContainer.getAttribute("experienceKey"); const subject = document.querySelector('input#request_subject'); subject.addEventListener('blur', (e) => { if (e.target.value !== "") { let newQuery = e.target.value; let msg = JSON.stringify({ "action": "setQuery", "value": newQuery }); let frameEl = document.getElementById("answers-frame"); frameEl.contentWindow.postMessage(msg, "*"); answersQuery = newQuery; } }) let submitBtn = document.getElementsByName("commit")[0]; submitBtn.onclick = function(event) { const response = fetch('https://answers.yext-pixel.com/realtimeanalytics/data/answers/'+businessId, { method: 'POST', body: '{"data":{"eventType":"CASE_SUBMITTED","verticalKey":"","searcher":"UNIVERSAL","entityId":"","experienceKey":"' + experienceKey + '","experienceVersion":"","queryId":"' + queryId + '"}}', headers: { 'Content-Type': 'application/json' } }); } }); })(); </script>Click Publish.
Preexisting Search Experiences
If you are integrating a preexisting search experience with Zendesk, you will need to ensure the following updates are made within your Search repository within Yext.
In the Yext Platform, navigate to your repository via Pages > All Sites > Your Experience > View Code Editor. Click the pen icon on the desired branch to view and edit the repository.
In
layouts>headincludes.hbs, ensure the following script is added and you’ve published the changes to your Production Environment.<script> function bindEvent(element, eventName, eventHandler) { if (element.addEventListener) { element.addEventListener(eventName, eventHandler, false); } else if (element.attachEvent) { element.attachEvent('on' + eventName, eventHandler); } } // Listen to messages from parent window bindEvent(window, 'message', function (e) { try { var obj = JSON.parse(e.data); if (obj.action === "setQuery") { ANSWERS.core.setQuery(obj.value) } } catch (e) {} }); </script>Now, navigate to
config>global_config.jsonand ensure the"initializeManually": trueline is commented in.
Congratulations! You’ve successfully added Search to your ticket form and optimized case deflection through interaction between the ticket subject and the search experience. Test it out!