Integrate Domains with Pages | Yext Hitchhikers Platform
This reference doc walks through connecting domains to your Pages sites and other additional domain settings.
Prior to deployment, your domain must be configured for use. For assistance with adding domains, check out the following resources based on how you will add the domain:
- UI: Manage Domains via the UI help article
- API: Domain Configuration reference section and Domains API
- Legacy UI or API: Add a Domain (Legacy) guide
Each domain you have configured in your account will be visible in the domains table.
Domain Assignment
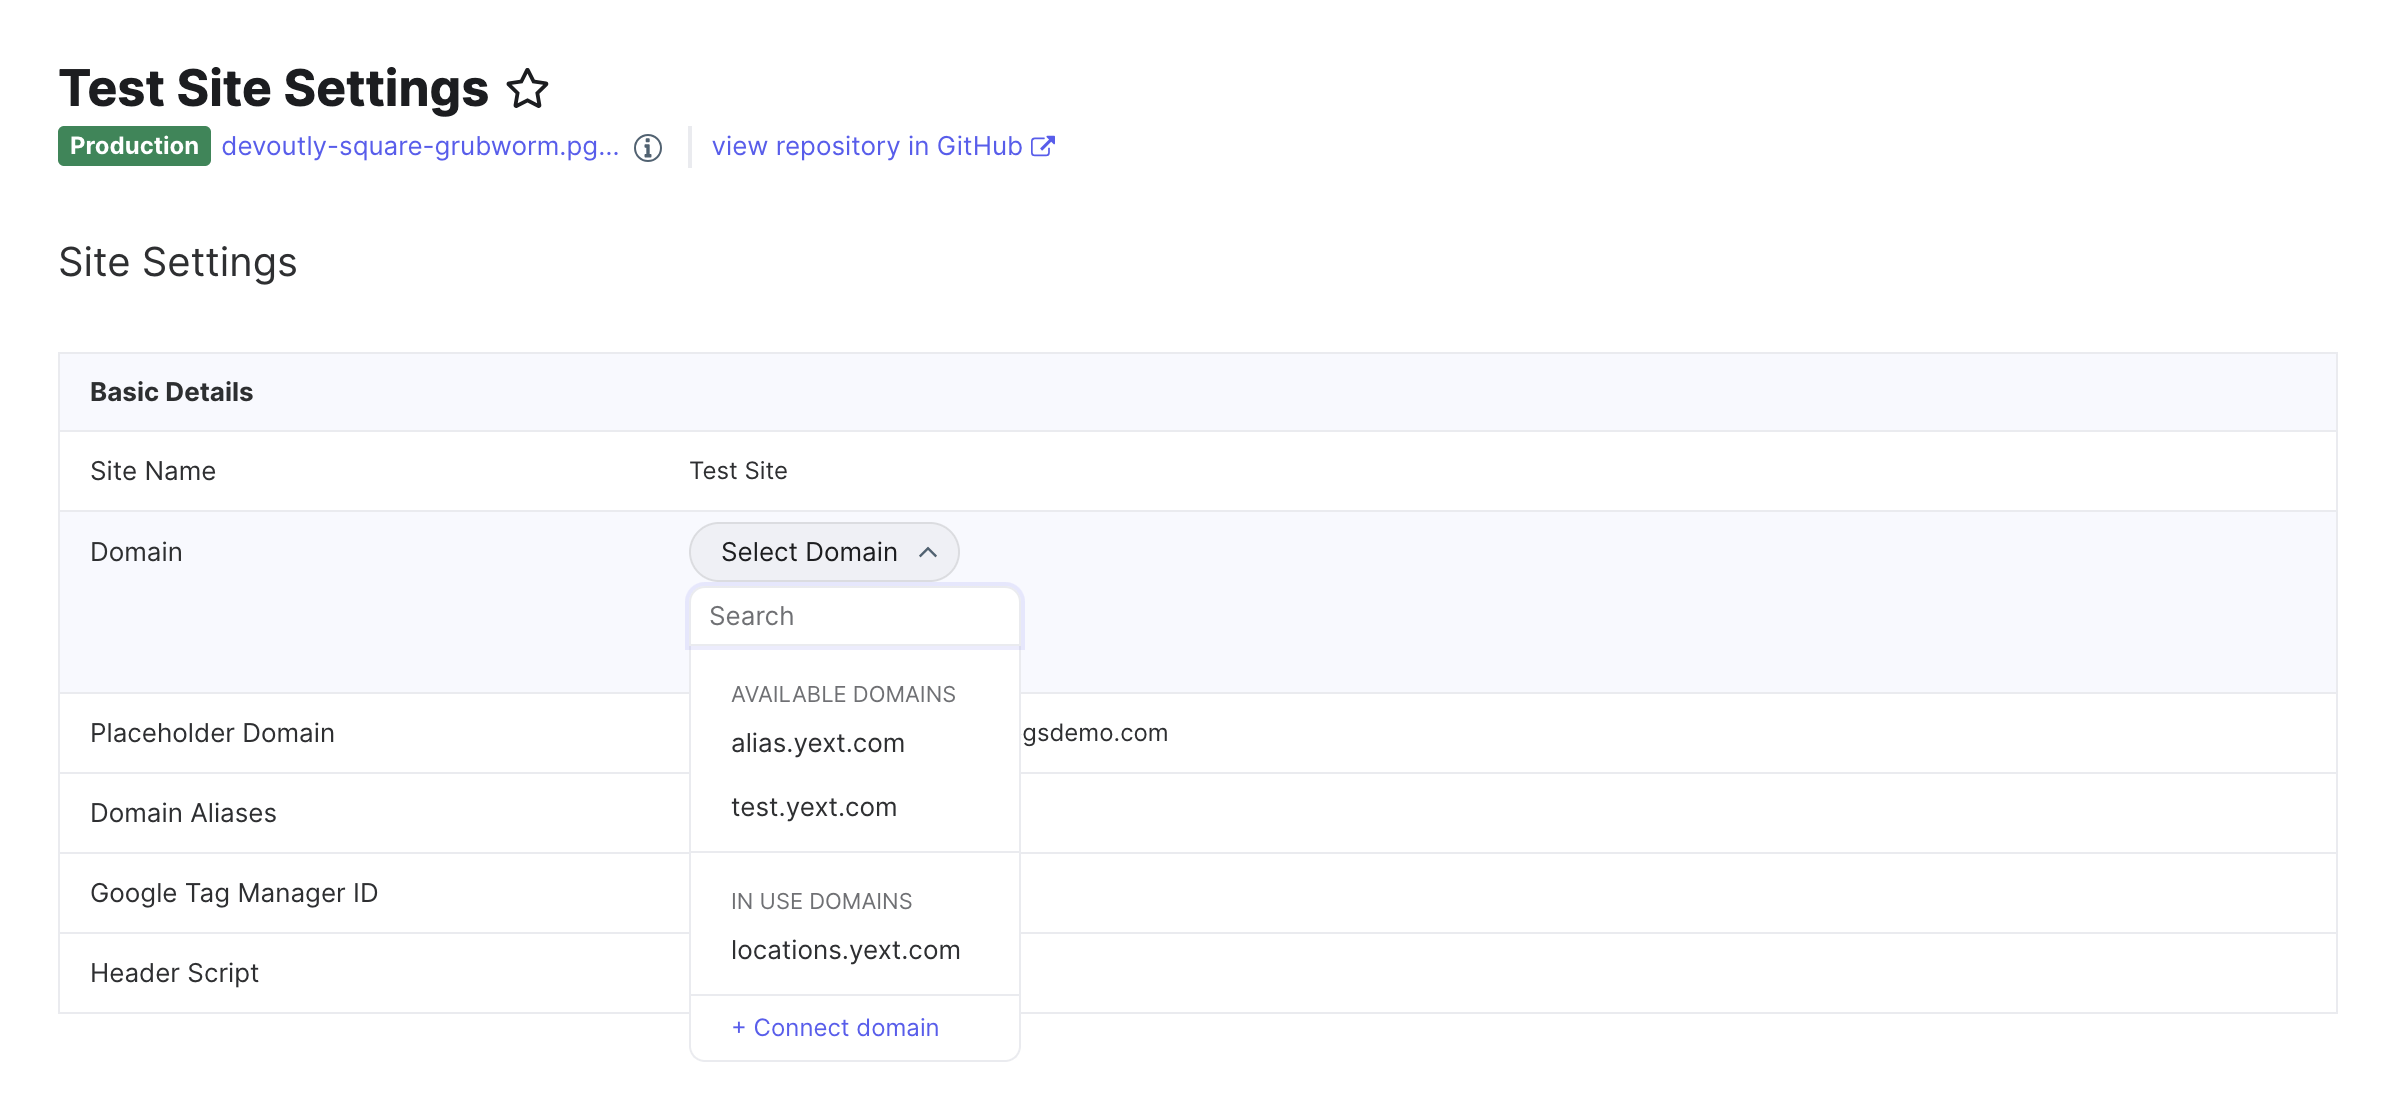
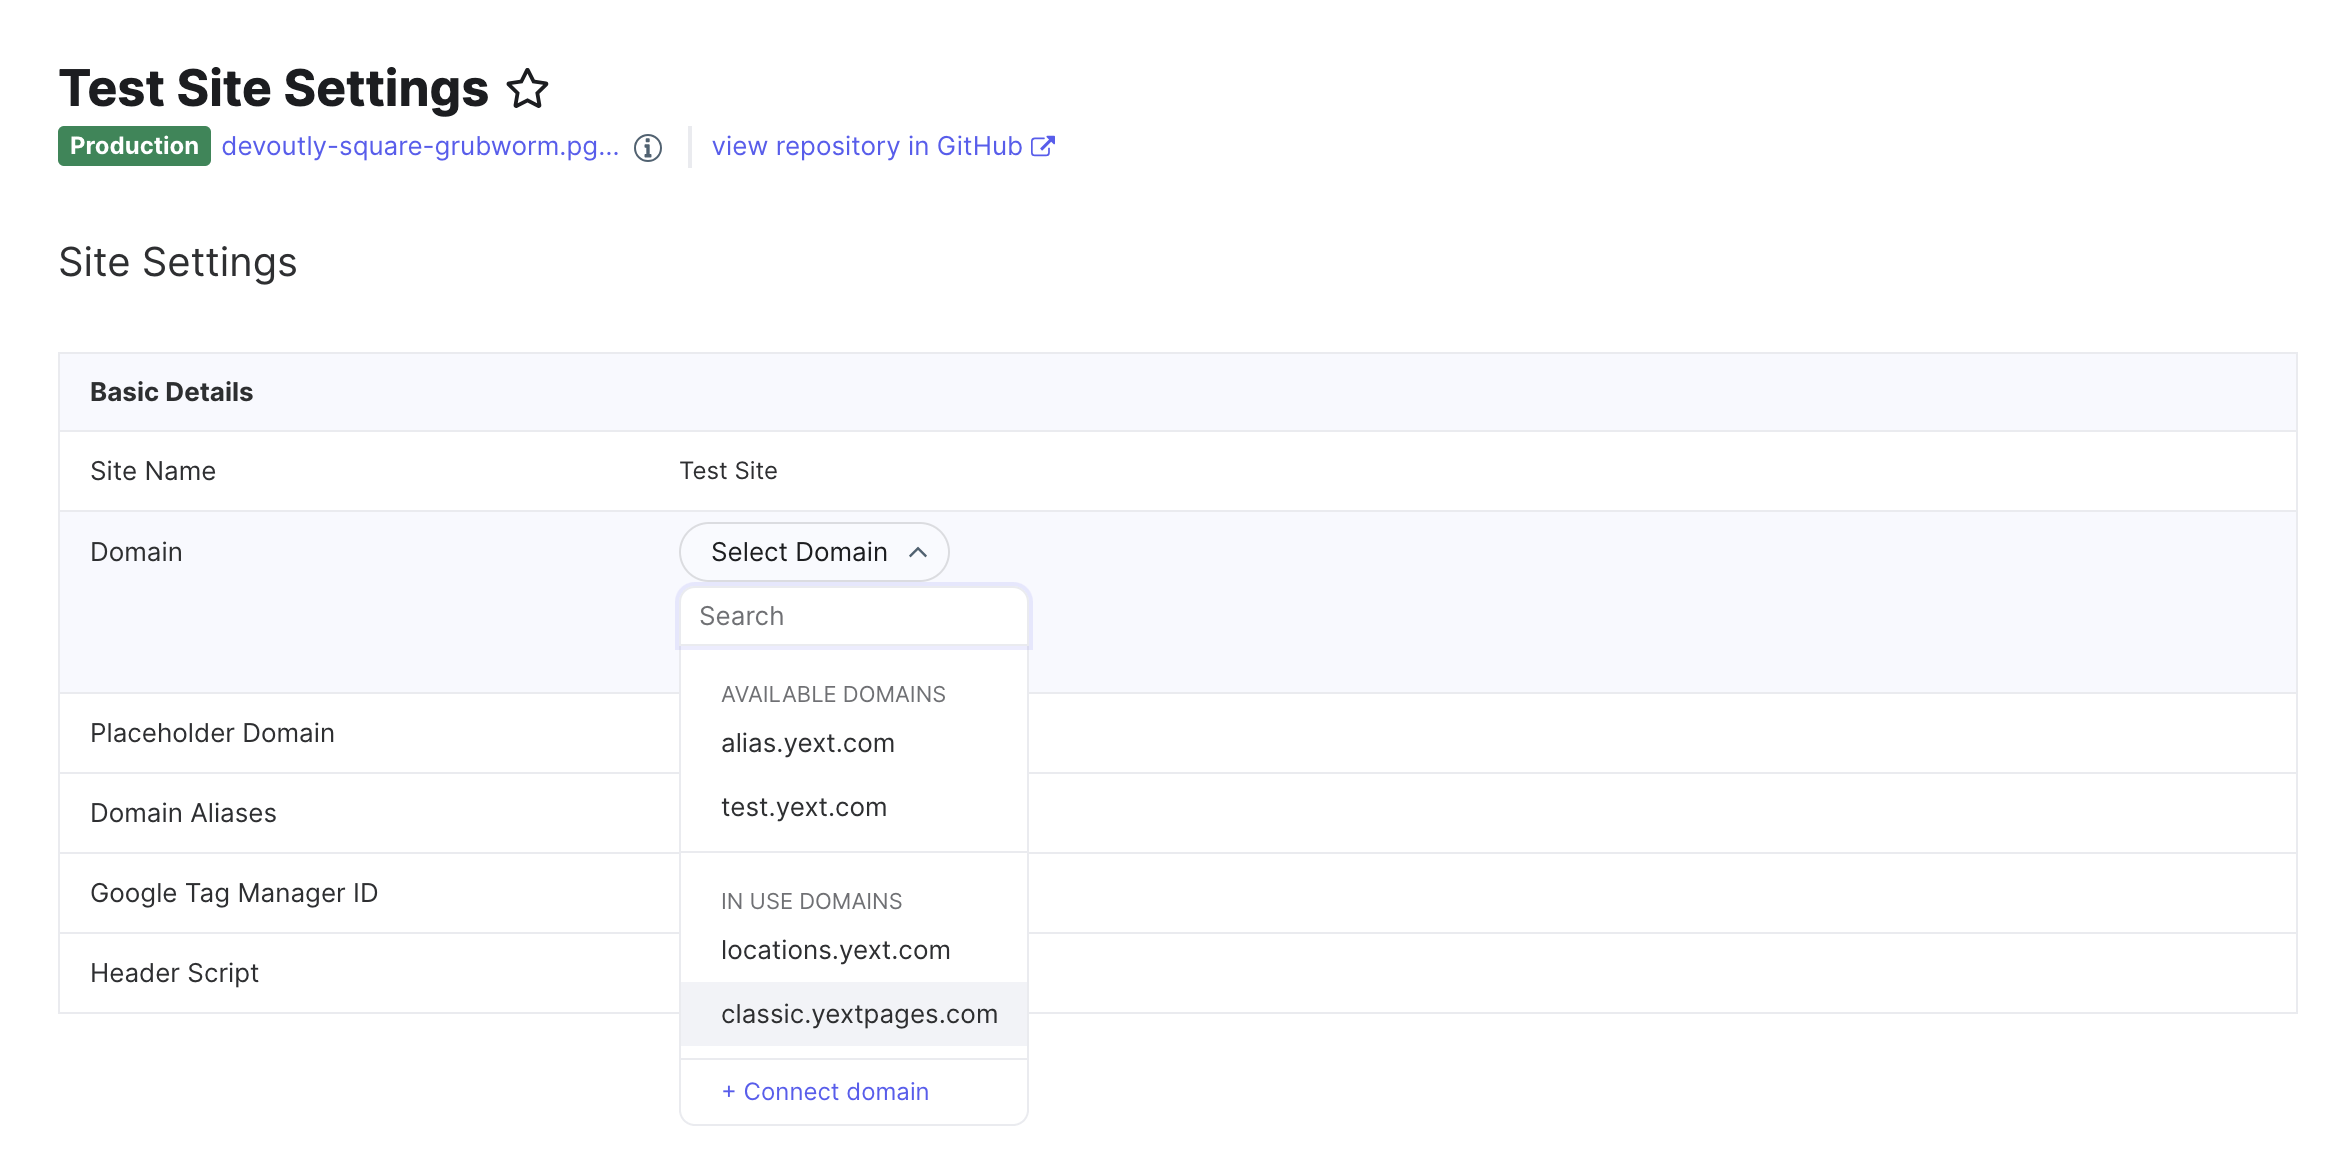
Once you have added a domain to Yext, you can “assign” it to your desired site via Site Configuration . Each domain configured in your account will be available in the Domain dropdown.
To select a domain, simply click on one of the options. This step is necessary before updating your DNS configuration. A successful deployment must be published to production in order to assign a domain.
Placeholder Domain Configuration
When you deploy a website using Yext, by default, we provision you with a “placeholder” production domain. This is a Yext-provisioned URL at [example].pgsdemo.com. This convenience allows you to immediately view your deployed content and share it with your team and stakeholders.
You can customize your placeholder domain at any time directly in the Site Configuration screen of your site as necessary to tailor it to your organization’s requirements. This customization is particularly useful for denoting if a website is purely for QA or testing purposes.
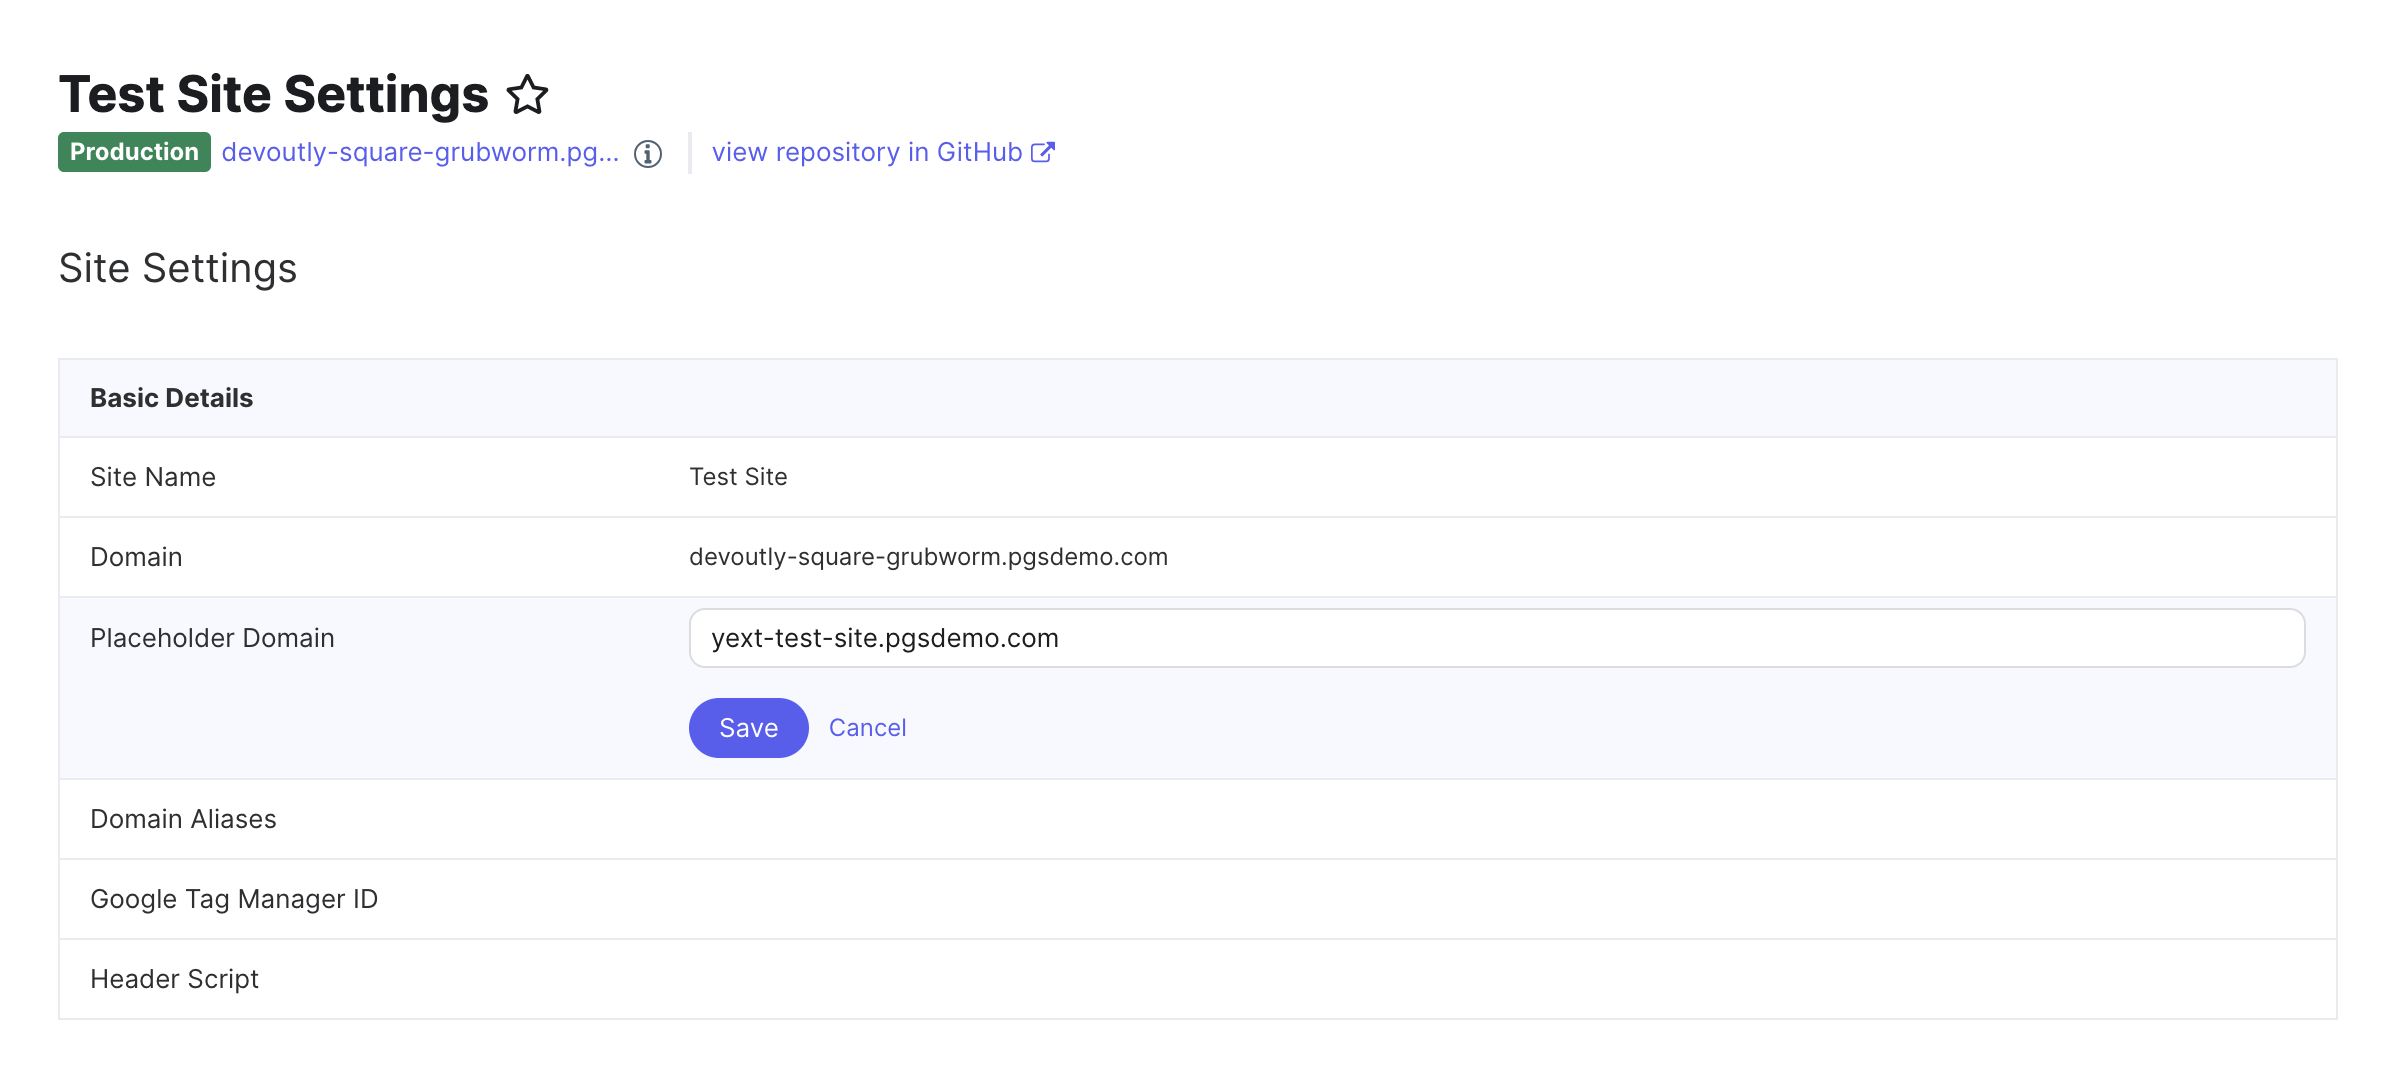
It’s important to note the requirements for the placeholder domain configuration:
- The maximum character length limit is 62 characters
- It needs to live off of the
.pgsdemo.comwildcard
Additionally, each branch staging URL is derived from a combination of the production placeholder URL and the name of the branch itself. Due to this combination, it’s possible to encounter a staging URL that exceeds the allowed length, resulting in a “This site can’t be reached” error. If you encounter this issue, try shortening the length of your placeholder domain.
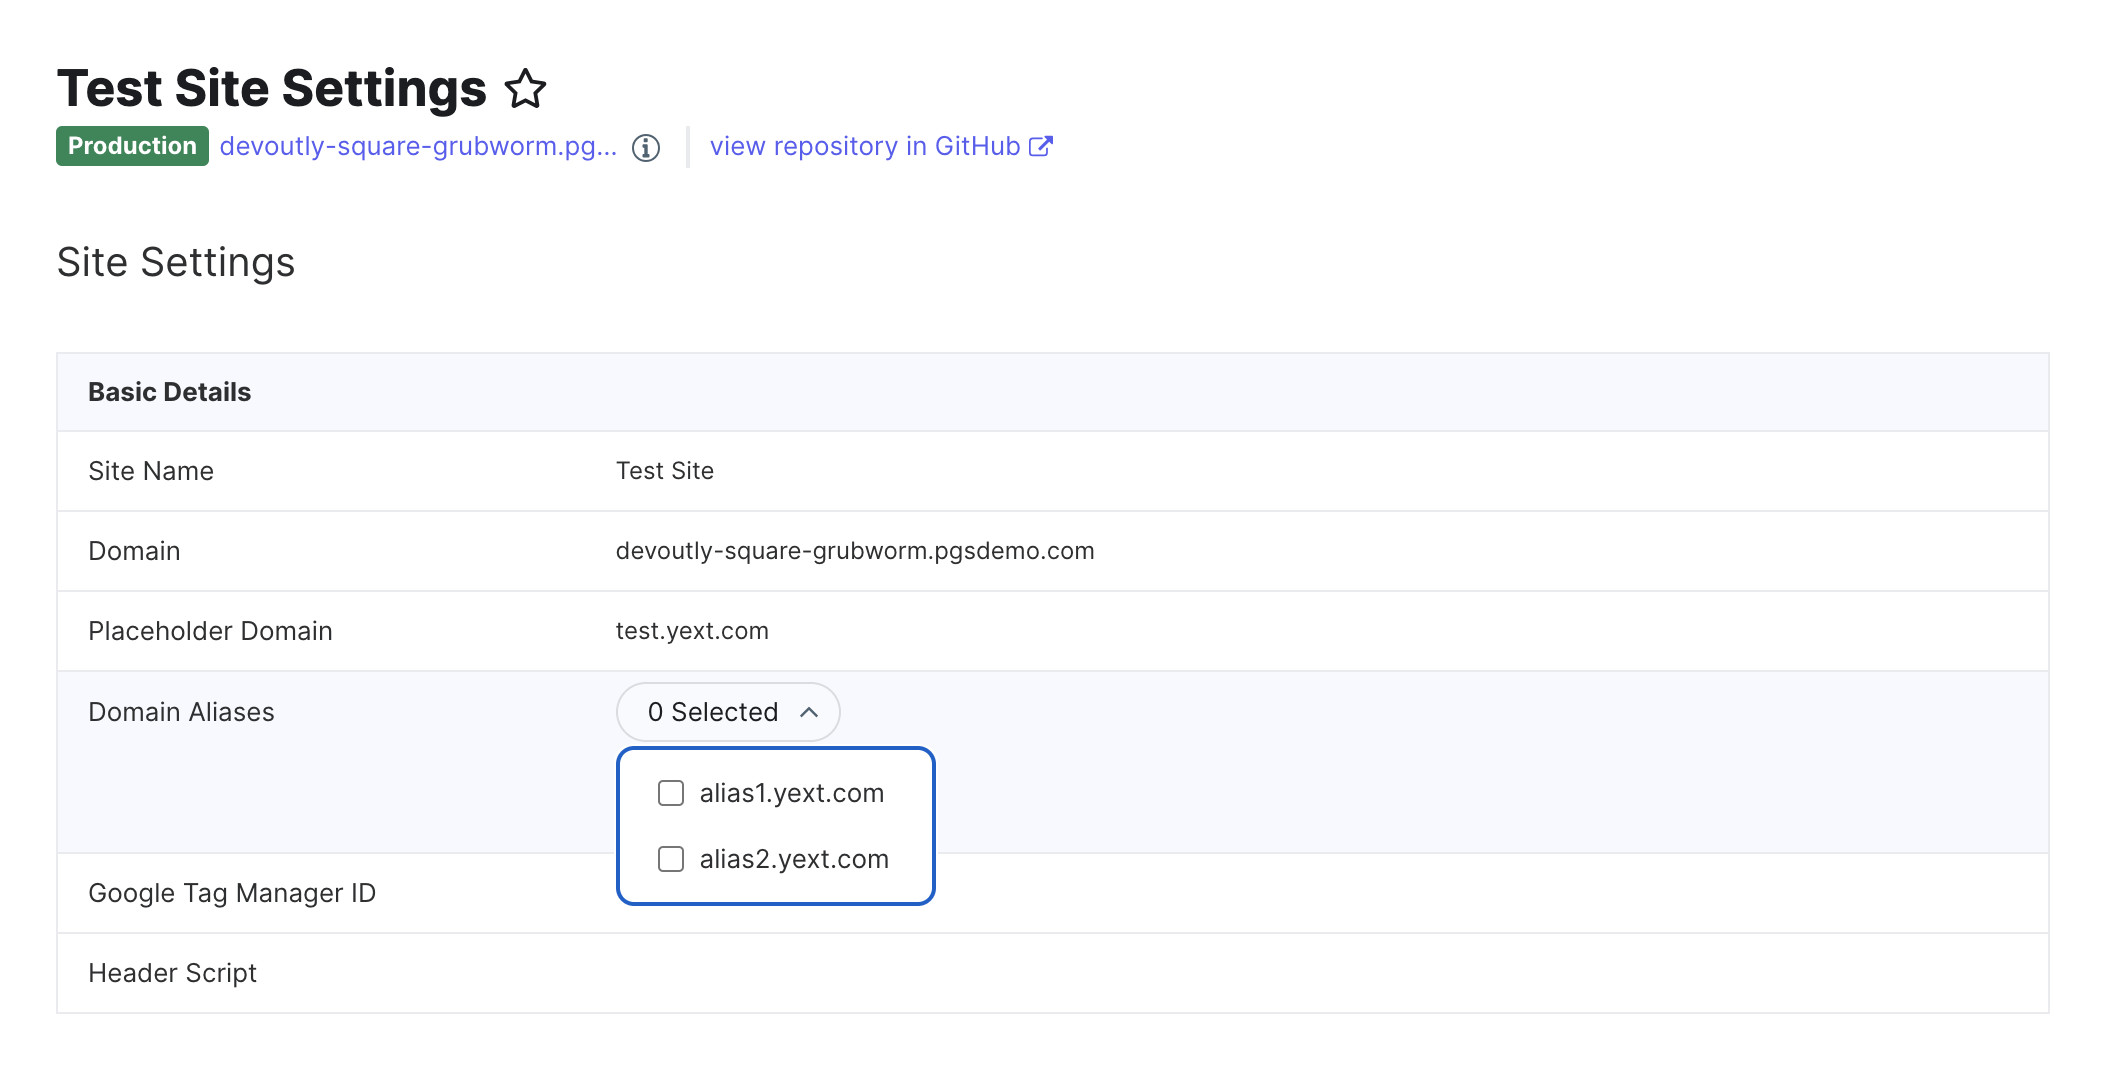
Domain Aliases
If you want your website to be served at multiple domains, you can configure domain aliases directly within Site Configuration as well. To alias your content, add each alias through the same domain setup options as your primary domain, whether via the UI or API.
As needed on the frontend, you can programmatically determine whether you are being served content at a primary vs. alias domain by accessing the PRODUCTION_DOMAINS window object.
console.log(window.PRODUCTION_DOMAINS)

// result
{
  "primary": "test.yext.com",
  "aliases": [
    "alias1.yext.com",
    "alias2.yext.com"
  ]
}
Domain Reassignment
If necessary, you can also update your site to deploy your content to a different domain at any time. This is useful in two scenarios:
- Domain Changes
- If you need to update the domain at which your content is served, you can simply assign a different domain to your site. For example, a domain rebrand (
brand.com->rebrand.com) or domain extension update (brand.com->brand.co.uk).
- If you need to update the domain at which your content is served, you can simply assign a different domain to your site. For example, a domain rebrand (
- Domain Migrations
- Domains that are already in use by another site can be “migrated” to your current site. This is particularly useful if you are rebuilding a Classic Pages site on the new Pages architecture (see the Types of Pages reference document), and need to point the domain to your new site.
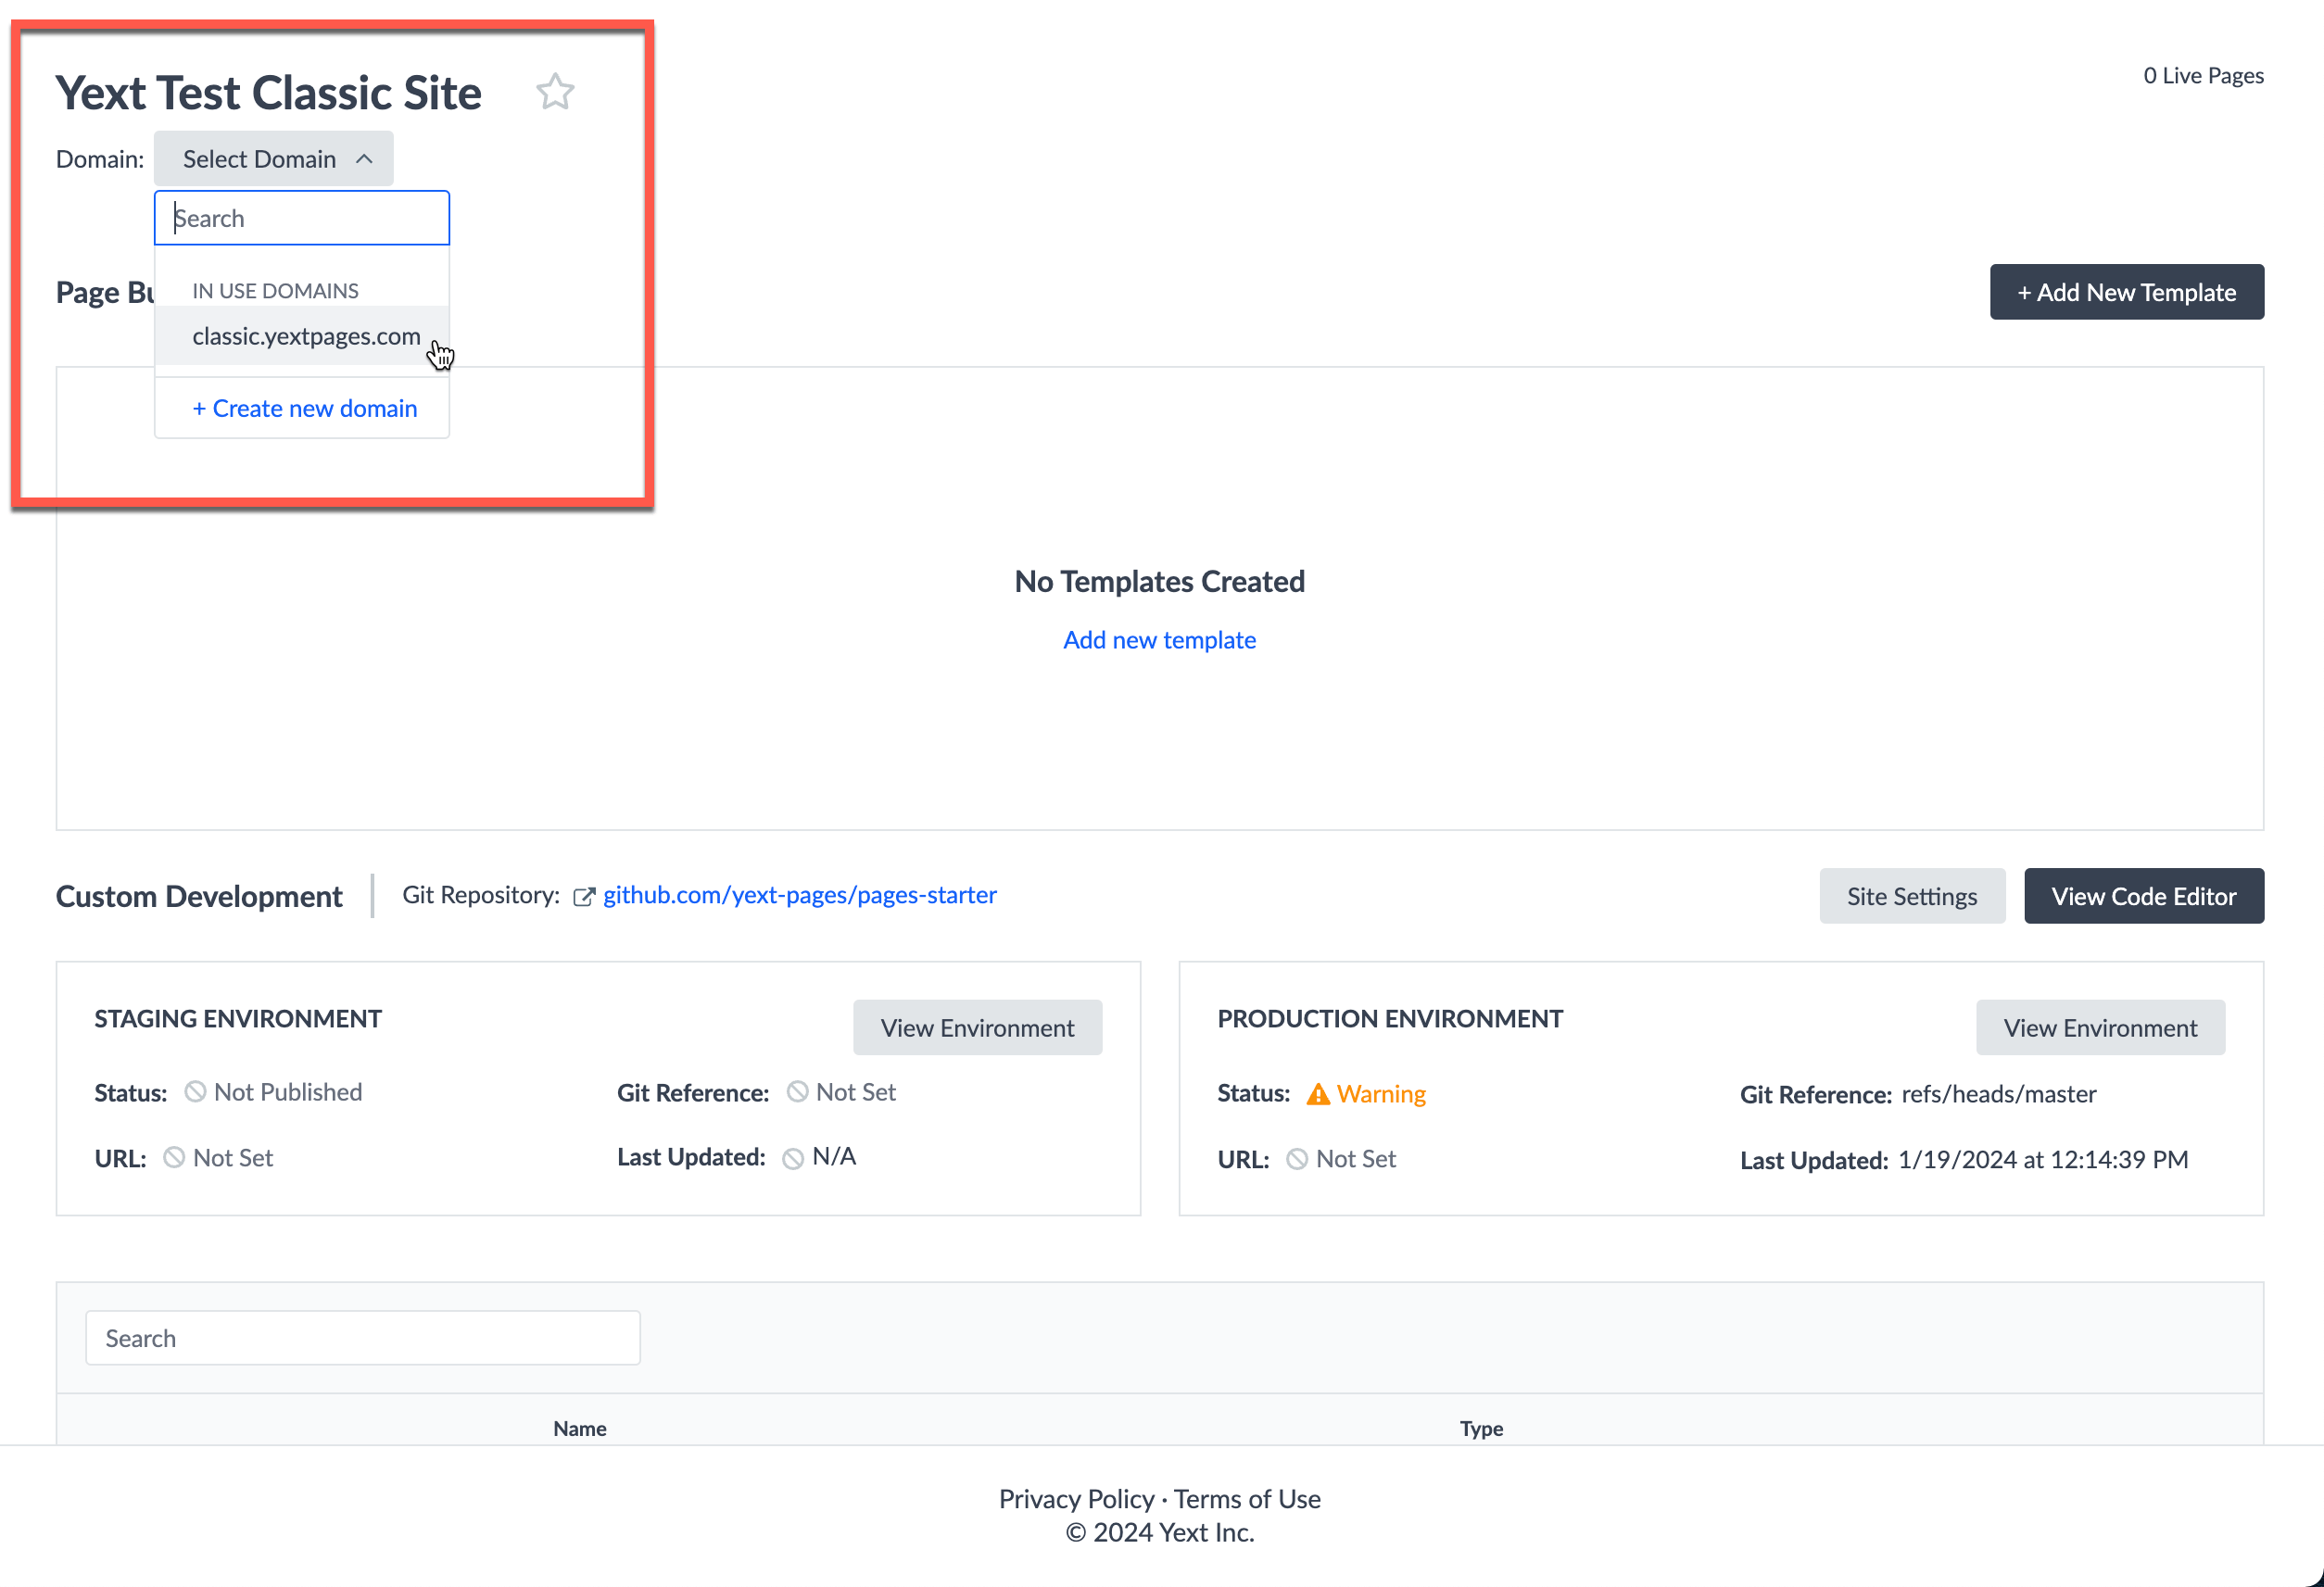
To reassign the domain from a Classic Site:
- First ensure that your desired deployment is already published to production!
Navigate to the Site Configuration page for your site. Select the desired domain from the domains dropdown; it should be visible under the “In Use Domains” section. Then click “Save”.
You will be prompted to confirm you wish to reassign this domain to your site. Confirm by entering the name of the domain into the text input field, and click “Continue”.
Once you initiate the cutover, Yext will initiate the domain reassignment process on the backend. It may take up to a few minutes before you see content from the new site serving at the domain. While the reassignment is taking place, the content from the Classic site will continue to be served (guaranteeing zero downtime).
Once the cutover is complete, the Classic site will no longer be connected to the domain. If you need to revert this operation for whatever reason, you have the ability to select the same domain from the Classic site. Simply select the in-use domain to reassign the domain back to the Classic site. Similar to before, the reassignment process can take up to a few minutes before the Classic content is serving again.